Heads up: this post contains affiliate links. If you buy through them, We Love Upholstery may earn a small commission at no extra cost to you.
Microfiber sofa repair is the process of restoring torn, stained, or worn upholstery using methods matched to damage size, fabric type, and cleaning codes. With the right tools, including SOBO fabric glue, Fray Check, fine hand-sewing needles, and soft-bristle brushes, most homeowners can fix their sofa without calling a professional. This microfiber sofa repair explained guide covers everything from reading your sofa’s care tag to restoring the fabric nap after stitching. The result is a couch that looks and feels close to new, at a fraction of replacement cost.
How to identify the type and severity of microfiber sofa damage
The first step in any repair is knowing exactly what you are dealing with. Microfiber upholstery fails in three main ways: small surface tears, large structural tears, and stain damage. Each requires a different fix, and choosing the wrong method makes things worse.
Reading your sofa’s cleaning code
Every microfiber sofa has a care tag with one of four cleaning codes: W, S, WS, or X. Identifying these fabric codes before you touch the sofa with any product is the single most important step in the repair process. Using a water-based cleaner on an S-coded fabric, for example, can permanently distort the fibers.
- W (water-based): Safe to clean with water or water-based solvents.
- S (solvent-based): Use only dry-cleaning solvents. No water.
- WS (water or solvent): Either method works.
- X (vacuum only): No liquids at all. Professional cleaning required.
Pro Tip: If the care tag is missing, test any product on a hidden area like the back panel or underside of a cushion before applying it to a visible spot.
Assessing tear size and stain type
Small tears measure roughly under one inch and have clean edges. Large tears run longer, show fraying, or involve multiple layers of fabric. Stains fall into two categories: fresh spills that lift with the right solvent, and set-in stains that require more aggressive treatment. Starting with the gentlest repair method prevents you from turning a minor problem into a permanent one. Harsh chemicals can alter microfiber texture permanently, so always work up in intensity rather than starting strong.
What are the best repair methods for microfiber tears?
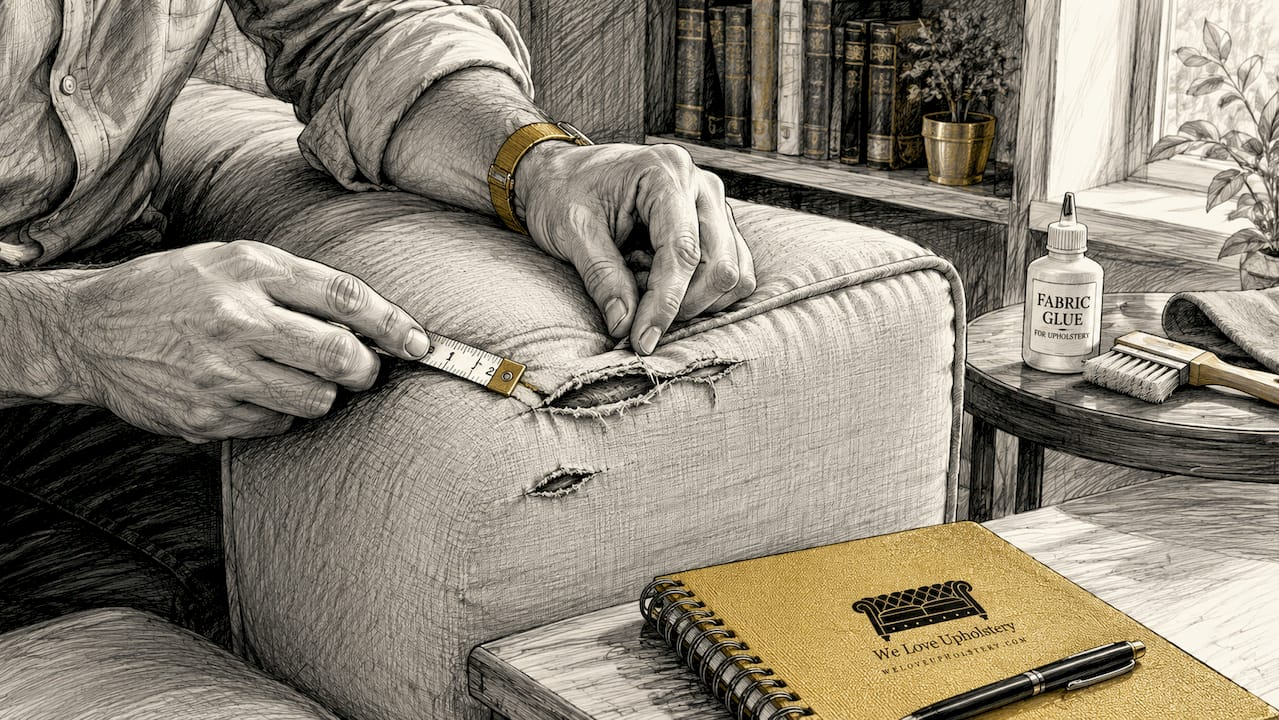
Repairing small tears with fabric glue
- Clean the area. Remove any loose debris around the tear. Let the fabric dry completely before applying anything.
- Trim loose threads. Use small scissors to snip any frayed threads flush with the fabric surface. Do not pull them.
- Apply SOBO glue sparingly. Place a thin bead of SOBO fabric glue along one edge of the tear using a toothpick or fine applicator. Less is more here.
- Press and hold. Press the torn edges together firmly for 60 seconds. Wipe away any glue that squeezes out immediately with a damp cloth.
- Allow full cure time. SOBO sets in approximately 10 minutes, but full adhesion takes several hours. Avoid sitting on the repaired area until it is completely dry.
Pro Tip: For extra reinforcement on small tears, place a small piece of fusible interfacing behind the fabric before gluing. It acts as a backing that keeps the repair from pulling apart under stress.
Repairing large tears with the invisible ladder stitch
The ladder stitch technique produces an almost invisible seam, which makes it the right choice for large tears where aesthetics matter as much as strength.
- Prep the tear edges. Apply Fray Check to both edges of the tear and let it dry fully. Fray Check on tear edges prevents further fraying and strengthens the repair, though it may temporarily darken the fabric.
- Thread a fine needle. Use a thread that matches the sofa color as closely as possible. A fine upholstery needle works best on microfiber because it creates smaller puncture holes.
- Begin the ladder stitch. Insert the needle just below the edge on one side of the tear, then cross to the opposite edge and insert again. Pull gently but firmly after each pass to draw the edges together without puckering.
- Work in small increments. Stitch in segments of about half an inch, pulling the thread snug after each segment. Rushing this step causes uneven tension and visible bunching.
- Secure the end. Tie off with a small knot and tuck it beneath the fabric surface using the needle tip.
- Sand lightly if needed. For areas where the surface is abraded, light sanding with 600-grit sandpaper opens fabric pores for better bonding before any adhesive or backing is applied.
Pro Tip: Wax your thread lightly before stitching. It reduces friction, prevents tangling, and helps the thread glide through microfiber without snagging.
How to maintain microfiber sofa fabric post-repair for longevity
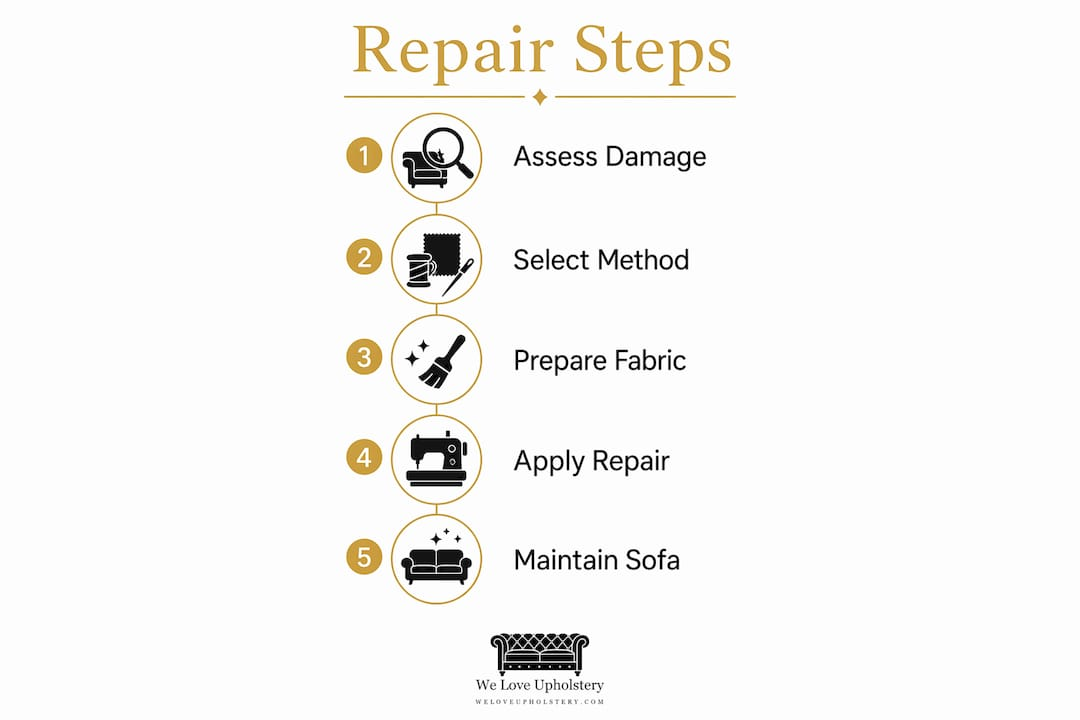
Repair is only half the job. A consistent maintenance routine keeps your sofa looking good and prevents new damage from forming around the repaired area.
Building a cleaning schedule that works
- Weekly: Vacuum with a soft brush attachment to lift dust and pet hair before it works into the fibers.
- Spot cleaning: Address spills immediately. For W-coded fabrics, blot with a clean white cloth and a small amount of water-based cleaner. For S-coded fabrics, use rubbing alcohol at 90% concentration or higher. Rubbing alcohol air dries within 15 minutes, which prevents the over-wetting that distorts microfiber texture.
- Annual deep clean: Use a method appropriate to your fabric code. This removes accumulated oils that weekly vacuuming cannot reach.
Avoiding the most common maintenance mistakes
Using colored cleaning cloths can transfer dye to microfiber fabric. Always use white or colorfast cloths. Over-wetting is the other major mistake. Clean in small sections and let each section dry before moving to the next. Harsh chemical cleaners, including bleach and ammonia-based products, permanently alter microfiber texture and should never be used regardless of fabric code.
Pro Tip: After any cleaning or repair, restore the microfiber nap by brushing the fabric in a single direction with a soft-bristle brush. This step prevents the matted, flat appearance that makes repaired areas look obvious.
Microfiber repair products compared: which tools should you use?
Choosing the right supplies before you start saves time and prevents mistakes. The table below compares the main repair methods and their best use cases.
| Method | Best for | Key tools | Limitation |
|---|---|---|---|
| Fabric glue (SOBO) | Small tears under 1 inch | SOBO glue, toothpick, fusible interfacing | Not flexible enough for high-stress seams |
| Invisible ladder stitch | Large or long tears | Fine needle, matching thread, Fray Check | Requires patience and steady hands |
| Fray Check only | Edge stabilization before stitching | Fray Check applicator | Not a standalone repair; prep step only |
| Soft-bristle brush | Nap restoration after repair or cleaning | Natural or synthetic bristle brush | Does not fix structural damage |
| Rubbing alcohol (90%+) | Stain removal on S or WS coded fabrics | White cloth, spray bottle | Not suitable for W-coded or X-coded fabrics |
For upholstery repair materials like specialized threads, backing fabrics, and fusible interfacing, having the right supplies on hand before you start prevents mid-repair trips to the hardware store. Backing fabrics placed behind a tear before gluing or stitching add structural support that extends the life of the repair significantly.
Key takeaways
Successful microfiber sofa repair depends on matching your method to the damage type, reading the fabric code first, and restoring the nap after every repair or cleaning session.
| Point | Details |
|---|---|
| Read the care tag first | Fabric codes W, S, WS, and X determine which products are safe to use. |
| Match method to damage size | Use SOBO glue for small tears; use the invisible ladder stitch for larger ones. |
| Prep edges before stitching | Apply Fray Check to tear edges and let it dry fully before threading a needle. |
| Avoid over-wetting | Clean in small sections and use 90%+ rubbing alcohol on S-coded fabrics. |
| Restore the nap after repair | Brush in a single direction with a soft-bristle brush to hide repair signs. |
What I have learned after years of microfiber repairs
The most common mistake I see is skipping the prep. People grab a bottle of cleaner, spray it directly on the fabric, and scrub. Within minutes they have a water ring or a bleached patch that is worse than the original stain. The repair itself is rarely the hard part. Getting the surface ready is where most DIY projects succeed or fail.
The second thing most people overlook is nap restoration. You can execute a perfect ladder stitch, and the repair will still look obvious if you do not brush the fabric back into alignment afterward. Maintaining the microfiber nap after treatment is what visually restores fabric softness and hides the repair from anyone who was not there to see it happen. I have seen repairs that looked invisible from three feet away simply because someone took 60 seconds to brush the fabric in one direction.
My honest advice: be patient with glue curing and stitching tension. Rushing either step produces a repair that reopens under normal use. If the tear is longer than three inches, involves a structural seam, or sits on a high-stress area like an armrest, consider whether a loose seam repair approach or professional help makes more sense. There is no shame in knowing when a job exceeds the DIY threshold. The goal is a sofa that lasts, not a repair that just holds for a week.
— Dustin
Get the right guides and supplies for your repair project
Knowing the technique is only part of the equation. Having the right materials on hand before you start makes every repair cleaner and faster.

Weloveupholstery offers step-by-step DIY guides written by experienced upholstery practitioners, covering everything from small glue repairs to full reupholstery projects. If you are working on a tear, start with the fabric glue repair guide for a detailed walkthrough of the SOBO method. For a broader look at techniques and materials suited to your specific sofa type, the DIY guides library covers microfiber upholstery care, stitching methods, and maintenance routines in one place. Every guide is written for homeowners who want results without guesswork.
FAQ
What is the best glue for microfiber sofa repair?
SOBO fabric glue is the most reliable option for small microfiber tears. It sets in approximately 10 minutes and bonds fabric edges without stiffening the surrounding material.
How do I fix stains on a microfiber sofa without damaging it?
Check the care tag code first. For S-coded fabrics, use rubbing alcohol at 90% concentration or higher applied with a white cloth. For W-coded fabrics, use a water-based cleaner in small sections to avoid over-wetting.
Can I repair a large microfiber sofa tear myself?
Yes, with the invisible ladder stitch technique. Apply Fray Check to the tear edges first, let it dry, then use a fine needle with matching thread to close the tear in small increments for even tension.
How often should I clean my microfiber sofa to prevent damage?
Vacuum weekly with a soft brush attachment, spot clean spills immediately, and do a full deep clean once or twice a year. This schedule prevents oil and stain buildup that degrades fabric durability over time.
Why does my microfiber sofa look flat after cleaning?
Over-wetting or scrubbing collapses the microfiber nap. Restore it by brushing the dry fabric in a single direction with a soft-bristle brush after every cleaning or repair session.