Heads up: this post contains affiliate links. If you buy through them, We Love Upholstery may earn a small commission at no extra cost to you.
Most sagging couches and dipping chair seats can be fixed at home, and the repair usually costs less than $40 in parts. Reattaching a popped sinuous spring clip, adding stay wire to reinforce a soft spot, or swapping a broken coil spring are all jobs a patient homeowner can finish in an afternoon, and done correctly, they hold up for 5 to 10 years. The exception is a coil system sitting on rotted webbing. That needs rewebbing first, or any new tie-down will fail within weeks.
Start with the underside. Flip the piece over, unstaple the dust cover, and look before you buy anything.
For a first kit, three types cover almost every situation. Beginners reattaching a detached zig-zag spring do well with the EK Clips upholstery spring clips and repair kit, since the clips are cheap and sold in bulk for exactly this fix. If the frame has taken repeated stress and clips keep slipping, a Kaupuar upholstery DIY tool lever spring stretcher kit gives you the leverage to reseat springs under tension without fighting them by hand. And if the whole seat has gone soft across several springs rather than one, a SOUJOY upholstery stay wire for sofa furniture springs pack lets you tie the row together instead of chasing one clip at a time.
Cost-wise, replacing a sofa runs into the hundreds or thousands of dollars, which is why simple clip and stay-wire fixes are worth trying first, before assuming the piece is dead.
Key Takeaways
Most sagging furniture comes down to a detached clip, a slack row of springs, or a handful of broken coils, and each has a distinct, affordable fix.
| Point | Details |
|---|---|
| Diagnose before buying | Flip the piece and inspect underneath before ordering any clips, springs, or wire. |
| Match hardware to system | Sinuous springs need clips and stay wire; coil systems need sound webbing and hand-tied twine. |
| Screws beat staples | Screw-mounted clips hold under repeated flex far longer than stapled ones. |
| Watch for the domino effect | Reinforce the whole row with stay wire, not just the one failed spring, to stop nearby springs from following. |
| Weloveupholstery for the full walkthrough | Its step-by-step DIY guides and tools checklist cover the same repair sequence with photos and part-specific advice. |
Table of Contents
- How to Diagnose and Fix Furniture Repair Springs
- Top Spring Repair Kits and Replacement Spring Categories Compared
- What’s Actually Causing the Sag: Cushions, Frame, or Springs?
- Step-by-Step: Reattaching, Reinforcing, and Replacing Springs
- How to Choose the Right Clips, Springs, and Tools for Your Sofa
- Why Didn’t My Spring Repair Hold?
- How We Test Spring Repair Kits and What Commonly Goes Wrong
- What Most Spring Repair Advice Gets Wrong
- A Faster Path to Getting Your Spring Repair Right the First Time
- Frequently Asked Questions
- Sources
How to Diagnose and Fix Furniture Repair Springs
“Furniture repair springs” is the search term, but the actual repair falls into three camps: reattaching a spring that popped off its mount, reinforcing springs that have gone slack, or replacing springs that are physically broken. Upholsterers call the underlying hardware sinuous springs (also called zig-zag or no-sag springs), eight-way hand-tied coil springs, or torsion springs, depending on the furniture’s age and build. Sinuous springs dominate mass-market furniture built since the 1970s, and they tend to fail at the mounting clip rather than in the wire itself.
That distinction changes everything about your repair plan. A clip failure on a sinuous system is a 20-minute fix with a screwdriver and a new clip. A coil system sitting on shot webbing is a different job entirely, one that starts with rebuilding the foundation, not the springs.
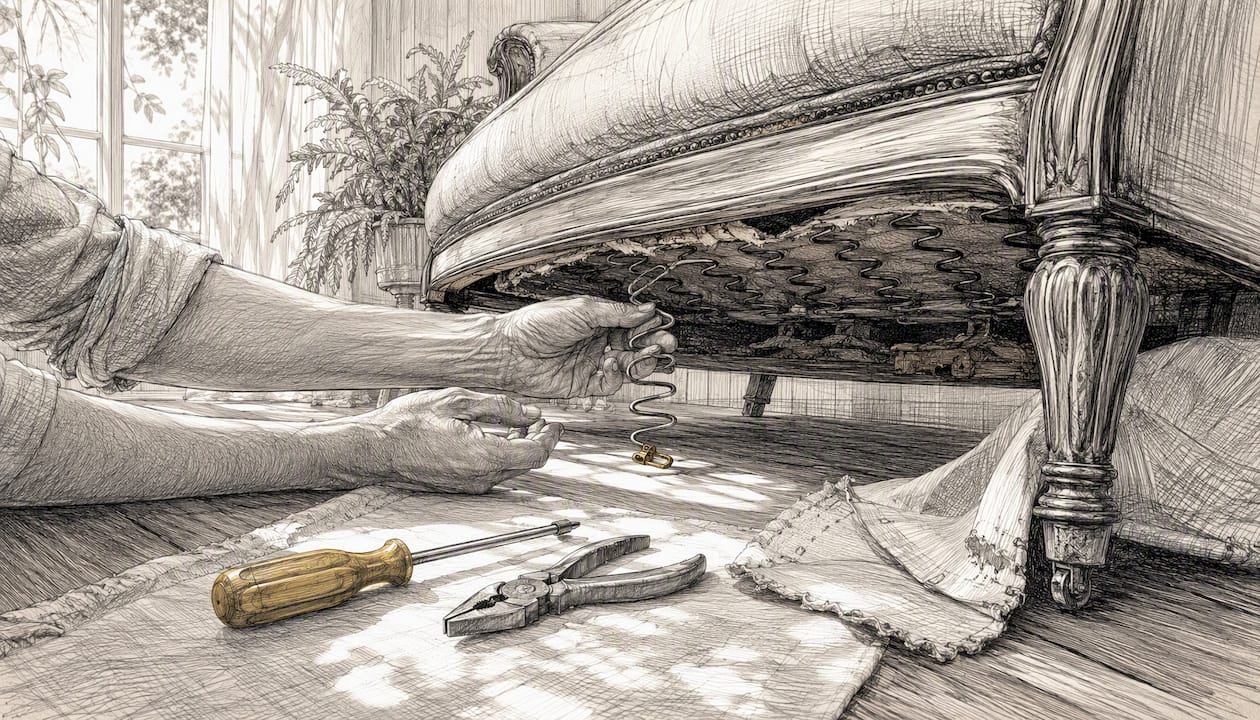
If cushions look fine but the seat sits noticeably lower than it used to, the culprit is almost always a detached, broken, or displaced sinuous spring, and reattaching it typically restores the seat height without touching anything else.
Top Spring Repair Kits and Replacement Spring Categories Compared
Buying the wrong clip style or the wrong gauge wire is the single most common reason a first repair attempt fails. Match your kit to your spring system before you check out.
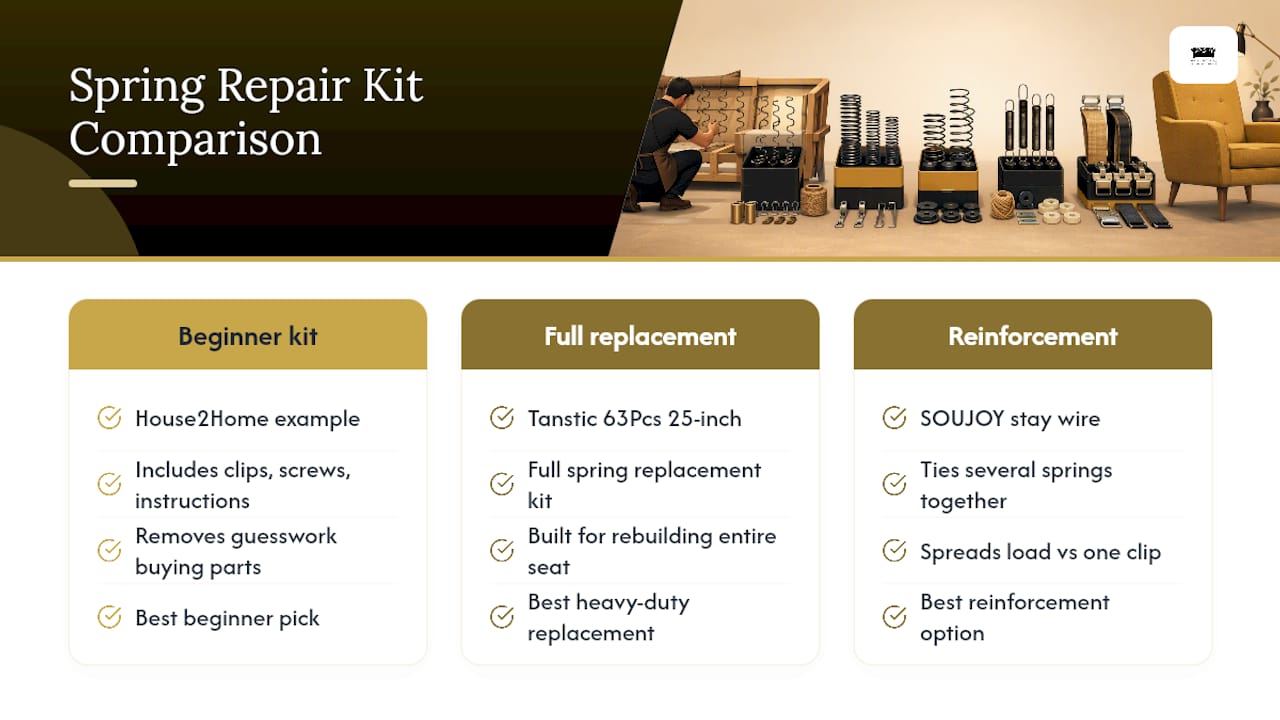
Best beginner pick: the House2Home kit bundles clips, screws, and instructions in one box, which removes the guesswork of buying parts separately. Best heavy-duty replacement: a full spring replacement kit like the Tanstic 63Pcs 25 Inch Sofa Upholstery Spring Replacement Kit, built for rebuilding an entire seat rather than patching one spot. Best reinforcement option: SOUJOY stay wire, because tying several springs together spreads load instead of concentrating it on one clip.
Best quick fix: a support board from GORILLA GRIP or LAVEVE, which buys time under a sagging cushion while you plan the real repair.
These kits show up regularly on major retail sites, where listings typically bundle clips, screws, and stay wire into one multi-piece pack, and general merchandise retailers carry similar kits alongside support boards. For a broader rundown of what these kits typically contain, Weloveupholstery’s guide to furniture repair kits breaks down contents piece by piece.
What’s Actually Causing the Sag: Cushions, Frame, or Springs?
Run these checks before you order a single part. Misdiagnosing the problem is how homeowners end up buying two kits instead of one.
- Press test. Push down firmly on the cushion. If it bottoms out with no bounce, suspect foam first, not springs.
- Listen for metal. Sit and shift your weight. A metallic ping or grinding sound points to a spring, not the frame.
- Pull the cushions and look. Bare springs visible through worn webbing or fabric usually mean the spring system, not the cushion foam, is the real issue.
- Flip it and check underneath. Remove the dust cover (the fabric stapled to the bottom) and look for a spring hanging loose, a snapped coil, or torn webbing.
- Probe the webbing by hand. Press on the strips the springs are anchored to. If they give like a trampoline with no resistance, the webbing has failed and needs attention before any spring repair will hold.
Visual clues sort the failure mode fast. A single dip with an otherwise firm seat usually means one popped clip. A wide, soft area across multiple cushions points to fatigued or broken springs across a row. A seat that flexes at the rail itself, rather than just at the springs, means frame damage, which is a different repair entirely.
If you plan to ask for help online or want a second opinion, photograph the underside straight on, then a wider angle showing the whole spring field, plus a close-up of any broken clip or wire.
Pro Tip: Check the webbing before you blame the springs. A spring that looks broken is sometimes just unsupported because the webbing underneath has given out, and replacing rotted webbing is the fix that actually holds, not a new spring on top of a weak base.
Weloveupholstery’s step-by-step spring repair tutorial walks through this same diagnostic sequence with photos at each stage, which helps when you’re not sure what you’re looking at yet.
Step-by-Step: Reattaching, Reinforcing, and Replacing Springs
Gather your tools before you start pulling staples. You’ll want upholstery pliers, a spring stretcher or lever tool, replacement clips matched to your spring gauge, screws (not staples, for anything load-bearing), stay wire or waxed twine, a staple gun for the dust cover, work gloves, and safety glasses. A basic tools checklist for beginners covers what to keep on hand for this and other upholstery jobs.
Reattaching a detached sinuous spring:
- Remove the dust cover staples and fold the fabric back.
- Pull the old, broken, or stripped clip free with pliers.
- Position a new clip over the rail, offsetting it slightly into fresh wood if the original screw holes are stripped.
- Hook the spring end into the clip and use upholstery pliers or a lever tool to draw it into place under tension. Reinserting the spring tip into its socket is easier with a second person holding tension while you screw the clip down.
- Drive screws through the clip into the rail. Skip staples here. They pull out under repeated flex.
- Sit on the repaired area and rock your weight to test hold before restapling the dust cover.
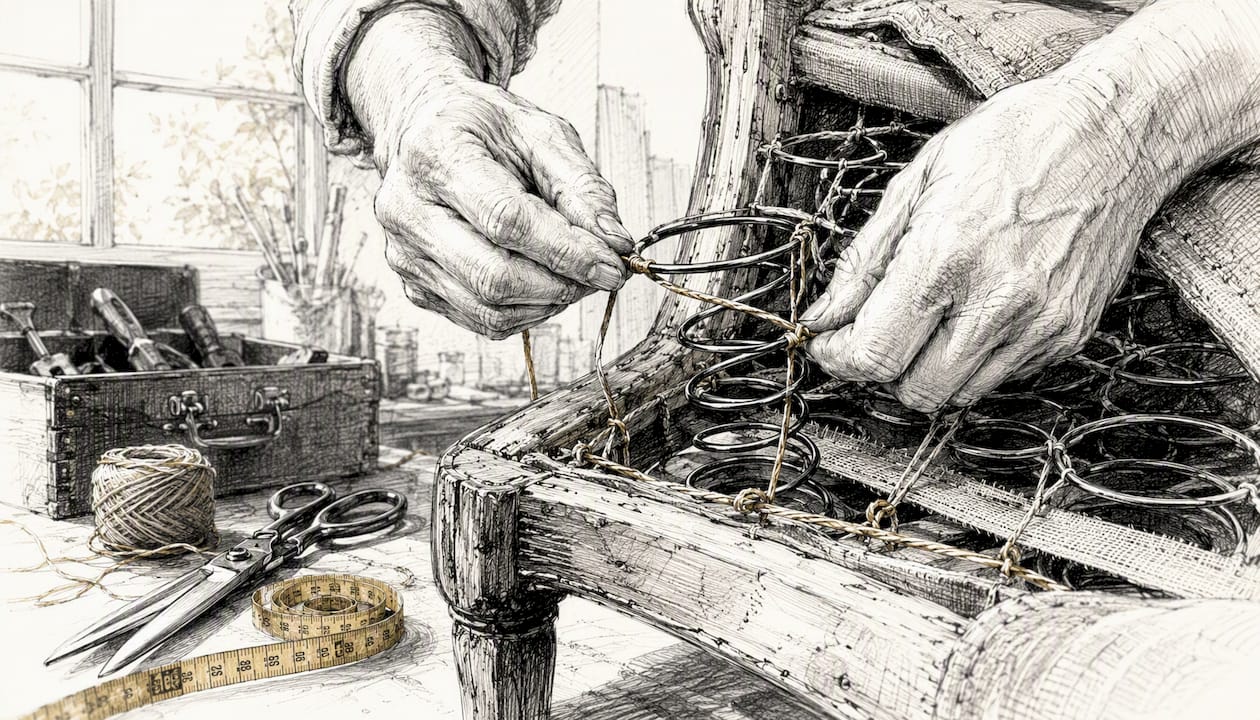
Reinforcing sagging but intact springs: run stay wire across the tops of the springs, tying each one with a clove hitch or similar knot, and pull it snug enough to restore some crown without over-tightening. An 8-gauge stay wire gives better lateral stability than lighter wire, especially across a full row. If the sag is broader than a couple of springs and you want an immediate fix under the cushion itself, a support board bridges the gap while you plan a fuller repair.
Replacing a broken coil spring: access from underneath, cut the old ties, remove the broken coil, install the replacement, and retie it into the surrounding pattern using the same hand-tied knots the original upholsterer used. Coil work is the slowest of the three repair types, and shops typically budget 2 to 6 hours for spring work depending on how many coils need retying.
Budget $20 to $40 and 30 to 90 minutes for a single clip reattachment, and $40 to $80 with two to four hours for a multi-spring reinforcement or a small coil replacement job.
Tensioned wire snaps back hard if it slips. Keep your face clear of the spring’s travel path, wear glasses, and never rest your free hand directly in front of a spring under load.
If you’re unsure mid-job, photograph the current state before you go further and pause there. A repair that’s gone sideways is easier to fix from a photo than from a phone description, and a shop can quote you faster with pictures in hand.
How to Choose the Right Clips, Springs, and Tools for Your Sofa
Match hardware to your actual system, not the first kit that shows up in search results. Sinuous springs need clips (commonly J-clips or the more secure screw-mounted style) and possibly stay wire. Coil springs need twine, tacks, and intact webbing underneath, not clips at all. Torsion springs, found in some recliners and mechanisms, are a specialty part best replaced with an exact match rather than a generic pack.
- Count how many clips or springs you actually need before ordering. Buy a few extra. Stripped screws and bent clips happen during installation.
- Check the gauge listed on stay wire and replacement springs. Thinner wire flexes more and won’t hold tension as long under a heavy sitter.
- Read pack contents carefully. Some kits are clips only; others bundle screws, wire, and a basic tool. House2Home’s spring collection separates these categories clearly, which is worth using as a reference even if you buy elsewhere.
- Look for heat-treated or galvanized steel in product descriptions. Cheaper untreated metal fatigues faster under repeated flex.
When shopping online, look for close-up photos of the clip style and a stated wire gauge rather than relying on the product name alone. Weloveupholstery’s breakdown of common upholstery materials is a useful reference for translating gauge numbers and material terms into plain language before you buy.
Why Didn’t My Spring Repair Hold?
A repair that fails within days almost always traces back to one of a few causes, and each has a fast fix.
- Clip pulled out of soft or stripped wood. Move the new clip slightly to fresh grain, or back it with a small hardwood block so the screws have something solid to grip.
- Stay wire went loose again. Retighten with a locking knot instead of a simple wrap, and check that you used a stiff enough gauge for the span.
- A neighboring spring gave out next. This is common after one spring fails and takes extra load for weeks before you notice. Fixing tension across the whole row rather than just the one spot prevents the domino effect from repeating.
- Seat still sags evenly after the repair. The webbing underneath is likely the real problem, not the springs you just fixed.
Watch for red flags that mean the job is bigger than a clip or a coil. Cracked or splintering wood rails, webbing that tears when you press on it, or more than three or four springs failing at once usually point to frame damage or wholesale webbing failure. At that point, a full reweb makes more sense than patching springs one at a time, since coil systems depend entirely on a firm webbing base to hold any repair.
- Noisy seat after repair: check that all clips are fully seated and screws are tight, not just started.
- Uneven crown across the seat: retension stay wire evenly across all springs, not just the one that originally failed.
- Sag returns within a few weeks: inspect webbing next, since a spring fix on a weak foundation won’t last.
How We Test Spring Repair Kits and What Commonly Goes Wrong
Weloveupholstery evaluates repair kits the same way a working shop would judge them: does the clip fit the rail, does the screw hold under repeated pressure, and does the tension feel right once the job is done. That means a fit check against common sinuous spring widths, a manual pull test on the screw and clip connection, timing how long a straightforward reattachment actually takes, and sitting on the repaired area to feel whether tension matches the surrounding springs.
Across repeated small jobs, a localized clip swap on a single spring typically runs 20 to 40 minutes once the tools are laid out, while a full-row reinforcement with stay wire runs closer to two hours because each spring needs its own tie point checked and adjusted.
The most common mistake homeowners make is buying the cheapest clip pack without checking the metal. Untreated, thin clips bend the first time they’re stretched into place, and then the repair has to be redone with better hardware anyway. The second most common mistake is stapling a clip down instead of screwing it, which feels faster but fails within a season under regular use.
- Use screws, not staples, on any clip carrying real weight.
- Offset a new clip slightly if the original screw holes are stripped.
- Choose 8-gauge stay wire for lateral ties across a full row rather than lighter alternatives.
- Photograph the spring field before removing anything, so you have a reference if a tie pattern gets confusing halfway through.
For a deeper look at the tools this kind of work depends on, Weloveupholstery’s tools checklist for DIY beginners and the full offerings page cover related tutorials and materials guides in more depth.
What Most Spring Repair Advice Gets Wrong
Most guides treat spring repair as one job with one fix, and that’s the wrong frame. A popped sinuous clip and a coil system sitting on rotted webbing look similar from the top of the cushion, but they’re not remotely the same repair, and confusing them wastes money on kits that were never going to solve the actual problem.
The bigger blind spot is the assumption that more hardware equals a better fix. Homeowners often buy a heavier stay wire or a bigger kit than the job needs, when the real fix is usually smaller and more precise: one correctly placed clip, screwed into fresh wood, tensioned properly. Tension, not brute reinforcement, is what makes a spring repair last. A repair pulled too tight fights the cushion above it and fails faster than one left slightly loose.
If there’s one thing worth prioritizing over everything else in this guide, it’s the underside inspection before you buy anything. Skipping that step is how people end up with a drawer full of clips that were never the right ones.
A Faster Path to Getting Your Spring Repair Right the First Time
Buying a kit gets you the hardware. It doesn’t tell you which clip style fits your rail, how tight to pull the stay wire, or when the sag is actually a webbing problem in disguise. That’s the gap between the products compared above and actually finishing the job without a second trip to the hardware store.

Weloveupholstery’s DIY guides library walks through the same diagnosis and repair sequence covered here, but with photos at each step and specific part recommendations tied to what you’re actually looking at underneath your furniture. If your repair ends up needing more than a clip or stay wire, the tools checklist for beginners will get your kit sorted before you start. Start with the underside inspection guide, match your spring type to the right hardware, and follow the tutorial through to the tension test. That’s the difference between a repair that holds for years and one you’re redoing next season.
Frequently Asked Questions
Can furniture repair springs be fixed without replacing the whole seat?
Yes, in most cases. Reattaching a detached clip or reinforcing a row with stay wire restores height and support without touching the rest of the seat, as long as the frame and webbing underneath are sound.
How much does DIY spring repair for chairs and sofas typically cost?
A single clip fix runs $10 to $20 in parts, a full-seat clip kit runs $20 to $40, and a fuller spring replacement lands around $40 to $80, well under the cost of replacement furniture.
What tools do I need for repairing sofa springs?
Upholstery pliers, a spring stretcher or lever tool, replacement clips matched to your spring gauge, screws, stay wire or twine, and a staple gun for reattaching the dust cover afterward.
How do I know if it’s the springs and not the cushions causing the sag?
Pull the cushions and press directly on the spring field. If it feels firm but the cushion still bottoms out, suspect foam. If the spring field itself feels soft or you hear metal noise, the springs are the problem.
When should I call a professional instead of attempting DIY spring replacement?
Call a pro if you find rotted or torn webbing, cracked frame rails, or more than three or four springs failing at once. Those point to a rebuild, not a spot repair.
Sources
- Rapidrepair
- Upholstery Shop Spring Repair Guide — StitchDesk
- Coil springs and spring-tied seats — Upholstery Handbook (Vi Reupholstery)