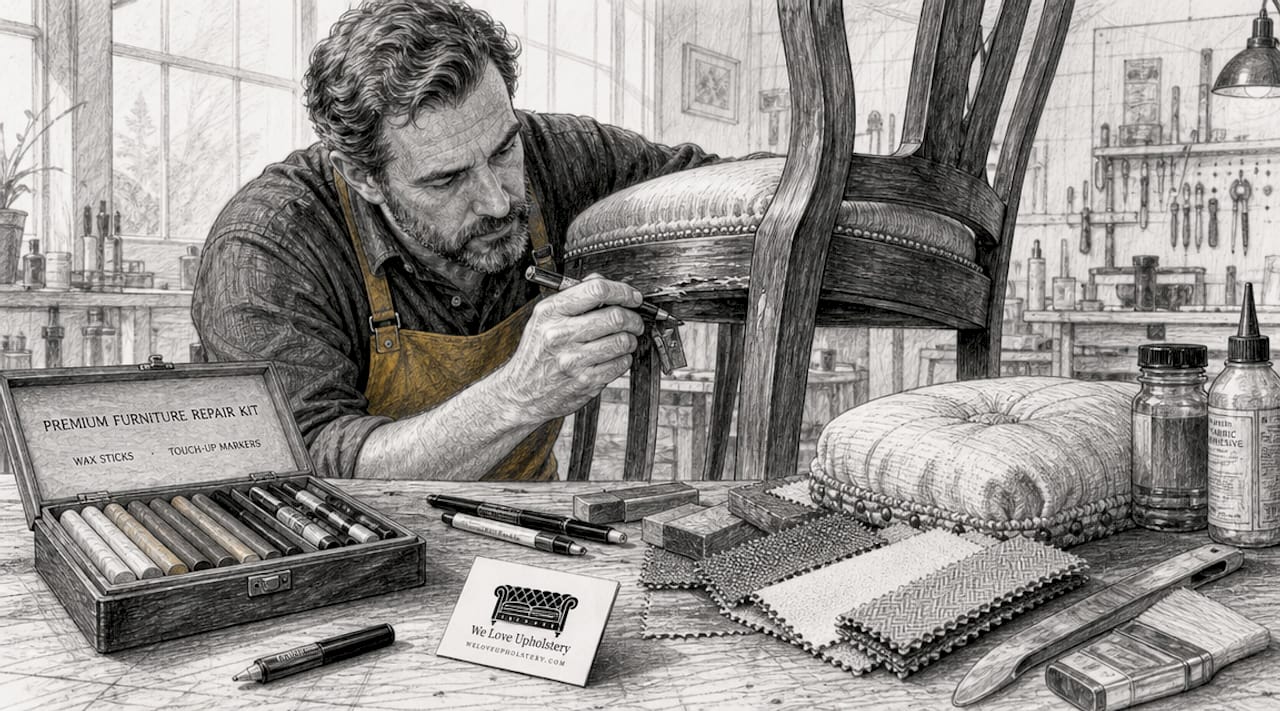
A furniture repair kit is a pre-packaged set of tools and materials designed to fix common damage like scratches, holes, tears, and burns on wood and upholstery surfaces. These kits make professional-looking repairs accessible to any homeowner without specialized training. Whether your dining table has a deep gouge or your leather sofa has a small tear, there is a repair kit category built for that exact problem. The right kit saves you hundreds of dollars compared to professional restoration or full furniture replacement.
What is a furniture repair kit and what does it fix?
A furniture repair kit is not a single product. It is a category differentiated by target furniture material and damage type, ranging from simple patch-and-glue sets to advanced systems with colorants and bonding compounds. The industry term professionals use is “furniture restoration kit” or “surface repair kit,” though “furniture repair kit” is the phrase most homeowners search for and most retailers use on packaging.
These kits address four main damage categories: scratches and scuffs, holes and gouges, tears and rips, and burns. Wood surfaces and upholstered surfaces each require a different approach, which is why the market splits into two distinct kit types. Buying the wrong type is the most common mistake DIYers make before they even open the box.
What types of furniture repair kits are there?
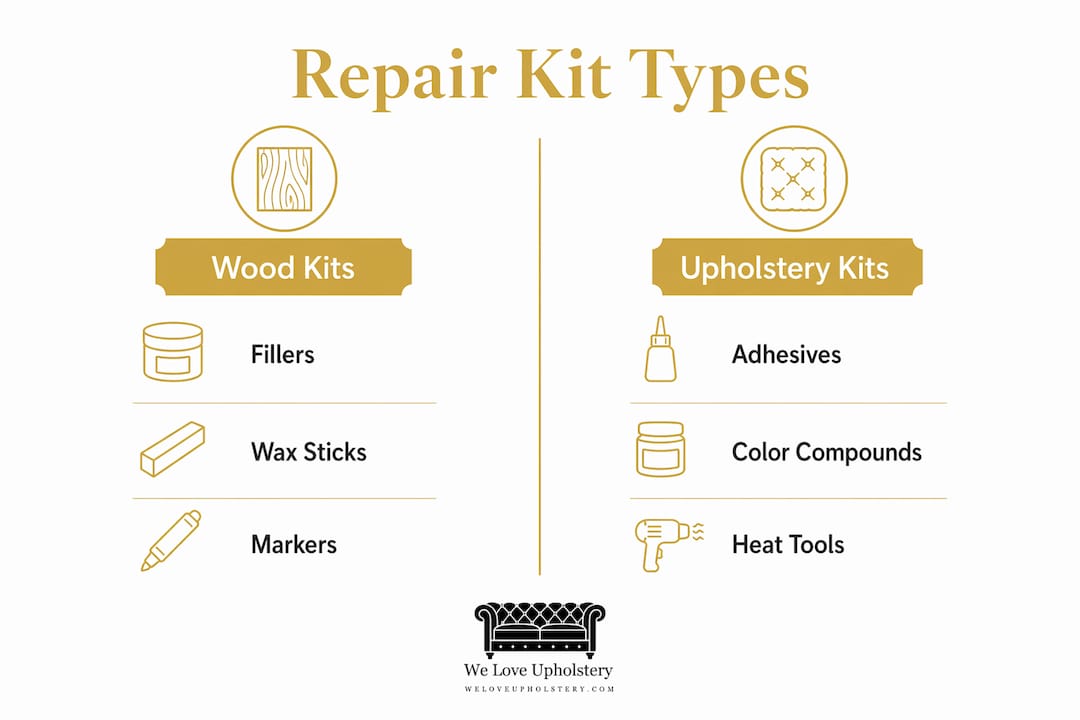
The two primary categories are wood repair kits and upholstery repair kits. Each targets a different material and a different set of damage problems.
Wood repair kits address scratches, gouges, cracks, and surface discoloration on finished or unfinished wood furniture. They rely on fillers, wax sticks, touch-up markers, and stains to restore the wood’s appearance. A quality wood kit handles everything from a shallow surface scratch on a coffee table to a deep gouge in a hardwood floor.
Upholstery repair kits fix tears, holes, burns, and color loss on fabric, leather, and vinyl. These kits use adhesives, patch materials, color compounds, and sometimes heat tools to bond and recolor damaged areas. A leather sofa repair kit, for example, works very differently from a fabric patch kit because leather requires recoloring balm and conditioning after the fill step.
Here is a direct comparison of the two main types:
| Feature | Wood repair kit | Upholstery repair kit |
|---|---|---|
| Target material | Wood, MDF, veneer | Fabric, leather, vinyl |
| Damage addressed | Scratches, gouges, cracks | Tears, holes, burns, color loss |
| Key tools | Wax sticks, fillers, markers | Adhesives, patches, colorants |
| Heat tool required | Rarely | Often (for vinyl/leather) |
| Skill level | Beginner to intermediate | Beginner to intermediate |
Within each category, kits also vary by damage severity. A minor scratch kit contains only wax sticks and touch-up markers. A deep-damage kit adds wood filler or epoxy putty, sandpaper, and finishing stain. Matching the kit to the actual damage severity is just as important as matching it to the material.
What’s in a furniture repair kit?
The contents depend on the kit type, but most quality kits share a core set of components.
Wood repair kit contents typically include:
- Wood filler or putty for filling deep holes and gouges
- Wax filler sticks in multiple shades for shallow scratches
- Touch-up markers for color blending on finished surfaces
- Fine-grit sandpaper (usually 220-grit) for smoothing cured filler
- A plastic spatula or putty knife for applying and leveling filler
- A color mixing guide or shade chart
Upholstery repair kit contents typically include:
- Fabric or leather adhesive for bonding torn edges
- Pre-cut patch material in neutral colors
- Color compounds or recoloring balm for leather and vinyl
- A grain pad or texture mat to replicate surface texture
- An electric heat tool for activating adhesive on vinyl repairs
- Cleaning wipes or prep solution for surface degreasing
Some upholstery kits include a professional electric heat tool and color compounds that enhance bonding and finish quality. This matters because heat-activated adhesives bond significantly stronger than air-dry adhesives on leather and vinyl surfaces.
Color matching supplies are the most underrated component in any kit. Kits with multiple shades and dedicated cleaning steps yield better adhesion and a more invisible blend. A kit that ships with only one or two color options will frustrate you on anything other than black or white furniture.
Pro Tip: Before buying any kit, photograph your furniture damage in natural light and compare it against the kit’s included shade chart. Color matching done before purchase saves you a second trip to the store.
How to use a furniture repair kit step by step
The repair process differs for wood and upholstery, but both share the same first principle: surface preparation determines the final result. Removing dust, oil, and dirt before applying any repair material is the single most critical step for adhesion and color accuracy.
Wood repair: step-by-step process
- Clean the surface. Wipe the damaged area with a dry cloth, then use a mild cleaner to remove any grease or wax buildup. Let it dry completely before proceeding.
- Select your filler. Use wood filler or putty for deep holes and wax sticks or touch-up markers for shallow scratches. Matching filler to damage depth prevents poor repair outcomes.
- Apply the filler. Press wood filler firmly into the gouge with a spatula, slightly overfilling the area. For wax sticks, rub the stick directly into the scratch using firm, circular pressure.
- Allow full curing time. Water-based fillers take 2 to 6 hours for shallow fills and up to 36 hours for deep cracks to fully cure. Do not rush this step.
- Sand flush. Once fully cured, sand the filled area with 220-grit sandpaper using light, even strokes in the direction of the wood grain.
- Blend color. Apply a touch-up marker or stain to match the surrounding wood tone. Feather the edges outward to avoid a visible patch line.
- Finish and protect. Apply a clear topcoat or furniture wax to seal the repair and match the surrounding sheen level.
Pro Tip: Sanding too early can ruin the repair entirely. Filler may feel dry on the surface but remain soft inside. Press the filled area gently with your fingernail before sanding. If it dents, wait longer.
Upholstery repair: step-by-step process
- Clean the damaged area. Use the prep wipe or cleaning solution included in the kit to degrease the surface. For leather, this step also removes conditioner residue that blocks adhesion.
- Trim loose threads or edges. Cut away any frayed fabric or cracked leather edges with small scissors to create a clean repair boundary.
- Apply the patch or adhesive. Slide a backing patch beneath the tear if the kit includes one, then apply adhesive to both surfaces. Press firmly and hold for the time specified in the kit instructions.
- Apply color compound. For leather and vinyl, apply the recoloring balm or color compound in thin layers, blending outward from the center of the repair. Multiple thin coats outperform one thick coat every time.
- Apply heat if required. If the kit includes a heat tool, apply it in slow, circular passes over the color compound to bond and cure the finish. Keep the tool moving to avoid scorching.
- Condition the surface. For leather, apply a leather conditioner after the repair cures to restore flexibility and prevent cracking around the repair site.
For burns specifically on fabric sofas, the sofa burn repair process involves additional steps like removing charred fibers before patching, which most general kits do not cover in their instructions.
What should you look for when choosing the best furniture repair kit?
Choosing the right kit comes down to five factors. Get these right and the repair practically does itself. Get them wrong and you will spend twice as much fixing the fix.
- Material match. A wood repair kit used on leather will not bond correctly. Confirm the kit is rated for your specific furniture material before purchasing.
- Damage severity match. Different fillers suit different damage depths. A wax stick kit is useless on a deep gouge. A full filler kit is overkill for a hairline scratch.
- Color range. Kits with five or more shades give you blending flexibility. Single-color kits work only if your furniture is a standard neutral tone.
- Included tools. A kit that includes sandpaper, spatulas, and applicators saves you a separate hardware store run and ensures tool compatibility with the materials.
- Drying and curing time. Fast-cure kits suit impatient DIYers but sometimes sacrifice bond strength. If the repair is on a high-use surface like a dining chair, prioritize cure quality over speed.
For upholstery repairs specifically, understanding your fabric type before buying matters. Vinyl and leather kits are not interchangeable with fabric kits, even though both fall under the upholstery category.
Key takeaways
A furniture repair kit works best when the kit type, filler material, and color options are matched precisely to the furniture surface and damage severity before any repair begins.
| Point | Details |
|---|---|
| Two main kit types | Wood kits use fillers and markers; upholstery kits use adhesives, patches, and colorants. |
| Surface prep is non-negotiable | Cleaning away dust, oil, and residue before applying any material determines adhesion quality. |
| Cure time before sanding | Water-based wood fillers need up to 36 hours for deep repairs before sanding is safe. |
| Color matching drives results | Kits with multiple shades and blending tools produce invisible repairs; single-color kits rarely match. |
| Match filler to damage depth | Wax sticks suit shallow scratches; wood filler or putty is required for deep gouges and holes. |
Why surface prep is the repair skill nobody talks about
I have worked through dozens of furniture repairs, and the pattern is always the same. The people who get frustrated with repair kits are not using the wrong product. They are skipping the prep. A wax stick applied over a greasy surface will not grip. A color compound applied over uncleaned leather will peel within weeks. The kit gets blamed, but the surface was the problem.
The second thing I see constantly is single-shade color matching. Most people grab the closest-looking wax stick and rub it in. The result looks fine in dim light and wrong in daylight. Blending multiple wax stick shades, starting with a darker tone and layering lighter ones over it, accounts for the undertones that make wood look natural. That one technique separates repairs that disappear from repairs that announce themselves.
My honest advice for anyone starting out: practice on a piece of scrap wood or a hidden section of upholstery first. The loose seam repair process is a good first project because the stakes are low and the technique transfers directly to more visible repairs. Build your confidence on something forgiving before you tackle the center cushion of your living room sofa.
— Dustin
Ready to repair your furniture with confidence?
Weloveupholstery provides hands-on repair guides written by practitioners who have made every mistake worth making so you do not have to. Whether you are patching a leather tear, filling a wood gouge, or tackling a full reupholstery project, the guides on this site walk you through each step with the specificity that generic tutorials skip.

Start with the upholstery seam repair guide for a practical first project, or browse the full repair services and resources to find the right support for your specific furniture problem. Weloveupholstery exists to make sure your next repair looks like it was never damaged in the first place.
FAQ
What is a furniture repair kit used for?
A furniture repair kit fixes common damage on wood and upholstery surfaces, including scratches, gouges, tears, holes, and burns. Kits range from simple patch-and-glue sets to advanced systems with colorants and bonding compounds.
Can one kit fix both wood and upholstery damage?
No. Wood repair kits use fillers, wax sticks, and markers designed for hard surfaces, while upholstery kits use adhesives, patches, and color compounds for fabric, leather, and vinyl. Using the wrong kit type produces poor adhesion and visible repairs.
How long does a furniture repair kit take to work?
Wood filler repairs take 2 to 6 hours for shallow fills and up to 36 hours for deep cracks before sanding. Upholstery adhesive repairs typically cure within 1 to 4 hours depending on the product and environment.
What is the most important step when using a repair kit?
Surface preparation is the most critical step. Removing dust, oil, and dirt before applying any repair material determines how well the filler or adhesive bonds and how accurately the color matches.
Are furniture repair kits worth it for serious damage?
Kits work well for moderate damage like scratches, small gouges, and minor tears. For extensive structural damage or large fabric tears, a professional repair or full reupholstery may deliver better long-term results than any DIY kit.