Most vinyl bar stool damage falls into one of two camps: a small tear or puncture you can patch permanently in an afternoon, or vinyl that’s cracked, brittle, and past saving with a repair kit. If the tear is under two inches and the foam underneath still feels springy, a sub-patch plus a heat-cured liquid vinyl kit fixes it for good. If the vinyl is hard, cracking in multiple spots, or the foam has collapsed, reupholstering is the only fix that lasts.
- Patch it: 1 to 3 hours, $15 to $60 in materials, done same day.
- Reupholster it: 2 to 4 hours plus drying time, $30 to $120 depending on vinyl and foam quality.
A proper repair kit with a sub-patch can produce a permanent fix, with a full cure typically taking about 24 hours.
Key Takeaways
Small vinyl tears with healthy foam underneath are almost always repairable with a sub-patch and a heat-cured liquid vinyl kit, while cracked or brittle vinyl over collapsed foam needs full reupholstery.
| Point | Details |
|---|---|
| Run the triage test first | Flex the vinyl, measure the tear, and press the foam before buying any materials. |
| Never skip the sub-patch | Filler applied directly onto foam sinks and cracks; the sub-patch is what makes a repair permanent. |
| Give it a full cure | Most liquid vinyl repairs need several hours to cure fully before you test or sit on the stool. |
| Replace foam during reupholstery | High-density foam glued and dried for 1 to 2 hours prevents the new vinyl from sagging early. |
| Use Weloveupholstery’s guides for materials | Weloveupholstery’s fabric guide and DIY archive offer measured templates and vinyl grade recommendations for finishing the job right. |
Table of Contents
- Vinyl Bar Stool Repair Triage: Patch or Replace?
- Vinyl Bar Stool Repair Supplies: What to Buy Before You Start
- How Do You Repair a Small Tear in Vinyl?
- How Do You Reupholster a Vinyl Bar Stool Seat?
- Why Most DIY Vinyl Repairs Fail (and How to Avoid It)
- Sources
Vinyl Bar Stool Repair Triage: Patch or Replace?
Before buying anything, spend two minutes testing the stool itself.
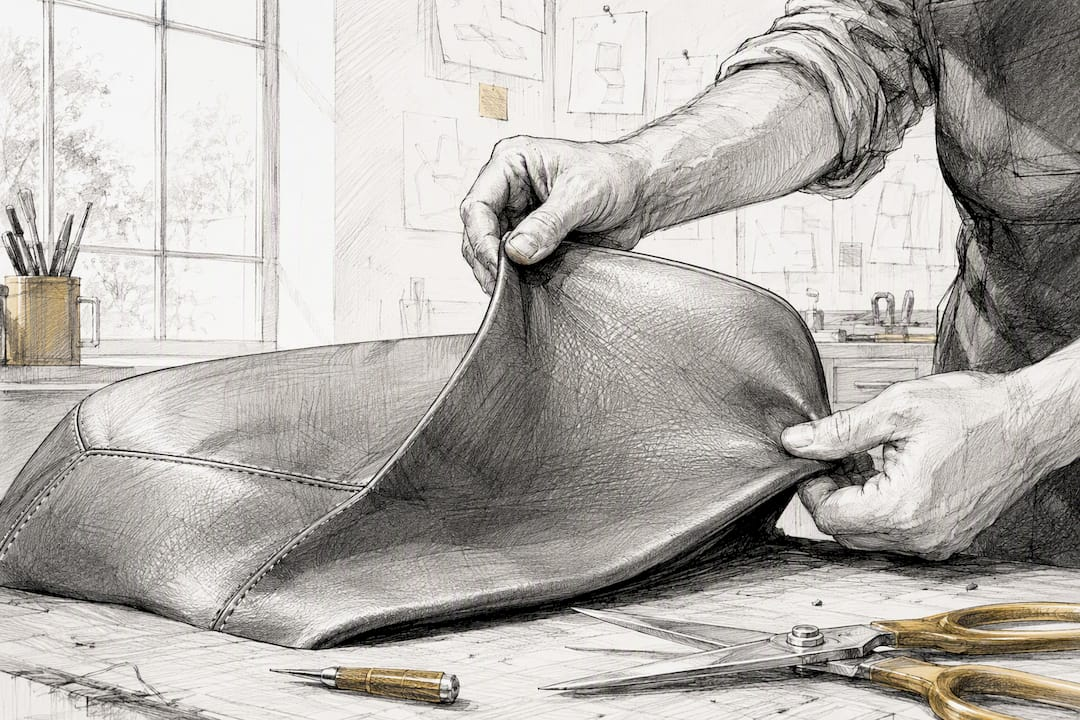
Press a fingertip into the vinyl near the damage and bend it gently. If it flexes without whitening or cracking, it’s still repairable. If it feels stiff or you see fine surface cracking spreading outward, the material has aged past the point where filler will hold.
Measure the tear. Anything under half an inch can sometimes get away with filler alone, but for anything longer, a sub-patch isn’t optional. It’s the difference between a repair that holds and one that splits open again in a month.
Then check the foam. Press down on the seat and listen and feel for what happens underneath.
- Crumbling foam, a musty or damp smell, or a seat that no longer springs back means the foam needs replacing, not just the vinyl on top.
- If the foam is intact but the vinyl grain has faded unevenly, a repair kit alone may leave a visible patch even after color matching.
Pro Tip: Do the bend test in a warm room. Cold vinyl feels stiffer than it actually is, and you might scrap a perfectly patchable stool by mistake.
Vinyl Bar Stool Repair Supplies: What to Buy Before You Start
Gather everything before you start cutting or gluing. Running out mid-repair usually means a visible seam where you had to stop and wait for shipping.
For a minor repair, look for a kit with:
- Heat-cure liquid vinyl (more durable than air-dry compounds for high-contact surfaces like bar stool seats)
- A range of color pigments for mixing an exact match
- Grain-texture paper to replicate the original surface pattern
- A palette knife or spreader
- A flexible fabric sub-patch, sold separately or included in kits
For a full reupholstery, add:
- A heavy-duty staple gun (a stapler rated for upholstery, not office use)
- High-density foam cut to size, or a foam sheet you trim yourself
- Batting for a smoother surface under the vinyl
- Upholstery-grade vinyl by the yard, enough to cover the seat with a few extra inches on each side
- Fabric scissors, a flathead screwdriver, and pliers for staple removal
Heat-cure kits cost a little more than air-dry versions but bond more securely under weight and friction, which matters on a seat that gets sat on daily. Weloveupholstery’s materials and supplies guide breaks down which vinyl weights hold up best for stools versus lighter-use furniture.
How Do You Repair a Small Tear in Vinyl?
This sequence works for punctures, slits, and small tears where the foam underneath is still healthy.
- Clean the area. Wipe down the tear and surrounding vinyl with 90% isopropyl alcohol and let it dry completely. Any oil or dust left behind will keep the filler from bonding.
- Insert the sub-patch. Cut a flexible fabric patch about half an inch to a full inch larger than the tear on every side, then work it underneath the torn edges with a palette knife. Glue it in place against the underside of the vinyl. Skipping this step is the single most common reason repairs fail, since filler applied straight onto foam eventually sinks and cracks.
- Mix and apply the filler. Blend pigments to match the surrounding vinyl, then build up thin layers of liquid vinyl over the patch, letting each layer skin over for a minute or two before adding the next.
- Transfer the grain. Press a matching grain paper into the final wet layer and apply heat to cure it, keeping the tool moving in small circles rather than holding it still in one spot.
- Cure and test. Let the repair sit undisturbed for the full cure window, typically 4 to 24 hours depending on the product, then press and flex the area before adding a matte topcoat if the sheen looks off.
Pro Tip: Do a test patch on a hidden section of the same stool first. Vinyl pigments often shift slightly once cured, and you’ll want to know that before committing to the visible repair.
How Do You Reupholster a Vinyl Bar Stool Seat?
Full reupholstery makes sense once the vinyl is too far gone or the foam has flattened out. Here’s the sequence that gets you a clean result on the first try.
- Remove the seat and strip the old cover. Unscrew the seat base from the frame, flip it over, and pull staples with a flathead screwdriver and pliers. Save the old vinyl piece; you’ll use it as your cutting template.
- Replace the foam. Cut new high-density foam to match the base, glue it down, and let the adhesive dry for 1 to 2 hours before moving on. Rushing this step is how new vinyl ends up sagging within weeks over foam that never fully set.
- Cut the new vinyl. Lay your old cover flat on the new material, trace it, and cut with two to three extra inches of allowance on every side for wrapping and stapling.
- Staple from the center out. Pull the vinyl taut over the seat and staple the center of each side first, then work outward toward the corners in small, even pulls. This keeps the surface smooth instead of pulling it off-center.
- Finish the corners. Fold each corner using the gift-wrap method: fold one flap flat, tuck the second over it at roughly 45 degrees, and staple through both layers before trimming the excess close to the staple line.
- Reattach and check. Screw the seat back onto the frame and sit on it. If it feels soft in the center or the vinyl shifts under weight, add a staple or two before calling it done.
Pro Tip: Number your staples’ spacing roughly every inch along the edge. Wider gaps look fine right after install but create loose puckers within a few weeks of regular use.
Getting the Finish Right Without Ruining It
Color matching goes better in daylight than under kitchen bulbs, which distort how pigments look once dry. Mix your filler, test it on a hidden scrap of the same vinyl, and expect the cured color to sit slightly darker than it looked wet.
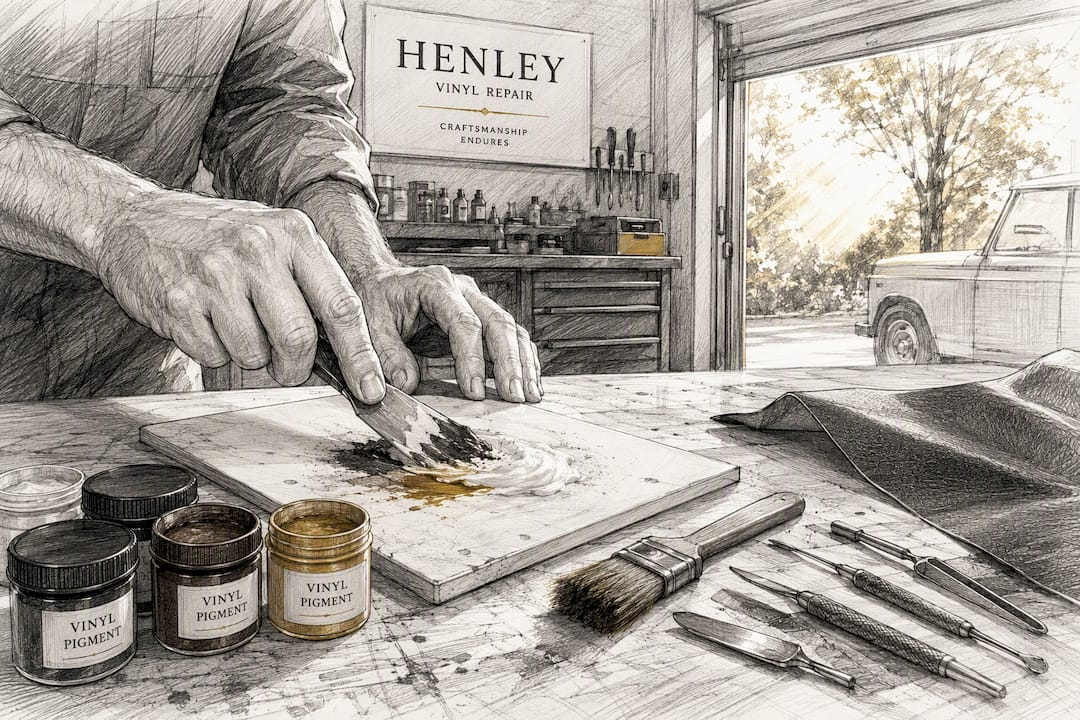
Heat is the part that trips up most first timers. Overheating melts the surrounding factory grain instead of just curing your patch, so keep the tool moving constantly and use a thin protective cloth between the heat source and the vinyl. Thirty to ninety seconds of controlled motion is usually enough.
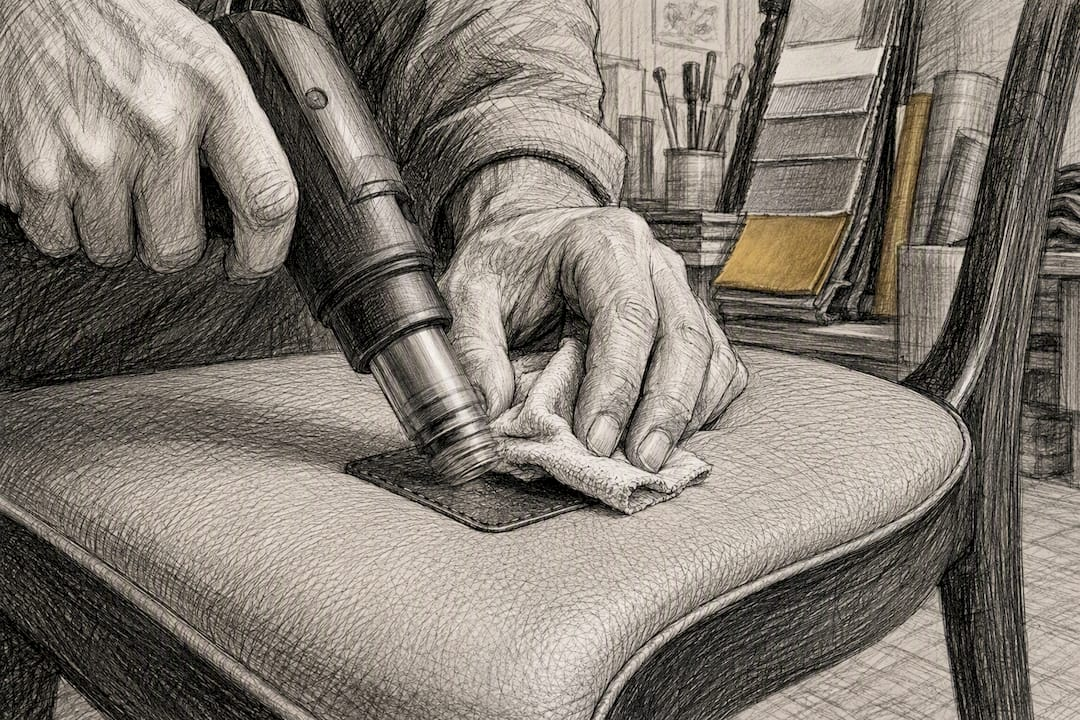
Once cured, clean repaired vinyl with a mild, pH-neutral cleaner rather than anything with ammonia or bleach, and apply a UV protectant every few months if the stool sits near a window. If cracking returns across a wide area rather than at the repair site, that’s a sign the whole seat needs reupholstering rather than another patch.
What Weloveupholstery’s Practitioners Get Right
Dustin, who writes the hands-on repair guides at Weloveupholstery, sizes every sub-patch by eye against the tear itself rather than using a fixed measurement, because stool vinyl stretches differently depending on age and manufacturer. The gift-wrap corner fold shows up in nearly every reupholstery guide on the site because it’s the one technique that consistently looks professional on a first attempt.
- Readers finishing their first stool repair often say the sub-patch step is the one they almost skipped, and the one that made the difference.
- For deeper dives into tool selection, Weloveupholstery’s upholstery tools checklist and foam density guide cover the gaps this article doesn’t have room for.
Why Most DIY Vinyl Repairs Fail (and How to Avoid It)
The advice that circulates most online treats vinyl repair as a coloring problem: find the right pigment, dab on some filler, done. That’s backward. The pigment match is the last five percent of the job. The sub-patch and the foam underneath are the other ninety five, and that’s where nearly every failed repair I’ve seen actually went wrong.
What gets underestimated is how much load a bar stool seat takes compared to almost any other piece of upholstered furniture. People sit down hard, shift their weight, lean back on two legs. A repair that would hold fine on a sofa cushion can split open on a stool in weeks if there’s no sub-patch anchoring it.
If you take one thing from this guide, prioritize the flex test and the foam check before you buy a single product. A five-dollar repair kit wasted on brittle vinyl that needed reupholstering costs you more time than just doing the bigger job right the first time.
— Dustin
Where to Find Full Templates and Supply Lists
Once you know whether you’re patching or reupholstering, the harder part is often just picking the right materials. Weloveupholstery’s guides go past the general steps here with measured templates, foam density charts, and photo walkthroughs for each stage of the job.

The upholstery fabric guide breaks down vinyl weights and finishes by use case, so you’re not guessing which grade holds up on a stool that gets sat on daily. If you’re reupholstering rather than patching, the DIY guides archive has full walkthroughs with downloadable checklists for foam sizing, staple spacing, and corner folds. These resources are built to expand on exactly what’s covered here, with printable templates instead of just written steps. Start by reading the fabric guide before you order vinyl, so you buy the right weight the first time.
Sources
- 5 Tips for Reupholstering a Bar Stool With Vinyl
- How to reupholster bar stools step-by-step (Aosom blog)
- Vinyl repair kit (BodyBest product page)