If your dinette cushions sit on a plywood-backed bench, re-covering them with the no-sew staple method is usually your fastest and cheapest path. If they have zippers, multiple sewn panels, or rounded corners, order custom-fit covers or hire a shop. RV dinette reupholstery boils down to one question before anything else: what’s holding the foam together?
Three things decide your route:
- Construction — plywood base and simple shape vs. box cushion with piping and a zipper
- Finish you want — a permanent wrap versus a removable, washable cover
- Time and skill — an afternoon with a staple gun versus a sewing project or a vendor order
DIY materials for a basic bench cushion run cheap. Custom covers and professional shop work cost more, but typical turnaround for custom-made covers is about one to two weeks once the fabric arrives.
Key Takeaways
Matching your reupholstery method to your cushion’s actual construction, not your budget alone, is what determines whether the project succeeds and the dinette still folds into a bed.
| Point | Details |
|---|---|
| Match method to construction | Plywood-backed cushions suit no-sew staple work; box cushions with zippers need sewing or custom covers. |
| Record thickness first | Write down finished cushion height before removing foam so bed conversions still close properly. |
| Budget realistically | DIY materials for a four-cushion set often run under $150; full shop jobs can reach several hundred dollars or more. |
| Choose fabric for exposure | Marine vinyl wipes clean but cracks at tight folds; solution-dyed acrylics hold up better in direct sun. |
| Use trusted guides | Weloveupholstery’s Upholstery Fabric Guide and DIY Guides archive walk through fabric selection and step-by-step installation. |
Table of Contents
- Which Route Fits Your Dinette Cushions?
- Which Fabrics Work Best for RV Dinette Cushions?
- How Do You Identify Your Cushion’s Construction?
- How Do You Reupholster a Dinette With the No-Sew Method?
- When Should You Sew a Box Cover Instead?
- How Do You Measure and Order Custom Covers?
- What Does RV Dinette Reupholstery Cost?
- What Tools and Supplies Do You Actually Need?
- What Do Experienced Reupholsterers Wish DIYers Knew First?
- Is DIY Reupholstery Really the Better Choice?
- Where to Find Reliable Fabric and Project Guidance
- Sources
Which Route Fits Your Dinette Cushions?
Work through this before buying anything:
- Check the base. Flip the cushion. Plywood or lauan backing with no zipper means no-sew is on the table.
- Check the shape. Straight edges and square corners favor DIY. Curves, welt cord, or a zipper panel push you toward custom covers or a shop.
- Check your bandwidth. No-sew takes an afternoon. Custom covers take a week or two after you order. A sewn cover from scratch takes real machine time and patience with corners.
For tools and materials, start with a materials and supplies checklist before you cut anything. Measure current cushion thickness first and write it down.
Pro Tip: If your dinette folds down into a bed, measure the closed cushion stack height before you remove anything. Add a thicker foam or extra batting layer and the table often won’t fold flat again.
Which Fabrics Work Best for RV Dinette Cushions?
Marine-grade vinyl remains the default for a reason: it wipes clean in seconds and shrugs off spilled coffee and muddy boots, as explained in Delicate upholstery fabrics: how to identify and protect them. Its weak point shows up on cushions that fold or crease tightly, since vinyl can crack at fold lines in cold temperatures. Save it for flat panels, not tight-radius corners.
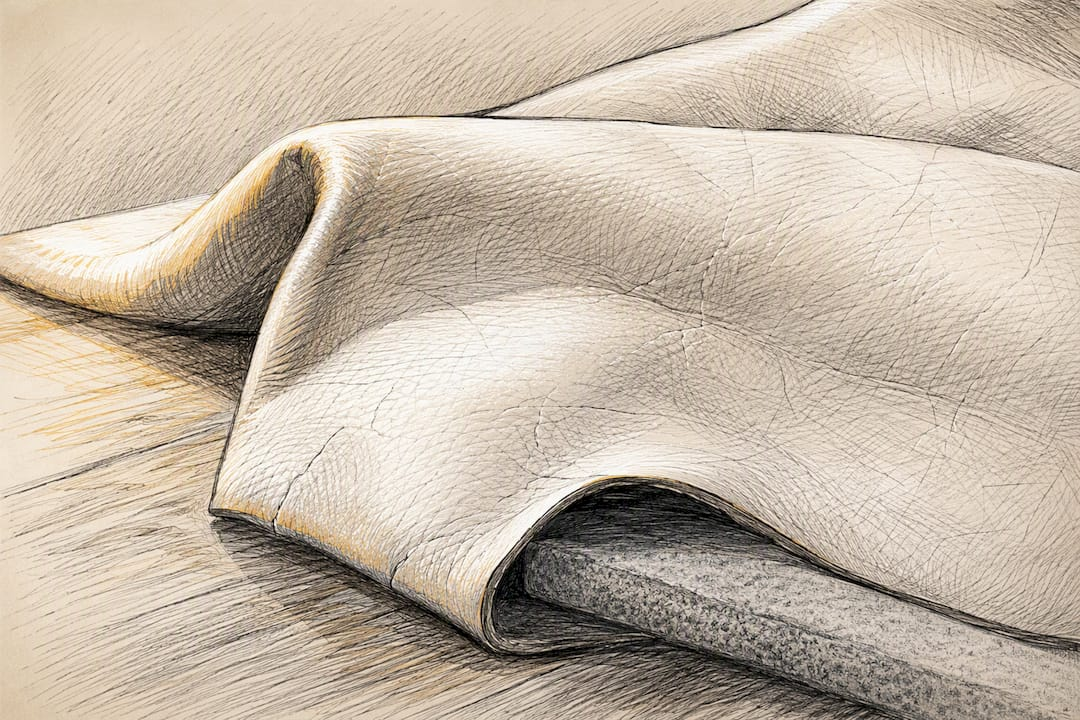
Solution-dyed acrylics, the Sunbrella family being the best known, resist UV fading and hold color through years of window-side sun exposure. They’re washable, breathable in summer heat, and among the most-used fabric categories for high-exposure RV seating alongside marine vinyl.
Outdoor performance fabrics split the difference: less money than acrylics, tougher than plain canvas, and a sensible pick for a family hauling kids and a dog through the dinette every trip.
Canvas, duck cloth, and decorator fabrics work fine for a no-sew wrap but wear faster and don’t wipe clean the way vinyl does.
- Marine vinyl: best for spills, weakest at tight folds
- Solution-dyed acrylic: best for sun exposure and washability
- Performance fabric: budget-friendly, pet and kid tolerant
- Canvas/duck: easiest to staple, shortest lifespan
Ask for a swatch before ordering yardage, and confirm the fabric meets FMVSS 302 flammability standards for vehicle interiors. A full fabric comparison guide walks through weight and hand-feel differences that photos can’t show.
How Do You Identify Your Cushion’s Construction?
Get this wrong and you’ll buy the wrong materials or attempt a sew job you didn’t need. Run through this checklist before deciding anything:
- Plywood-backed bench cushion: flat, rigid base, no zipper, straight edges. Built for no-sew stapling.
- Box cushion: a zipper track running around the perimeter, often with welt cord piping at the seams. These need a sewn cover or a custom order.
- Curved or multi-section cushions: rounded front corners, angled backs, or cushions split into two or three shaped pieces to fit a dinette nook. These almost always favor custom-made covers or a professional shop.
If you find plywood and no zipper, congratulations, you’re doing the easy job. If you find piping, a zipper, or a shape that isn’t a simple rectangle, skip ahead to the custom covers section.
How Do You Reupholster a Dinette With the No-Sew Method?
This is the method most DIY-minded owners actually want, and it works well specifically on plywood-backed bench cushions.
- Measure and buy fabric. Plan on roughly 2 to 3 yards of upholstery-weight fabric per standard bench cushion, plus extra for pattern matching.
- Inspect the plywood base. Replace it with new lauan if it’s warped, cracked, or water-stained.
- Assess the foam. If it’s compressed or crumbling, cut new foam to match the original thickness exactly, not thicker. An electric carving knife makes cleaner, faster cuts than scissors or a bread knife when shaping tapered edges.
- Add a batting layer over the foam to smooth out staple lines and soften sharp foam edges before the fabric goes on.
- Wrap, pull taut, and staple starting at the center of each side, working outward, folding corners like wrapping a gift box.
- Trim excess fabric close to the staple line and tuck any raw edges underneath.
The tradeoff: this method gives you a permanent wrap, not a removable cover. Cleaning means spot-treating in place, so vinyl or a stain-resistant performance fabric matters more here than on a sewn cover you can unzip and wash.
When Should You Sew a Box Cover Instead?
Box cushions need a real pattern: a top panel, a bottom panel, and a boxing strip that wraps the sides, usually closed with a zipper or hidden Velcro. Piping at the seams adds a cleaner finish but adds real difficulty, especially where it turns a rounded corner.
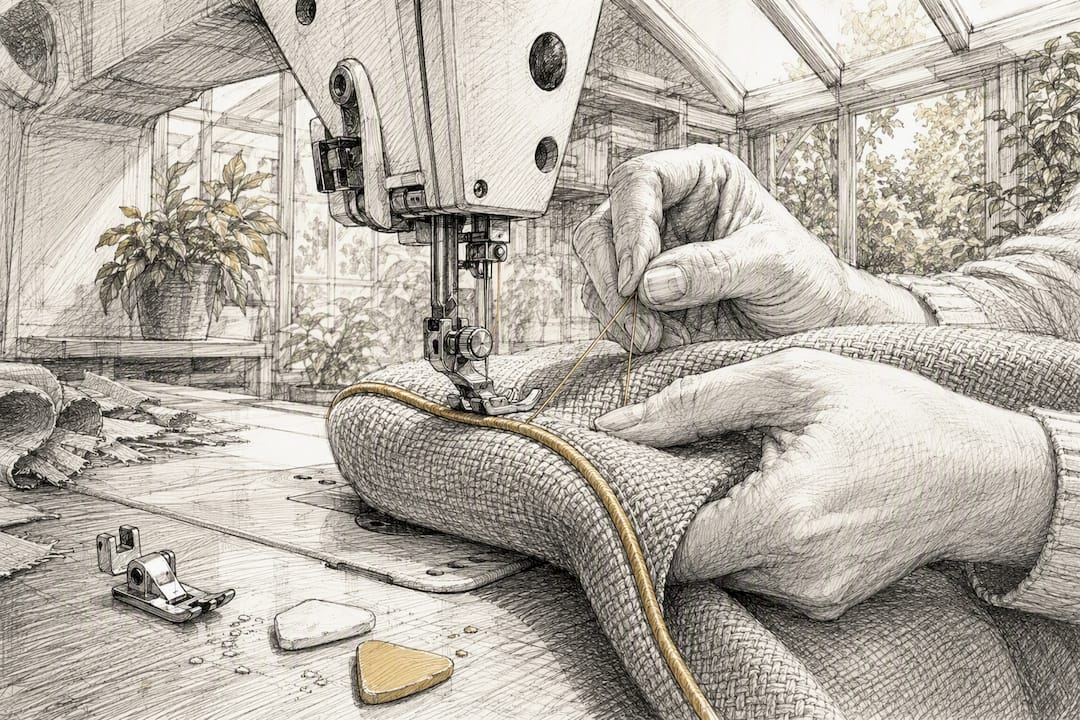
Budget more time than you think. A first-time sewer working on a curved box cushion with piping can easily burn a full weekend on one cushion. If your fabric is vinyl or a coated performance material, use a UV-stable polyester thread and a marine-grade zipper, since standard zippers corrode and standard thread breaks down under sun exposure.
Sew it yourself if you own a machine rated for heavier fabric and you want the satisfaction of doing the whole job. Order custom covers instead if you want the same removable, washable result without the sewing.
How Do You Measure and Order Custom Covers?
Custom covers give you sewn-quality results without touching a sewing machine, and it’s the approach most owners choose for box cushions or oddly shaped dinette pieces.
- Measure length, width, and thickness at the seams, not at the widest bulge of the foam.
- Record the finished thickness before you touch anything. This single number determines whether your dinette will still fold into a bed afterward.
- Specify your closure (zipper or hidden Velcro), whether you want welt piping, and whether you need new foam cut to match your old density.
- Request a fabric swatch before committing to yardage, especially with patterned or textured material.
Expect roughly one to two weeks turnaround once your vendor has fabric in hand. Ask directly whether they template to your old cushion or work strictly from your measurements, since a template-based order removes most of the guesswork.
What Does RV Dinette Reupholstery Cost?
DIY materials for a full four-cushion dinette set (fabric, lauan, batting, staples) typically land under $150 total. Custom-ordered covers cost more per cushion but still undercut a full shop job. Professional reupholstery for a complete dinette can run several hundred to over a thousand dollars depending on fabric grade and how many panels need sewing.
Foam is where costs quietly climb. Shops specify foam by density in pounds per cubic foot rather than just thickness, and higher-density foam that holds its shape under daily use costs more than the soft stuff.
- DIY: cheapest, one weekend, permanent finish
- Custom covers: mid-range cost, one to three weeks, removable finish
- Professional shop: highest cost, one to four-plus weeks, best fit and finish
A hybrid move, ordering custom covers and installing them yourself, often lands you shop-quality results at a fraction of shop labor cost.
What Tools and Supplies Do You Actually Need?
For no-sew work: a heavy-duty staple gun loaded with 3/8 or 1/2 inch staples, an electric carving knife for foam, sharp fabric scissors, and Dacron batting. An upholstery tools checklist for beginners covers exact specs if you’re buying for the first time.
For sewn covers, add a heavy-duty sewing machine, UV-stable thread, and a zipper foot attachment.
Buy marine vinyl and Sunbrella-style acrylics from a specialty marine fabric vendor for accurate weight and UV ratings. Big-box fabric stores work fine for budget canvas projects where sun exposure isn’t a concern. Plan on 2 to 3 yards of fabric per bench cushion and a full sheet of lauan per set.
What Do Experienced Reupholsterers Wish DIYers Knew First?
Measure the finished thickness of your old cushion before you remove a single staple, then build back to that exact number. Test-fit the cushion in the dinette, including closing it into bed position if applicable, before you do your final round of stapling or zip the cover shut.
The most common mistake isn’t a bad staple job. It’s guessing at foam thickness and finding out three days later that the table won’t fold down anymore.
Common fixes: if the fit is too tight after recovering, you likely added batting without trimming foam to compensate. If the fabric puckers at corners, you pulled too hard on one side before securing the opposite side. Keep your old cushion’s cardboard template if you cut one. It saves you from remeasuring next time. Related tutorials live in the reupholstery archives if you want more project walkthroughs before you start.
Is DIY Reupholstery Really the Better Choice?
Most guides treat this as a binary: DIY to save money, or hire a pro for quality. That framing misses the actual decision point, which is construction, not budget. A plywood bench cushion is genuinely a poor candidate for a $400 shop bill. A curved box cushion with piping is a genuinely poor candidate for a first-time no-sew attempt, no matter how much money it saves.
The advice that gets underweighted everywhere is the thickness rule. Owners fixate on fabric color and foam firmness while the dimension that actually breaks a dinette conversion, finished cushion height, gets eyeballed instead of measured. That’s not a minor detail buried in the fine print. It’s the difference between a cushion that looks great and a table that never folds into a bed again.
My take: skip the binary. Match the method to the cushion in front of you, write down your thickness number before you touch a staple gun, and treat the custom-cover route as a legitimate middle path rather than a consolation prize for people who can’t sew.
— Dustin
Where to Find Reliable Fabric and Project Guidance
Picking fabric by scrolling through marketplace photos is how most DIY dinette projects go wrong. Weight, UV rating, and cleanability rarely show up in a product thumbnail, and that’s exactly the gap Weloveupholstery’s Upholstery Fabric Guide closes, with side-by-side comparisons of marine vinyl, solution-dyed acrylics, and performance fabrics so you order the right material once instead of twice.
If you’re tackling the no-sew method or a sewn box cover for the first time, the DIY Guides archive breaks each project into the same sequence used in this piece: measure, assess foam, cut, wrap, fasten. No filler, no guessing at steps. Start with the fabric guide to choose your material, then pull the matching DIY guide for your cushion type before you buy a single yard.
Sources
- Best Fabric for RV Upholstery — What the Pros Recommend
- DIY RV Cushion Reupholstering: Save Hundreds or Order Custom | USCushion
- Dinette Upholstery Replacement — OCRV Center