Most common pet damage couch repairs are more fixable than owners assume. Cat scratches, dog chewing, and pet stains almost always respond to targeted repair rather than full replacement, as long as the frame is sound and the damage hasn’t soaked into the foam. We Love Upholstery has walked thousands of readers through exactly these fixes, and The Spruce backs the same rule on odor: surface accidents clean up, but penetrating contamination usually means replacing the foam.
Before you touch a cleaning product or a needle, triage the damage:
- Stop using that cushion or section until you’ve assessed it.
- Blot fresh liquid immediately. Never rub it in.
- Photograph the damage from multiple angles for reference and, if needed, for a repair quote.
- Check the underside and unzip cushions to look for hidden frame or spring damage.
Pro Tip: Fresh urine has a narrow window. Blot within minutes and you dramatically cut the odds you’ll need to replace foam later.
Key Takeaways
Most pet damage to a couch is repairable when the frame is sound and contamination hasn’t reached the foam, but odor, structural cracks, and extensive tearing usually call for foam replacement or a professional.
| Point | Details |
|---|---|
| Triage fast | Blot liquids immediately, photograph damage, and check the frame before deciding on a repair plan. |
| Match method to damage | Use a felting needle for scratches, enzyme cleaner for fresh stains, and epoxy only for minor wood damage. |
| Frame decides repair vs. replace | A solid hardwood frame with tight joints justifies repair; particleboard or staple-only frames usually don’t. |
| Odor signals foam contamination | If smell persists after cleaning, replace the foam rather than repeating cleaning cycles. |
| Prevention protects the fix | Performance fabric, zippered casings, and regular nail trimming extend the life of any repair. |
Table of Contents
- Common Types of Pet Damage Couch Repairs Address
- Repair Methods by Damage Type: What to Do and When to Call a Pro
- Tools and Materials for DIY Pet Damage Repairs
- Repair, Recover, or Replace: How to Decide
- Preventing Pet Damage on Furniture After the Repair
- What Common Pet Damage Couch Repairs Actually Cost
- Practitioner Tips to Avoid Common DIY Mistakes
- How to Spot Hidden Structural Damage Before It Gets Worse
- Cleaning and Deodorizing After the Repair Is Done
- When It’s Time to Hire a Professional Upholsterer
- An Editorial Take on Repairing Pet Damage the Right Way
- Frequently Asked Questions
- Sources
Common Types of Pet Damage Couch Repairs Address
Not all pet damage behaves the same way, and knowing which type you’re dealing with determines whether you reach for a felting needle or start pricing new foam.
- Cat scratches. These usually start as surface snags on arms, corners, and front rails, then progress to small holes if left alone. The fibers are often just pulled loose, not severed, which is good news for repair.
- Dog chewing. This is the one most likely to hit the frame, not just the fabric. Do the lift-leg test: pick up one corner and listen for creaks or looseness. Peek under the dust cover for visible tooth marks on wood rails or legs.
- Urine and vomit stains. A fresh surface spill is a different animal than a stain that’s had time to soak through the fabric and into the cushion foam. Smell is your best diagnostic tool here.
- Hair, oils, and pilling. Slower damage from repeated contact. Oils from skin and fur break down fabric finish over months, leaving a matted or shiny wear pattern on cushion tops and armrests.
Act immediately if you’re dealing with fresh urine, a dog actively mid-chew on a new spot, or any sign of pests nesting in torn cushion foam. Everything else can wait a day for a proper plan.
Repair Methods by Damage Type: What to Do and When to Call a Pro
Each type of damage has its own repair logic, and mixing them up is how DIYers make small problems bigger.
- Cat scratches. Use a fine felting needle, ideally 38-gauge, to tuck loose fibers back into the weave instead of cutting them. Cutting weakens the weave and often turns a snag into a hole within weeks. For holes that have already formed, clean the edges, trim only the frayed threads that won’t tuck back in, and patch with matching fabric glued or sewn beneath the opening.
- Tears and holes. Clean the area, trim loose threads, then glue or sew a backing patch cut slightly larger than the tear. Press it flat and blend the texture by lightly brushing the nap. If the tear spans a full panel or the fabric around it is too brittle to hold stitches, replace the panel instead of patching around it.
- Leather damage. Clean with a leather-safe cleaner, apply a color-matched leather filler with a palette knife, then feather the edges with fine sandpaper before adding color touch-up. Skip household oils. They soften finish and attract more grime. Deep gouges or large color mismatches call for a leather specialist who can re-dye a full panel.
- Urine and odor. Blot immediately, then treat with an enzyme cleaner made for pet accidents. If odor lingers after the fabric dries, the foam has likely absorbed the contamination, and cleaning alone won’t fix it. Replace the foam and casing rather than repeating cleaning cycles.
- Chewed wood or frame damage. Minor gouges or a cracked rail can often be stabilized with wood epoxy and reinforced with shims. If a corner block has snapped or a rail is split through, that’s a job for a professional rebuild, not a home fix.
Pro Tip: Never scrub a urine stain aggressively. Aggressive scrubbing drives proteins deeper into the foam, which is the opposite of what you want.
- Cat scratches: felting needle, patch as needed
- Chewing: epoxy for minor wood damage, professional rebuild for structural breaks
- Odor: enzyme treatment first, foam replacement if smell persists
Tools and Materials for DIY Pet Damage Repairs
Buying the right supplies before you start saves you a second trip and a ruined afternoon.
- Upholstery needles and heavy-duty thread for hand-sewing patches and seams.
- A 38-gauge felting needle for tucking cat-scratch fibers without cutting them.
- Fabric glue for quick patches on woven upholstery, explained in more detail here.
- Leather repair kit with filler, palette knife, and fine sandpaper for smoothing and blending.
- Replacement foam in the correct density and zippered cushion casings so future swaps don’t require a full teardown.
- Performance fabrics like Crypton, Revolution, or Sunbrella if you’re recovering a panel, since abrasion resistance and liquid repellency matter more in pet homes than a decorative print.
Foam and performance fabric are where your money does the most work. Spend there before splurging on trim or decorative details. Spot-test any cleaner or deterrent spray on a hidden patch first, and wear gloves when working with glue or filler. A full tools rundown is on the upholstery tools checklist for beginners.
Repair, Recover, or Replace: How to Decide
The frame is the real question mark. Flip the couch, check for kiln-dried hardwood and tight joinery, and do the lift-leg test: pick up one corner and see if the opposite leg lifts cleanly off the floor. A solid frame that lifts as one unit is worth saving. A frame built from particleboard or held together mostly with staples usually isn’t worth rebuilding.
- Surface stains that respond to enzyme cleaner: repair.
- Odor or discoloration that persists after cleaning: replace the foam, not the whole couch.
- A solid hardwood frame with cosmetic fabric damage: full reupholstery often makes sense, and it’s typically 40 to 60 percent of the cost of buying a new high-quality sofa.
- Mold, an active pest infestation, or a shattered frame: get a professional assessment before spending another dollar on it.
If you’re on the fence, the math is usually simpler than it feels. Compare quotes against what actually determines repair value before deciding either way.
Preventing Pet Damage on Furniture After the Repair
A repaired couch is only as good as what you do next to protect it.
- Cover repaired panels with a washable slipcover or invest in performance fabric for the recover, since it holds up to abrasion and spills far better than standard weaves.
- Trim your pet’s nails on a regular schedule and place a scratching post or dedicated pet bed near the couch as an alternative surface.
- Vacuum weekly to prevent hair and oil buildup, spot-clean spills the moment they happen, and schedule a professional deep clean once or twice a year.
Pro Tip: Regular grooming reduces shedding and matting that ends up ground into your cushions. This pet grooming guide has practical tips between professional grooming visits.
Avoid bleach and heavy scrubbing on any stain. Both can set damage deeper into the fabric or foam instead of lifting it out.
What Common Pet Damage Couch Repairs Actually Cost
Pricing depends heavily on whether you DIY or hire it out, and on how deep the damage actually goes.
- A targeted scratch or small patch repair takes most DIYers an afternoon; a professional version typically runs in the low hundreds of dollars.
- Single cushion foam and casing replacement usually has a short lead time, often just a few days if the foam is in stock.
- Partial panel recovery costs less and moves faster than full reupholstery, which can stretch into weeks depending on fabric backorder and shop schedule, but remains far cheaper than new furniture of comparable quality.
- Cleaning and odor treatment is cheap when it works. The moment odor returns after a cleaning, you’ve hit the point where foam replacement is the better financial call than paying for another cleaning visit.
Practitioner Tips to Avoid Common DIY Mistakes
Some of the most common repair mistakes come from good instincts applied the wrong way.
- Don’t cut loose threads on a cat scratch. Use a felting needle to tuck them back into the weave instead.
- Don’t scrub urine stains hard. It pushes proteins deeper into the foam and makes the odor worse, not better.
- Add zippered cushion casings during any repair. They let you swap foam later without redoing the whole panel.
Zipped cushion casings are one of the highest-leverage fixes in upholstery repair: they let you replace foam again down the road without tearing into the whole sofa.
For step-by-step instructions on armrests, seams, and foam swaps, see the armrest repair guide and loose seam repair tutorial.
How to Spot Hidden Structural Damage Before It Gets Worse

Surface damage is obvious. Frame damage often isn’t, and it’s the kind that turns a $150 repair into a $600 one if you miss it.
Start underneath. Flip the couch over and remove the dust cover if there is one. Look for splintered wood, loose corner blocks, or chew marks on the rails themselves rather than just the fabric covering them. Press on each spring individually if you can access them through a zippered deck. A spring that feels dead or makes a grinding sound against its neighbors usually means it’s broken or has slipped its clip.
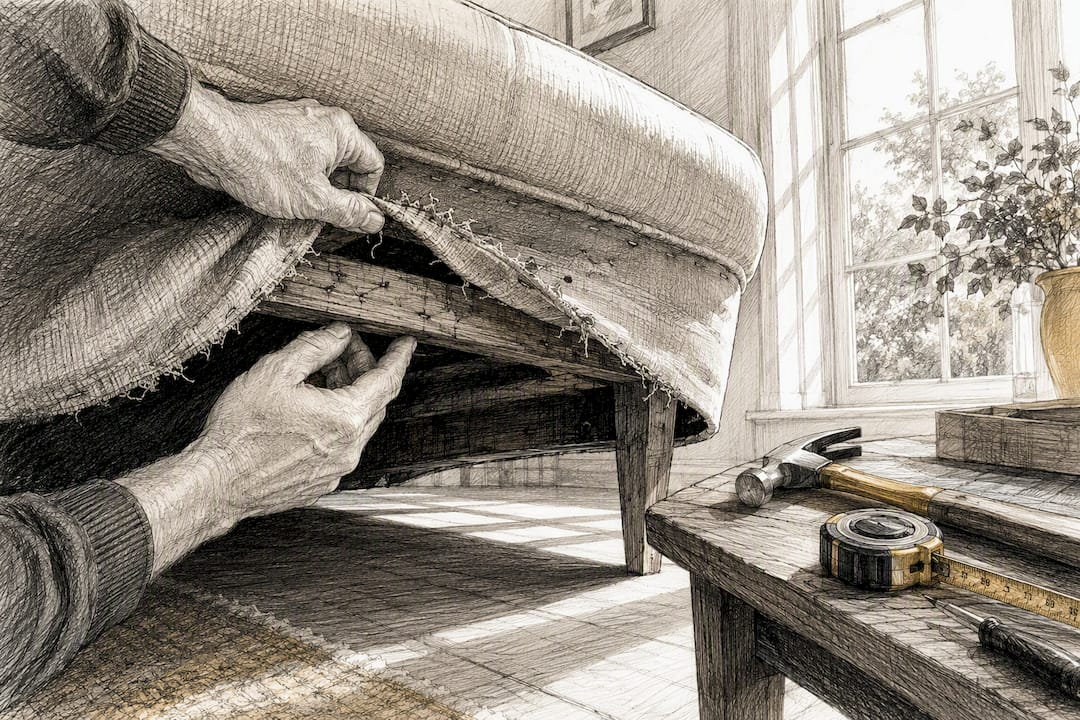
Next, do the lift-leg test on all four corners, not just one. A frame in good shape lifts as a single rigid unit. If you feel flex, hear creaking, or see one corner twist independently, you’re likely looking at a cracked rail or a failed corner block, not just a loose leg.
Check cushion cores too. Unzip each casing and press through the foam toward the base. Chewed foam sometimes hides under an intact fabric layer, especially on cushions dogs like to burrow into. A crumbling or oddly textured core, even without visible tears, usually means the foam has broken down structurally, not just cosmetically. If you find spring or frame issues you’re not confident fixing, the furniture repair springs guide walks through which fixes are realistic for a home workshop and which aren’t.
Cleaning and Deodorizing After the Repair Is Done
A repair that still smells like the problem it fixed isn’t really finished. Once patches, foam, or casings are in place, the last step is restoring the couch’s comfort, which means getting the smell and feel back to normal.
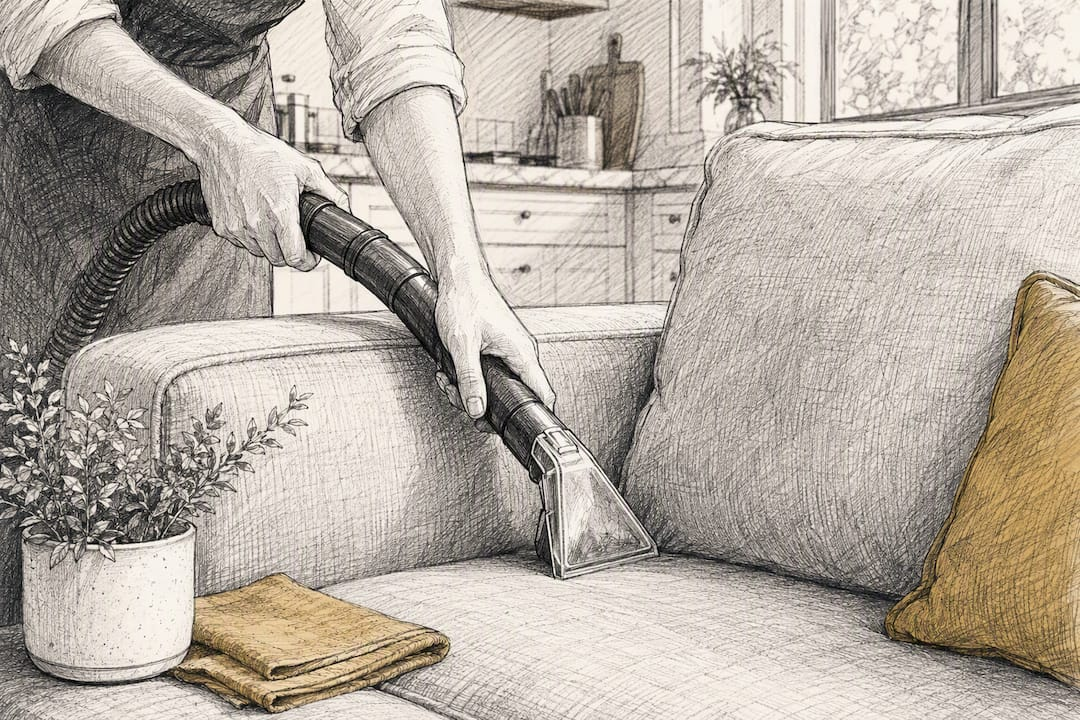
Start with a full vacuum using an upholstery attachment, working in the direction of the fabric nap to lift out hair and debris trapped near seams. For fabric couches, follow with an enzyme-based cleaner formulated for pet odors rather than a general all-purpose spray. Enzymes break down the organic compounds causing the smell instead of just masking it. Let the area air dry completely before sitting on it. Trapped moisture is exactly how you end up back where you started.
For leather, skip water-based cleaners near any filler or dye work you just did. Use a leather-specific conditioner to restore suppleness once the repair has fully cured, usually after 24 to 48 hours.
If the smell persists after a thorough clean, that’s a signal worth taking seriously rather than repeating the same cleaning routine hoping for a different result. As The Spruce notes, lingering odor after cleaning usually points to contamination in the foam that a topical clean can’t reach. A baking soda treatment (sprinkle, let sit for a few hours, vacuum) can help with mild residual smell, but it’s a maintenance step, not a fix for penetrated foam.
When It’s Time to Hire a Professional Upholsterer
Plenty of pet damage is well within DIY range. Some of it isn’t, and knowing the difference saves you from turning a fixable couch into a write-off.
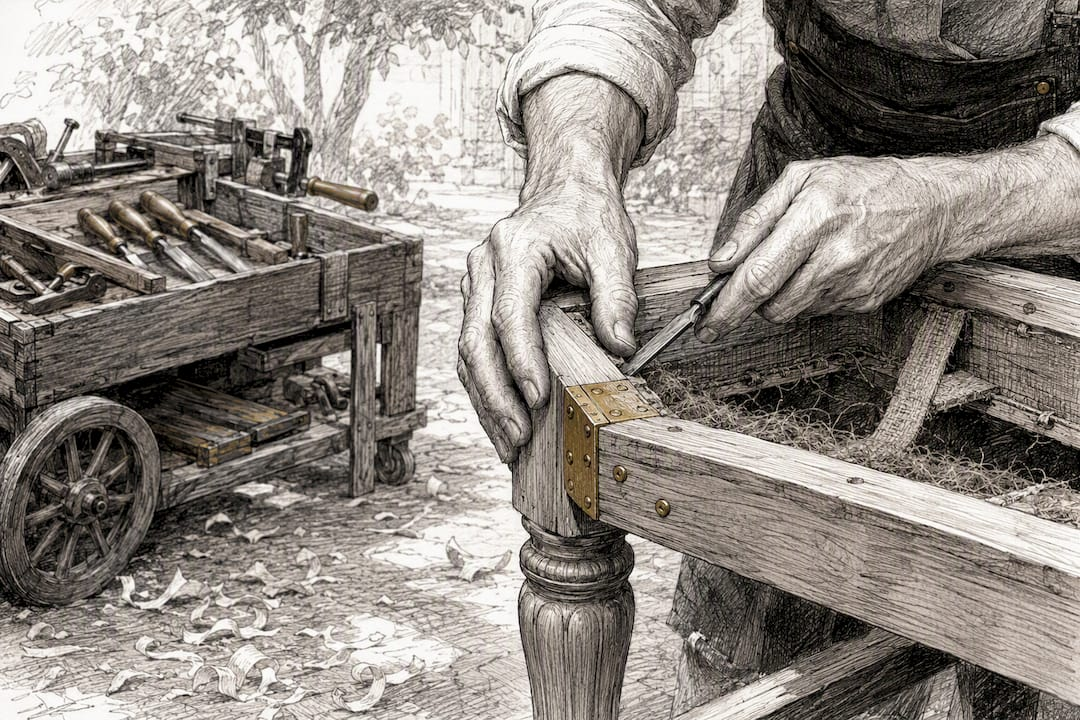
Call a professional when the frame itself is compromised. Cracked rails, broken corner blocks, or snapped springs need woodworking and upholstery skills together, not just fabric repair. Attempting a structural fix without that experience risks weakening the frame further or creating a wobble that never fully resolves.
Leather damage beyond small scuffs is another clear line. Color-matching dye across a full panel, or replacing a damaged leather section so the grain and finish match, takes equipment and experience most homeowners don’t have on hand. A botched leather re-dye job is hard to undo.
Bring in a pro too if you’re dealing with mold, a persistent odor that survived foam replacement attempts, or damage so extensive that multiple panels, cushions, and structural elements are affected at once. At that point, a shop quote for full reupholstery often beats piecing together several DIY fixes that may not hold up together.
If you’re unsure which category your couch falls into, a quick professional assessment, even just for advice, is usually worth the visit before you commit to a repair path.
An Editorial Take on Repairing Pet Damage the Right Way
The instinct most homeowners have when they see a chewed corner or a stained cushion is to think in absolutes: fix it completely or replace the whole couch. That instinct is wrong more often than it’s right. The evidence points to a narrower, more useful question: is the frame good, and has the contamination reached the foam? Everything else is cosmetic and fixable.
Where conventional advice falls short is in treating all pet damage as one category. A cat scratch and a soaked cushion are not the same problem, and they don’t deserve the same panic or the same fix. Where DIYers actually go wrong isn’t ambition, it’s technique: cutting threads instead of felting them, scrubbing urine instead of blotting it, skipping the frame check entirely because the fabric damage is what’s visible.
Prioritize the frame first, the odor test second, and the cosmetic fix last. That order rarely fails you.
Frequently Asked Questions
Is common pet damage to a couch usually worth repairing?
Yes, in most cases. If the frame is solid hardwood with tight joints and the damage is limited to fabric, cushions, or surface stains, repair almost always costs less than replacing the couch.
Can you fix cat scratches on a sofa without replacing the fabric?
Often, yes. A felting needle can tuck pulled fibers back into the weave for surface scratches. Holes need a patch, but a full panel replacement is only necessary if the damage covers a large area.
How do you know if urine has soaked into the foam?
If odor lingers after a thorough enzyme cleaning and the fabric has fully dried, the contamination has likely reached the foam. At that point, replacing the foam and casing is more effective than repeated cleaning.
What’s the best fabric for a couch if you have pets?
Performance fabrics such as Crypton, Revolution, or Sunbrella hold up better against scratching, spills, and general wear than standard decorative weaves, and they’re easier to spot-clean.
When should you call a professional instead of doing the repair yourself?
Call a professional for cracked frame rails, broken corner blocks, extensive leather damage, or odor that persists after foam replacement. Those repairs require skills and tools beyond a typical home fix.
If you’re ready to tackle a repair yourself, browse the DIY guides library or check the materials and supplies archive for everything you’ll need to get started.
Sources
- When to replace your couch (The Spruce)
- Pet damage sofa repair (Dr. Sofa)
- Is your furniture worth reupholstering? (Coastal Craft Upholstery)