Heads up: this post contains affiliate links. If you buy through them, We Love Upholstery may earn a small commission at no extra cost to you.
For most homeowners, sewing loop tape to the cushion cover and using adhesive-backed hook tape on the couch frame is the most durable way to keep sofa cushions in place. If you want speed over permanence, adhesive-backed VELCRO® Brand Sticky Back for Fabrics Tape takes about 15 minutes. For a completely tool-free fix, a non-slip rug pad under each cushion works immediately with zero attachment.
- Sew-on loop tape: strongest hold, survives washing, best for heavy-use seats
- Adhesive-backed tape: fast, no sewing, but surface-dependent and can leave residue
- Hook-and-loop dots or patches: discreet corner anchors for accent cushions or lightweight pieces
- Non-slip rug pad or rubber shelf liner: no tools, fully reversible, ideal for renters or delicate fabrics
Pro Tip: Before committing to any adhesive, press a small strip onto a hidden corner of your fabric and wait 24 hours. Adhesive-backed Velcro performs best on smooth surfaces like leather or vinyl; on porous fabrics, it often needs sewn reinforcement to hold.
Key Takeaways
Sewing loop tape to the cushion cover and using adhesive-backed hook tape on the couch frame gives the most durable, wash-safe result for most fabric types.
| Point | Details |
|---|---|
| Best method by goal | Sew-on for durability, adhesive-backed for speed, dots for discreet anchors, rug pad for no-attachment fixes. |
| Prep before adhesive | Clean surfaces with rubbing alcohol and allow up to 24 hours of cure time before regular use. |
| Sizing guidance | A 6" x 6" square of hook-and-loop provides sufficient hold for most standard couch cushions. |
| Fabric matters | Adhesive-backed tape holds on leather and vinyl; porous fabrics like microsuede need sewn reinforcement. |
| Weloveupholstery guides | Step-by-step DIY tutorials and materials checklists at Weloveupholstery cover every stage of the repair. |
Table of Contents
- What do you need to attach Velcro to cushions?
- How to sew Velcro onto cushion covers for a lasting hold
- Does adhesive-backed Velcro tape actually hold on fabric?
- When do hook-and-loop dots work better than full strips?
- What are the best non-adhesive options for keeping cushions in place?
- Where should you place Velcro, and how much do you need?
- Which Velcro method works best for your specific fabric?
- How do you remove Velcro and keep covers in good shape?
- Upholsterer’s pro tips for combining methods and lasting results
- Sources
What do you need to attach Velcro to cushions?
Gathering everything before you start saves a second trip to the hardware store. The method you choose determines which items are non-negotiable.
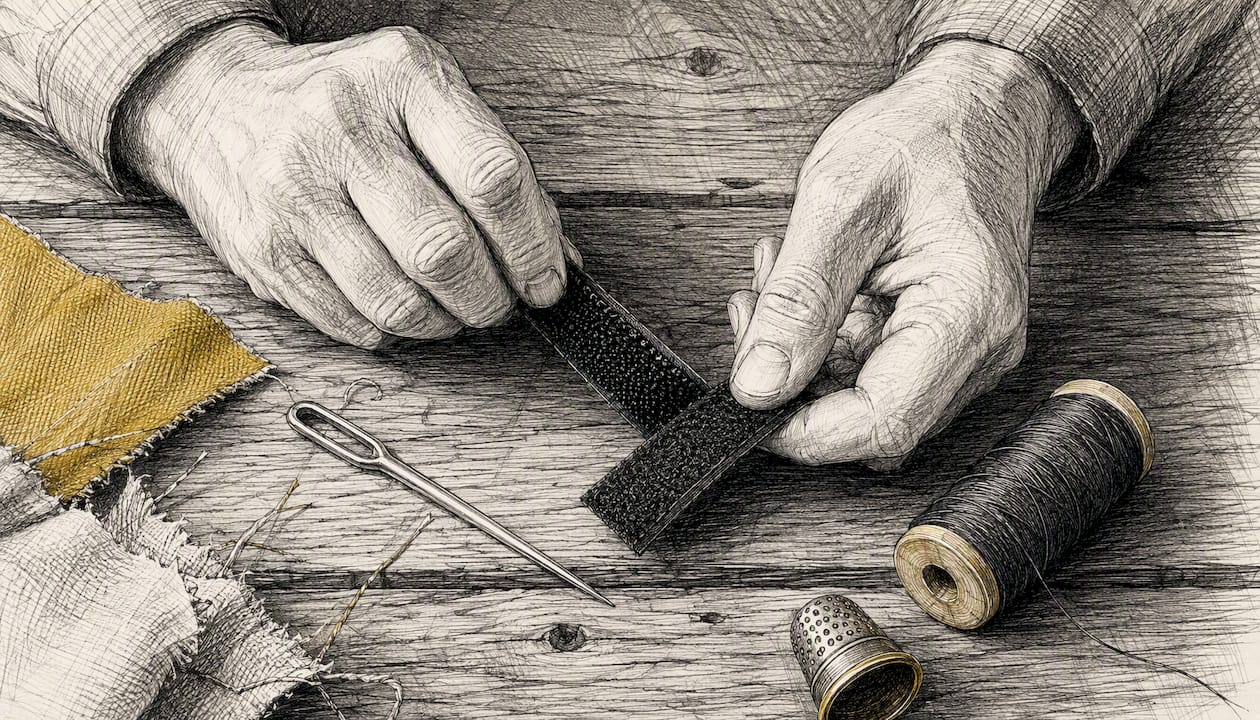
| Item | Used For | Notes |
|---|---|---|
| VELCRO® Brand Sticky Back for Fabrics Tape | Adhesive-backed method | Hook side on frame, loop side on cushion |
| Sew-on loop tape (1"–2" wide) | Sew-on method | Softer side against cushion cover fabric |
| Hook-and-loop dots (Kernorv or generic) | Dot/patch method | Good for corners and accent pieces |
| Fabri-Tac fabric glue | Glue-only method | Bonds fabric without sewing |
| Heavy-duty polyester thread | Sew-on method | Resists abrasion better than cotton |
| Curved upholstery needle | Sew-on method | Lets you stitch without removing the insert |
| Fabric scissors | All methods | Sharp blades prevent fraying |
| Rubbing alcohol + clean cloth | Adhesive prep | Removes oils and dust from surfaces |
| Measuring tape and fabric marker | All methods | Accurate placement prevents crooked strips |
| Seam ripper | Removal/correction | Lifts stitches cleanly without cutting fabric |
| Straight pins | Sew-on method | Holds tape in position before stitching |
Clean surfaces matter more than most people expect. Oils from hands and fabric softener residue both undermine adhesive bonds. Wipe any surface that will receive adhesive tape with rubbing alcohol and let it dry completely before applying. For the sew-on method, pins keep the tape from shifting while you stitch, which prevents the puckering that shows through the cover fabric.
If you plan to use Fabri-Tac for a no-sew approach, read the fabric glue sofa repair guide first — the open time and bond strength vary by fabric weight, and a few details make the difference between a clean result and a gummy mess.
How to sew Velcro onto cushion covers for a lasting hold
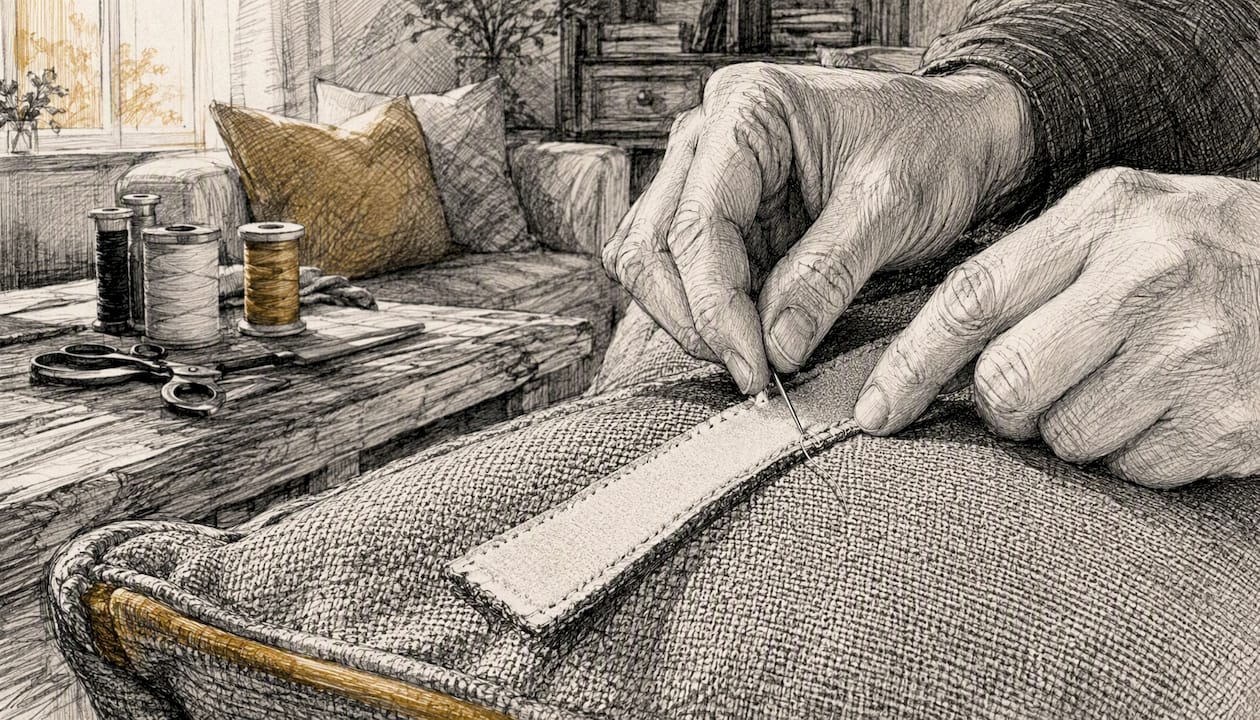
Sewing is the method upholsterers reach for when the cushion gets daily use. Adhesive alone rarely survives repeated compression and washing on fabric surfaces; practitioners reinforce adhesive strips by sewing them through the cushion cover for exactly that reason.
Step-by-step:
- Measure and mark. Lay the cushion cover flat. Mark where the loop tape will sit on the underside of the cushion and where the hook tape will land on the couch deck. Leave at least ½" from any seam to avoid stress on existing stitching.
- Remove the insert if possible. Zip or unbutton the cover and pull the foam out. Working on a flat, empty cover gives you clean access and prevents accidentally stitching through to the other side.
- Pin the loop tape in place. Position the softer loop side on the cushion cover’s underside. Pin every 2 inches so it doesn’t drift while you sew.
- Stitch all four sides. Use a sewing machine with a denim or upholstery needle, or hand-stitch with a curved upholstery needle and heavy-duty polyester thread. Sew around the full perimeter of the tape, then add a second pass diagonally across the corners for reinforcement.
- Attach hook tape to the couch frame. On the couch deck (the fabric platform the cushion rests on), either sew or press adhesive-backed hook tape into the corresponding position. Adhesive works fine here because the deck fabric is usually taut and smooth.
- Test the fit before reinserting. Press the cushion cover onto the hook tape and tug it from the front. It should resist sliding without feeling locked in place.
- Reinsert the cushion. Zip or button the cover closed, press the cushion down firmly, and sit on it once to seat the connection.
Pro Tip: Reinforce the corners with a small X-stitch pattern rather than just following the tape edge. Corners take the most stress when someone sits down hard or pulls the cushion to flip it, and a simple X adds tensile strength in both directions without adding visible bulk.
Avoid sewing through adhesive-backed tape if you can help it. The adhesive gums up the needle and leaves residue that attracts lint. If you’re working with pre-adhesive tape, peel the backing off only after stitching, or use plain sew-on tape from the start.
Does adhesive-backed Velcro tape actually hold on fabric?
The honest answer: it depends entirely on the surface. VELCRO® Brand installation guidance recommends cleaning the surface, pressing the strips firmly, and allowing the adhesive to set before use. On smooth surfaces like leather or vinyl, that process works well. On textured or porous fabrics, the glue can’t penetrate the fibers, and the strip peels away within weeks.
Surface prep, step by step:
- Wipe the couch deck and cushion underside with rubbing alcohol. Let both dry for at least 10 minutes.
- Cut strips to length. Avoid touching the adhesive side with bare fingers.
- Peel the backing and press the hook side firmly onto the couch deck, starting at one end and smoothing toward the other to prevent air pockets.
- Repeat with the loop side on the cushion underside, aligning it to match the hook strip’s position.
- Press each strip hard for 30 seconds, then leave the cushion undisturbed. Adhesive cure time typically runs up to 24 hours before the bond reaches full strength.
On leather and vinyl, adhesive-backed tape can stick well but carries a removal risk. Peeling it off too quickly or without heat can pull the surface finish. If you ever need to remove it, warm the tape with a hairdryer on low for 20–30 seconds first, then peel slowly from one corner. For porous fabrics like cotton or microsuede, treat adhesive tape as a temporary fix and plan to sew it down within a few weeks if the hold matters.
When do hook-and-loop dots work better than full strips?
Dots and small patches are the right call when you don’t need a full perimeter seal — accent cushions, throw pillows, or any cushion you rotate regularly. They’re also the most renter-friendly option because they leave minimal marks and peel off cleanly from smooth surfaces.
- Corner anchoring: Place one dot at each of the four corners of the cushion underside. This prevents diagonal sliding without locking the cushion flat, so you can still flip it.
- Center anchor: A single large patch in the center works for lightweight decorative cushions that just need a nudge of grip, not a full bond.
- Count per cushion: Two to four dots or patches per cushion is typically enough for accent pieces. Seat cushions under regular use need at least four corner dots, or you’re better off with strips.
Products like Kernorv hook-and-loop cushion dots are marketed as reusable and removable, which holds true on smooth surfaces with moderate use. On textured fabric, the hook side can catch fibers and become harder to remove cleanly over time — test on a hidden spot before committing.
Dots give up holding strength compared to full strips, so they’re not the answer for a heavy seat cushion on a well-used sofa. Think of them as positioning anchors rather than primary grip.
What are the best non-adhesive options for keeping cushions in place?
A non-slip rug pad or rubber shelf liner is often the fastest fix, and home-improvement guidance consistently recommends starting here before reaching for adhesives or a needle. Cut a piece to match the cushion’s footprint, lay it on the couch deck, and set the cushion on top. The rubber texture creates enough friction to stop most sliding without touching the cushion fabric at all.
When this approach makes the most sense:
- You rotate or flip cushions regularly (heavy adhesives prevent this and shorten cushion life)
- The fabric is delicate and you don’t want to risk adhesive residue
- You’re renting and need a fully reversible solution
- The cushion slides only slightly and doesn’t need a strong anchor
For best results, trim the pad to sit about ½" inside the cushion edge on all sides. A pad that extends to the edge can bunch up and create an uneven seat surface. If corner-to-corner coverage feels like overkill, cut four small squares and place one under each corner — the effect is nearly identical.
The tradeoff is permanence. Rug pads shift over time, especially on leather or polished wood frames, and they don’t address back cushions that slide down the sofa back. For those, a small hook-and-loop anchor strip at the top of the back cushion combined with a rug pad under the seat cushion is a practical hybrid that practitioners recommend for balancing stability with easy maintenance.
Where should you place Velcro, and how much do you need?
Placement determines whether the cushion holds or just shifts more slowly. A 6" x 6" square of hook-and-loop provides sufficient hold for most standard couch cushions; going larger rarely improves stability and makes the cushion harder to remove for washing.
Placement patterns by cushion type:
- Seat cushions: Two strips running front-to-back, positioned about 3" from each side edge. This resists forward sliding (the most common direction of travel) without making the cushion feel bolted down.
- Back cushions: One horizontal strip near the top edge of the cushion back, matched to a strip on the sofa back panel. This stops the downward creep that happens when people lean back hard.
- Accent or throw cushions: Four corner dots, or one center patch for lightweight pieces.
For heavy-use seats, longer strips (8"–12") along the full front and back edges of the cushion give more contact area and distribute the load. Multiple smaller anchors at corners work better for cushions that need to come off frequently.
Which Velcro method works best for your specific fabric?
Getting the method wrong for the fabric is the most common mistake in this whole process. The fix that works perfectly on a leather sectional can ruin a velvet accent cushion.
- Leather and vinyl: Adhesive-backed tape bonds well to these smooth surfaces, but removal is risky. The adhesive can lift the surface finish if peeled cold. Use heat on removal, and prefer sew-on where the cover has a zipper or removable panel.
- Microsuede and cotton (porous fabrics): Adhesive-backed strips lose grip quickly because the glue can’t penetrate the fibers. Sew-on loop tape is the right call here. If you want a no-sew option, Fabri-Tac fabric glue can bond the tape backing to the fabric, but test on a scrap first — it can stiffen lighter fabrics noticeably.
- Velvet and pile fabrics: Avoid visible stitching on the face of the fabric; the needle holes show permanently. Sew from the inside of the cover when possible, or use small dots in low-stress areas where the pile hides the attachment point.
- Outdoor and solution-dyed fabrics: Adhesive-backed products rated for outdoor use generally hold well because these fabrics are tightly woven and often have a slight texture that grips adhesive better than indoor upholstery. Check the manufacturer’s cleaning instructions before installing — some outdoor fabrics require specific cleaners that can degrade adhesive over time.
For any fabric you haven’t worked with before, the upholstery fabric guide at Weloveupholstery covers fiber types and their compatibility with adhesives, threads, and fasteners in detail.
How do you remove Velcro and keep covers in good shape?
Removal done wrong causes more damage than the original installation. Take it slow.
Removing adhesive-backed tape: Warm the strip with a hairdryer on low heat for 20–30 seconds. This softens the adhesive enough to peel without pulling the fabric. Work from one corner, peeling at a low angle rather than straight up. Any residue left behind responds well to a small amount of rubbing alcohol on a clean cloth — rub gently in a circular motion and let it evaporate before touching the area again.
Removing sewn tape: Use a seam ripper, not scissors. Slide the ripper under individual stitches rather than dragging it along the tape edge, which risks cutting the cover fabric. Work in short sections and check the fabric surface frequently. Once the tape is off, the needle holes are usually small enough to be invisible after a light press with a damp cloth.
Washing covers with sew-on Velcro attached:
- Unfasten the hook and loop sides before washing so they don’t grab each other or snag other items in the machine.
- Close both sides of the Velcro (press hook to loop) to prevent the hook side from catching the drum lining or other fabrics.
- Follow the care tag on the cover fabric — Velcro itself handles machine washing fine, but the cover fabric may not.
Maintenance: The hook side collects lint and pet hair over time, which reduces grip. A fine-tooth comb drawn across the hooks clears debris in seconds. Re-press adhesive strips every few months and test the hold; if a strip lifts at the corner, press it back down firmly or replace it rather than waiting for it to fail mid-sit.
Upholsterer’s pro tips for combining methods and lasting results
The best results usually come from layering approaches rather than relying on one method alone. A non-slip pad handles the bulk of the friction work; small sew-on or adhesive anchors at the corners handle positioning. Neither one has to work as hard, and both last longer for it.
- Preserve flipability: Use small dots or short strips on back cushions and reserve full-perimeter sewing for seat cushions that rarely need flipping. Heavy anchors on both sides of a reversible cushion cut its usable life in half.
- Match hook-and-loop density to the load. A heavy seat cushion needs a higher-density hook tape (more hooks per square inch) than a lightweight throw pillow. Most retail Velcro is medium density, which works for most applications, but industrial-grade tape is worth the upgrade for a sofa that gets daily use from multiple people.
- Replace rather than re-glue. If an adhesive strip has failed twice, the surface isn’t compatible with that adhesive. Switch to sew-on tape or a different attachment method rather than pressing the same strip back down a third time.
- Thread color matters more than you’d think. Match the thread to the tape backing, not the cover fabric — the stitching sits against the tape, and a contrast color shows through the weave of lighter fabrics.
Pro Tip: Always test adhesive on a fabric scrap or hidden seam allowance before applying it to the visible surface. Press the strip, wait 24 hours, then try to peel it. If it pulls fibers or leaves residue, switch methods before you’ve committed to the main surface.
The upholstery tools checklist for DIY beginners covers needle types, thread weights, and adhesive options in one place if you want a consolidated shopping reference before starting.
What usually goes wrong — and how to fix it fast
Most Velcro failures come down to two things: wrong adhesive for the surface, and skipping the test step. Adhesive-backed tape applied to a dusty or oily surface will hold for a day or two, then peel cleanly off — taking your confidence with it. The fix is simple: always clean with rubbing alcohol first, always test on a scrap or hidden area, and always give the adhesive its full cure time before sitting on the cushion.
The second common mistake is placing strips too close to seams. Seams are already under tension, and adding Velcro right at the edge concentrates stress at the weakest point of the cover. Keep strips at least ½" from any seam, and reinforce the corners with an X-stitch rather than relying on the perimeter stitching alone. If you’re ever unsure whether a fix is holding well enough, pull the cushion firmly from the front before trusting it to daily use.
Ready to go deeper on upholstery repairs?
Weloveupholstery publishes step-by-step guides written by practitioners, not generalists. If this Velcro fix is the start of a bigger project — a cushion that sags, a cover that needs replacing, or a frame that needs attention — the DIY guides library has detailed tutorials for each stage, with materials checklists and tool lists built into every guide.

For supplies, the materials and supplies archive lists the specific threads, adhesives, tapes, and fasteners referenced throughout these guides, with notes on where each one fits in the repair process. Pick the guide that matches your next step and work through it at your own pace.
Sources
- Securing Couch Cushions with Hook and Loop
- VELCRO® Brand Sticky Back for Fabrics Tape — How to make a DIY cushion cover
- Attaching Velcro to a Sofa Cushion | HomeSteady
- How to Keep Couch Cushions From Sliding: 5 Methods to Try
- How to Keep Couch Cushions from Sliding? 7 Easy Fixes (2026)
Check the manufacturer’s installation and cleaning instructions for any specific product variant before applying — cure times, surface compatibility, and washing guidance vary between product lines.