Fabric glue is a specially formulated elastic adhesive that bonds sofa fabric fibers together with a flexible, washable, and durable hold. Unlike super glue or craft glue, it uses elastic polymer formulas that stretch and recover with fabric movement, making it the right tool for upholstery repair rather than a workaround. The sofa upholstery repair process using fabric glue is faster and cheaper than professional reupholstery, and when done correctly, the results hold up to daily use. Brands like Aleene’s Fabric Fusion, Beacon Fabri-Tac, and Dritz Liquid Stitch are among the most trusted names for this kind of work. This guide covers everything from choosing the right product to applying it correctly and knowing when glue alone is not enough.
What types of fabric glue work best for sofa repairs?
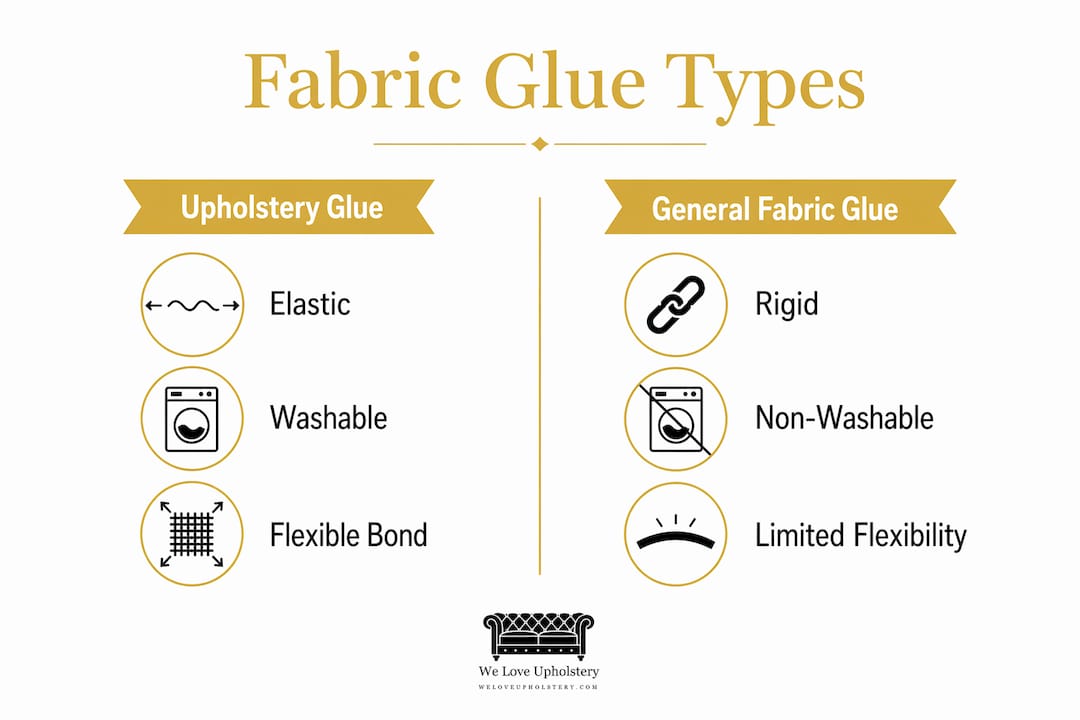
Not all fabric glues perform equally on upholstery. The best fabric glue for upholstery must meet three criteria: it must dry clear, stay flexible after curing, and remain washable without peeling or yellowing. Sofas take daily stress from sitting, stretching, and cleaning, so a glue that cures rigid will crack and fail within weeks.
Fabric glue designed for upholstery uses elastic polymer chemistry that allows the bond to flex with the fabric rather than fight it. Fabric glue stays flexible and clear after curing, while super glue creates stiff, brittle spots prone to cracking. That brittleness is a serious problem on a sofa arm or seat cushion where fabric bends constantly.
Here is how the main adhesive types compare for sofa fabric repair:
| Adhesive type | Flexibility | Washable | Best use case |
|---|---|---|---|
| Upholstery fabric glue (e.g., Fabri-Tac) | High | Yes | Tears, seam splits, patches |
| Craft glue (e.g., Elmer’s) | Low | Partial | Paper, light fabric only |
| Super glue (cyanoacrylate) | None | No | Hard surfaces, not fabric |
| Iron-on hem tape | Medium | Yes | Straight hems, not tears |
The key takeaway from this comparison: only purpose-made fabric glue belongs on a sofa. Craft glue washes out or stiffens the fabric. Super glue creates a hard, shiny spot that looks worse than the original tear.
When selecting a product, look for these features on the label:
- Permanent bond rated for fabric-to-fabric adhesion
- Clear drying formula to avoid visible residue
- Flexible when cured so the repair moves with the fabric
- Washable after full cure, ideally rated for machine washing
Manufacturer-grade fabric glue retains 80 to 90% bond strength after multiple washes when fully cured, significantly outperforming craft glues. That gap in performance is the reason Weloveupholstery consistently recommends investing in a purpose-built upholstery adhesive rather than reaching for whatever is in the junk drawer.
How to prepare and apply fabric glue for sofa repairs
Preparation is the single most important factor in a successful repair. Surface preparation is the foundation for a strong fabric glue bond, which is why every expert guide returns to cleaning and drying before anything else. Skipping this step is the most common reason repairs fail within days.
Follow these steps in order for a repair that lasts:
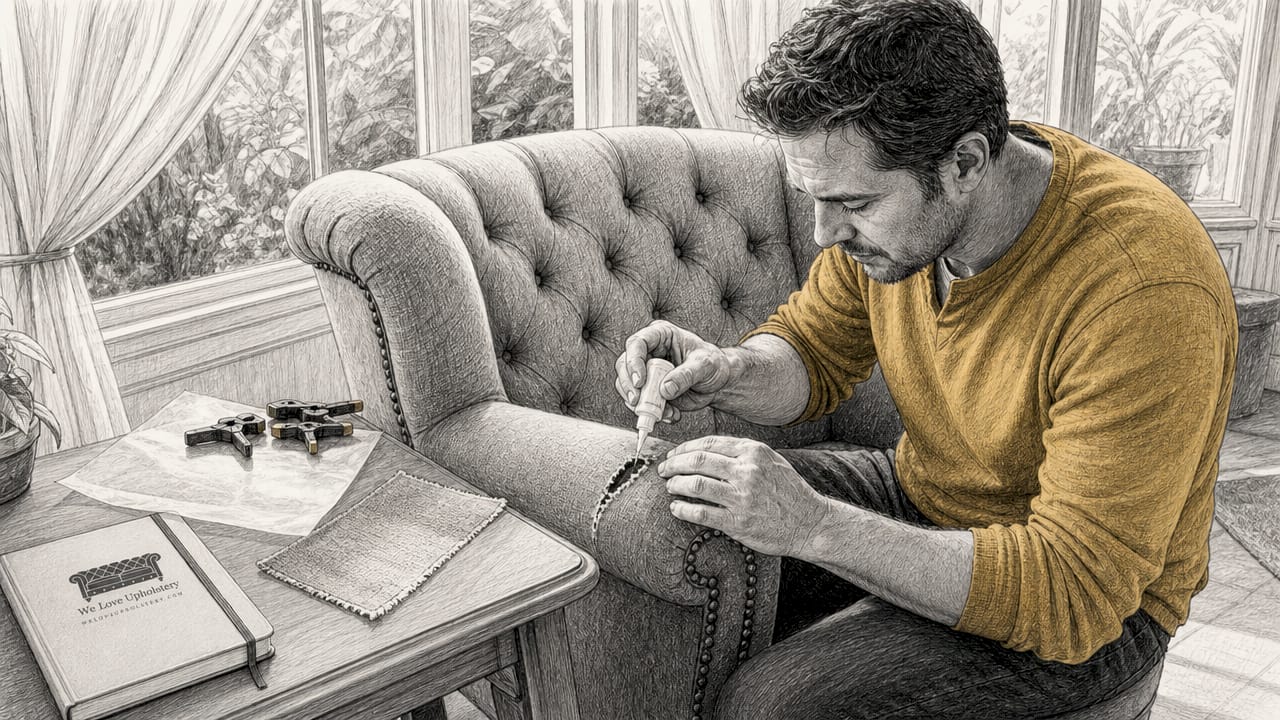
- Clean the damaged area. Use a damp cloth to remove dust, oils, and debris from the fabric around the tear. Let it dry completely before touching the glue. Any moisture trapped under the adhesive weakens the bond.
- Trim loose threads. Use small scissors to cut away frayed or loose threads at the tear edges. Threads sticking out prevent the fabric surfaces from making clean contact with each other.
- Test the glue on a scrap. Testing fabric glue on an inconspicuous scrap is recommended to check for color change, sheen, or stiffness before full application. Some adhesives discolor darker fabrics or leave a slight sheen on velvet and microfiber.
- Apply a thin, even layer. Squeeze a small amount of glue onto the inside edges of the tear. Thin is better. Applying fabric glue in thin, controlled amounts with firm, even pressure produces the most durable repairs and preserves the fabric’s soft hand feel.
- Press and hold firmly. Bring the tear edges together and press for one to five minutes. Use binder clips or painter’s tape to hold the repair in place while the glue sets.
- Allow full curing time. Complete cure requires undisturbed setting of approximately 24 hours to prevent weak bonds or failure. Do not sit on the repaired area or wash the fabric during this window.
Pro Tip: Place a piece of wax paper over the repair before clamping. This prevents the clamp or tape from sticking to the glue if any seeps through the fabric.
The most damaging mistakes in this process are applying too much glue, moving the fabric before it sets, and washing too soon. Excess glue causes stiff, shiny patches, while early washing leads to peeling or clouding. Patience here is not optional. It is the technique.
When to use fabric glue alone vs. reinforcing with stitching or patches
Fabric glue is not a universal fix. Knowing when it is sufficient and when it needs backup is what separates a repair that lasts from one that reopens in a month.
Fabric glue works well on its own in these situations:
- Small tears under two inches in a low-stress area like the sofa back or armrest side
- Seam splits where the original stitching has simply come undone and the fabric is intact
- Decorative trim or piping that has lifted away from the frame
- Minor fraying along cushion edges that has not yet become a full tear
For anything larger or in a high-tension zone, glue alone is not enough. Backing patches glued under large sofa fabric tears reinforce repair strength beyond what fabric glue alone can provide. The patch acts as a mechanical anchor, spreading the stress load across a wider area instead of concentrating it at the glue line.
Here is a practical comparison of repair methods by scenario:
| Repair scenario | Glue only | Glue plus patch | Glue plus stitching |
|---|---|---|---|
| Tear under 1 inch, low stress | Best choice | Overkill | Optional |
| Tear 1 to 3 inches, moderate stress | Risky | Recommended | Good option |
| Tear over 3 inches, high stress | Not suitable | Required | Required |
| Seam split along cushion edge | Works well | Not needed | Ideal reinforcement |
Fabric glue aligns and bonds fibers flexibly but mechanical reinforcement through stitching ensures long-term strength under tension. This is especially true for seat cushion seams, which take the most stress of any part of the sofa. A glued seam on a seat cushion without stitching will eventually peel under body weight. Combining both methods gives you the adhesive’s flexibility and the thread’s tensile strength. For guidance on making seam repairs last, Weloveupholstery’s guide on loose upholstery seam repair walks through the combined approach in detail.
Step-by-step guide to repairing common sofa fabric tears
This section covers the full repair process from start to finish, including how to handle both small tears and larger damage that needs a backing patch.
Step 1: Inspect and classify the tear. Measure the tear and check its location. A one-inch split on the sofa back is a different repair than a three-inch gash on a seat cushion. Classification determines whether you need glue only, a patch, or stitching.
Step 2: Clean and prepare the surface. Vacuum the area, then wipe it with a lightly damp cloth. Let it dry fully. Trim any loose threads with small scissors. This step directly determines bond quality, so do not rush it.
Step 3: For minor tears, apply glue directly. Squeeze a thin line of fabric glue along the inside edges of the tear. Bring the edges together, press firmly for two to three minutes, and secure with painter’s tape or binder clips. Leave undisturbed for 24 hours.
Step 4: For larger tears, cut and place a backing patch. Cut a piece of matching or neutral fabric at least one inch larger than the tear on all sides. Apply glue to the patch and slide it behind the tear so it covers the full opening. Press the tear edges down onto the patch and hold firmly. Backing patches provide crucial mechanical reinforcement supporting the flexible glue layer and preventing adhesive failure at stress points.
Step 5: Add stitching for high-stress areas. Once the glue has cured for 24 hours, use a curved upholstery needle and matching thread to hand stitch along the repair edges. This step is optional for small tears but strongly recommended for seat cushions and armrests. You can find compatible upholstery supply materials including curved needles and waxed thread at most fabric stores.
Step 6: Cure and aftercare. Keep the repaired area dry and unloaded for a full 24 hours. After that, the sofa can return to normal use. Wait at least 72 hours before washing the repaired fabric.
Pro Tip: For repairs on velvet or chenille, use a soft-bristle brush to gently lift the fabric pile over the repair line after the glue cures. This blends the repaired area into the surrounding texture and makes the fix nearly invisible.
Long-term care is straightforward. Avoid soaking the repaired area during cleaning. Use upholstery cleaner sprays rather than wet cloths. Inspect the repair every few months and reapply a small amount of glue if any edge begins to lift.
Key takeaways
Fabric glue repairs sofa fabric effectively when the right product is chosen, the surface is properly prepared, and the adhesive is given a full 24-hour cure before use.
| Point | Details |
|---|---|
| Choose the right glue | Use purpose-made upholstery fabric glue that dries clear, stays flexible, and is washable. |
| Prep is non-negotiable | Clean, dry, and trim the fabric before applying any adhesive to get a strong bond. |
| Thin layers outperform thick ones | Apply minimal glue with firm pressure to preserve fabric softness and prevent stiff patches. |
| Match method to tear size | Use glue alone for small tears; add a backing patch and stitching for larger or high-stress repairs. |
| Cure time determines durability | Allow 24 hours of undisturbed curing before use or washing to reach full bond strength. |
What I’ve learned from years of fabric glue repairs
Most people who contact Weloveupholstery after a failed repair made the same mistake: they rushed the cure. They pressed the tear together, held it for two minutes, and sat on the sofa an hour later. The glue never had a chance. Patience is not a soft skill in upholstery repair. It is the technique.
The second thing I have noticed is that homeowners consistently over-apply glue. More glue does not mean a stronger bond. It means a stiffer, shinier patch that is more visible than the original tear. The goal is fiber-to-fiber contact, not a thick adhesive layer. A thin application pressed firmly for several minutes will outperform a heavy application every time.
I also want to be honest about limitations. Fabric glue is not the right answer for every sofa problem. If the fabric is heavily worn, structurally compromised, or the tear is in a high-tension seam that takes full body weight, professional reupholstery is worth the cost. Trying to glue a seat cushion seam that has blown out on a heavily used sofa is a temporary fix at best. Knowing when to stop and call a professional is part of good DIY judgment, not a failure.
One last thing: always test on a hidden area first. I have seen beautiful dark velvet sofas develop a permanent sheen from the wrong adhesive. That test takes two minutes and can save you from a repair that looks worse than the original damage.
— Dustin
Repair your sofa with confidence using Weloveupholstery

Weloveupholstery exists specifically to help homeowners like you avoid the trial-and-error that makes DIY repairs frustrating. The guides here are written by practitioners who have made every mistake so you do not have to. If this article helped you understand the fabric glue process, the next step is getting the seam repairs right. The detailed guide on repairing a loose upholstery seam covers the combined glue-and-stitch method that makes repairs last on high-stress areas. For a full picture of what a sofa repair project might cost before you commit, the couch repair cost guide breaks down every option from DIY to professional reupholstery.
FAQ
What is fabric glue and how does it differ from super glue?
Fabric glue is an elastic adhesive formulated to bond textile fibers with a flexible, washable hold. Super glue (cyanoacrylate) cures rigid and brittle, making it unsuitable for fabric that bends and stretches during use.
Can you fix a sofa with glue alone?
Fabric glue works well for small tears and seam splits in low-stress areas, but larger tears or high-tension seams require a backing patch and stitching for a durable repair.
How long does fabric glue take to cure on upholstery?
Full cure takes approximately 24 hours of undisturbed setting. Moving or washing the fabric before this window closes weakens the bond and can cause peeling or clouding.
Does fabric glue hold up to washing?
Purpose-made upholstery fabric glue retains 80 to 90% of its bond strength after multiple washes when fully cured, making it a reliable option for sofa fabric that needs periodic cleaning.
What is the best fabric glue for upholstery repairs?
Products like Beacon Fabri-Tac, Aleene’s Fabric Fusion, and Dritz Liquid Stitch are widely used for upholstery because they dry clear, stay flexible, and are rated for permanent washable bonds on heavy fabrics.