Restoring Recliner Comfort Without a Full Makeover
Recliners are designed for relaxation, offering support after a long day and a cozy spot for rest.
Over time, however, frequent use and natural wear begin to impact the cushioning, causing it to flatten or lose its resilience. This deterioration can turn your once-comfortable recliner into a firm or uneven seat, making it less enjoyable and potentially uncomfortable to sit on.
The padding is essential, as it provides the support that cradles your body and helps maintain your posture.
Ignoring this wear can accelerate other issues, such as fabric sagging and weakened frame integrity.
Why Replacing Recliner Padding Is a Cost-Effective Solution
Instead of replacing the entire recliner or opting for expensive reupholstery services, replacing the padding offers a cost-effective and accessible alternative.
Updating just the padding allows you to preserve the outer upholstery, which may still be in great condition and suit your decor. Additionally, DIY padding replacement can breathe new life into your recliner without the expense and time commitment that reupholstering requires.
With the right materials and approach, restoring the comfort of your recliner is a straightforward, budget-friendly solution that keeps your favorite chair cozy for years to come.
Recognizing Sagging and Flattened Cushions
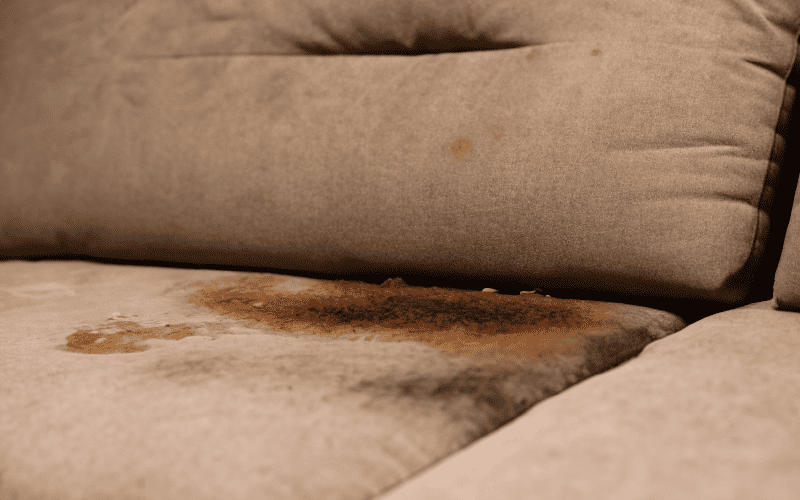
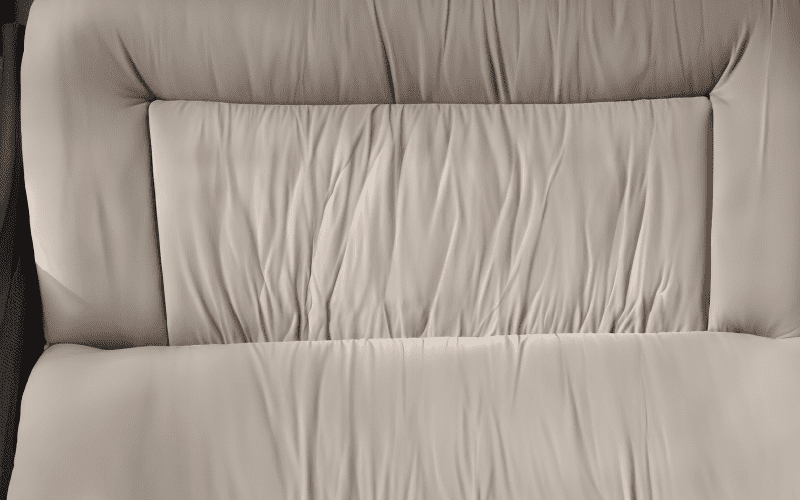
Over time, the padding in a recliner naturally begins to wear down, and the first sign is often sagging or an uneven seat surface.
When cushions appear sunken, it’s a clear indicator that the padding has lost its original density and resilience, no longer able to bounce back as it should.
This flattening of the padding creates an uncomfortable, hard surface that doesn’t provide the cozy support you’re used to, making it difficult to fully relax.
Discomfort and Reduced Support
Discomfort is another common signal that the padding needs replacement. If you find yourself frequently adjusting your position to get comfortable, or if you notice stiffness or soreness after using the recliner, it’s likely due to insufficient padding.
Recliners are designed to support the body in a relaxed, ergonomic position, and worn-out padding disrupts this balance, which can lead to poor posture. Long-term use of an unsupportive recliner can even contribute to back or neck discomfort, as the lack of cushioning strains muscles and joints.
Impact of Poor Padding on Recliner Structure
Poor padding doesn’t only affect comfort; it also accelerates wear on other parts of the recliner.
When the seat lacks sufficient padding, more pressure is placed on the springs, frame, and upholstery, leading to faster degradation of these components.
Additionally, sagging cushions can cause the fabric to pull or crease in ways it’s not meant to, potentially leading to tears or damage.
Recognizing the signs of deteriorating padding early on allows you to address the issue before it causes additional wear on the recliner, saving you from more extensive repairs down the line.
Choosing the Right Tools for the Job
Replacing recliner padding requires a few key tools to ensure you can access and replace the padding without damaging the existing upholstery.
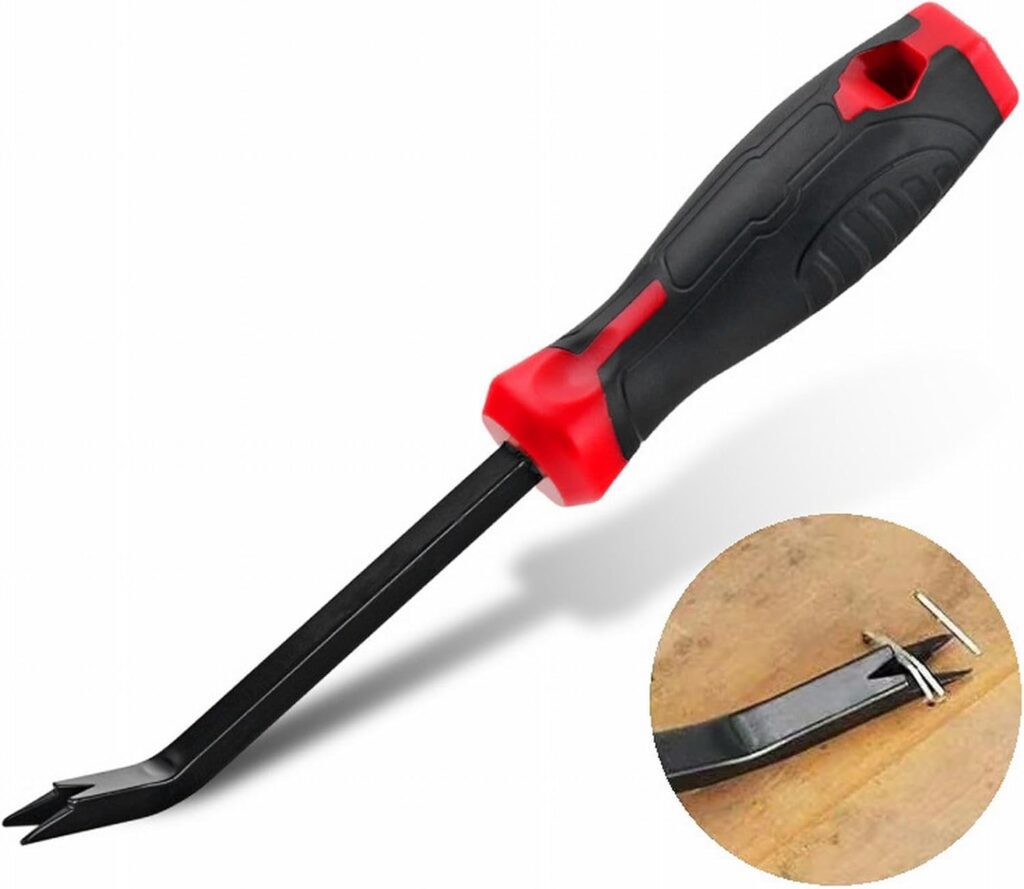
One of the most essential tools is a staple remover (or an Ice Pick) which allows you to carefully detach the upholstery backing without tearing it, preserving the fabric for reattachment.
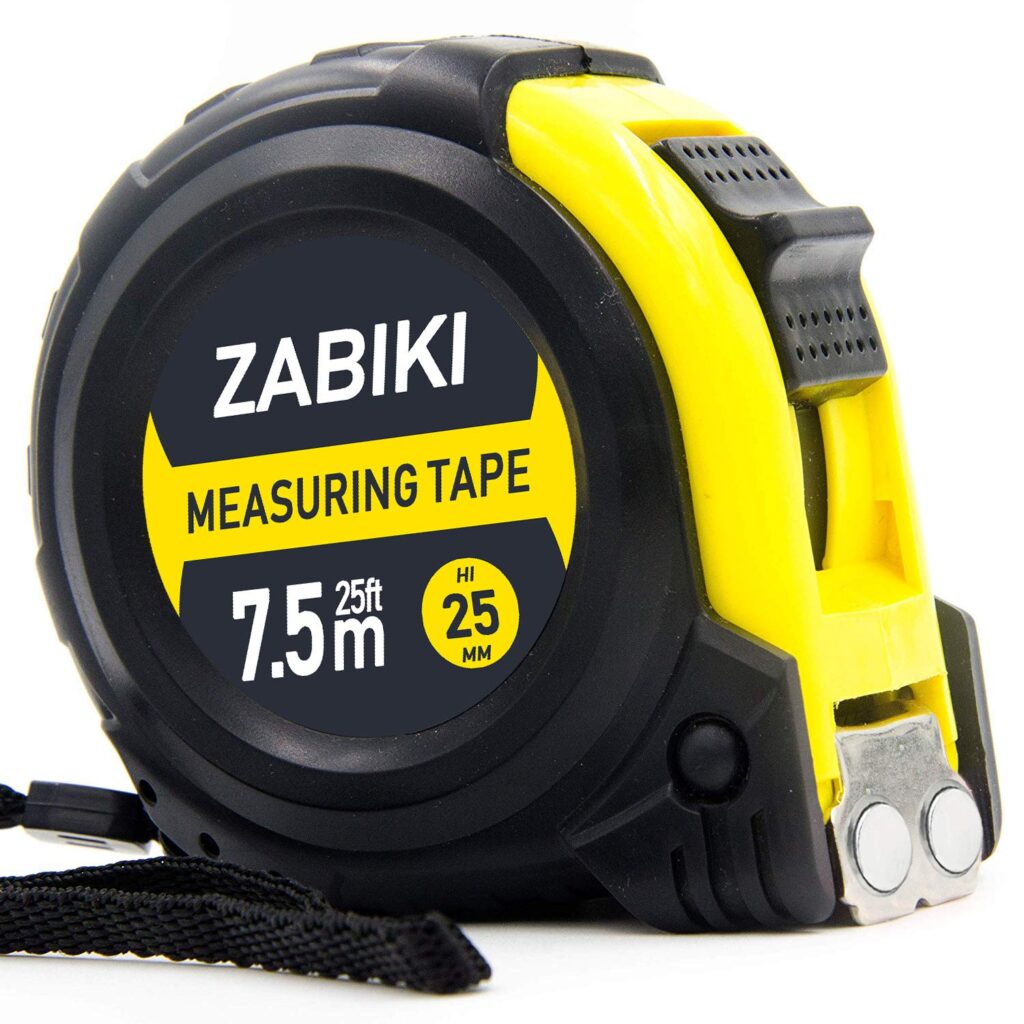
Measuring tape is also crucial, as it lets you accurately size the new padding to match the original cushions, ensuring a snug fit that won’t bunch or shift.
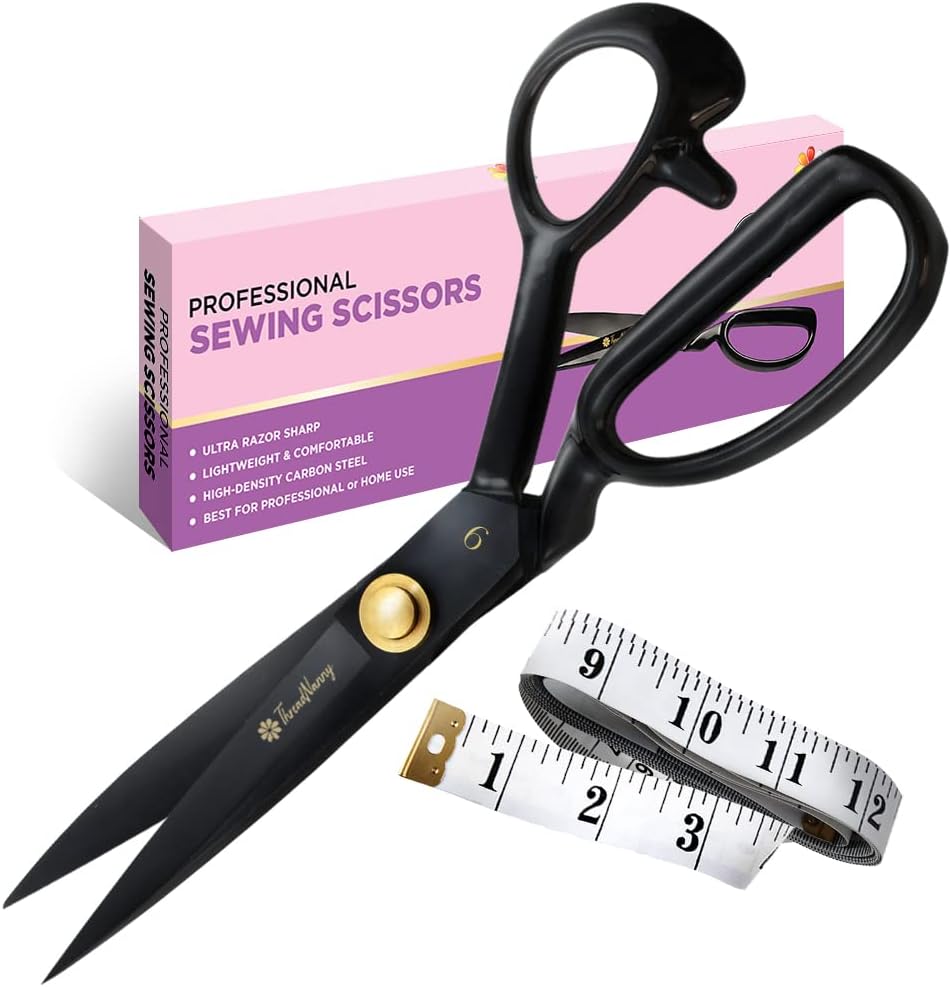
Scissors are another staple; they help you trim the padding or fabric to precise dimensions, which is essential for a seamless look and feel.
Every Tool Used For The Job
- Staple Remover or Ice Pick
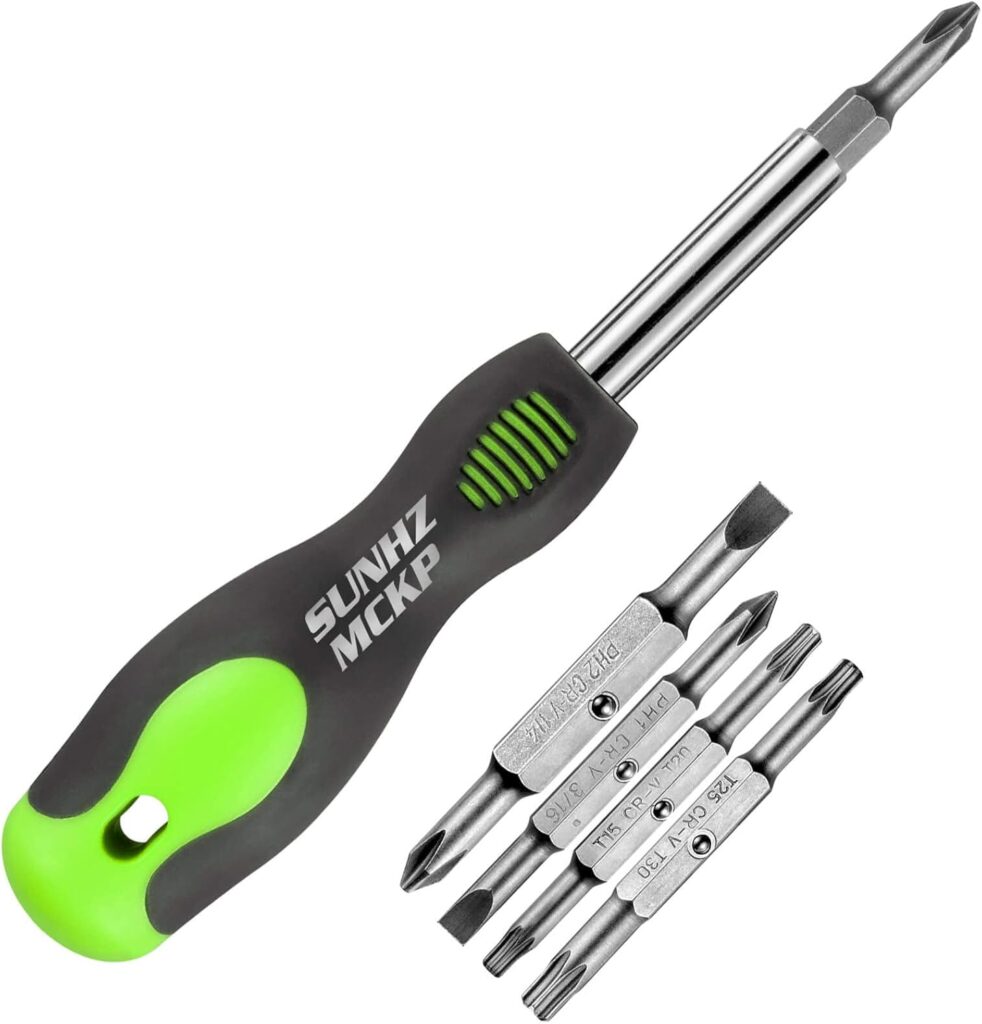
- Screwdriver (flathead and/or Phillips)
- Measuring Tape
- Utility Knife or Scissors
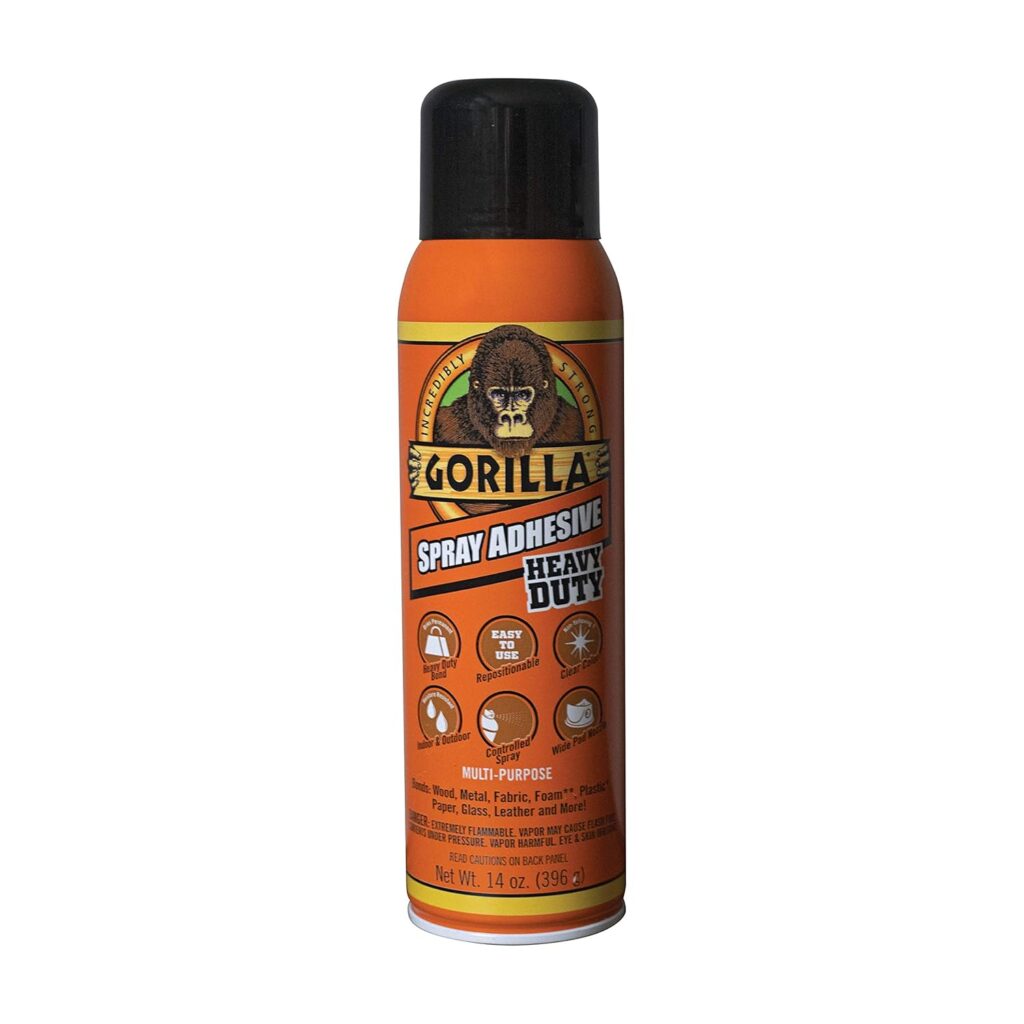
- Fabric Adhesive
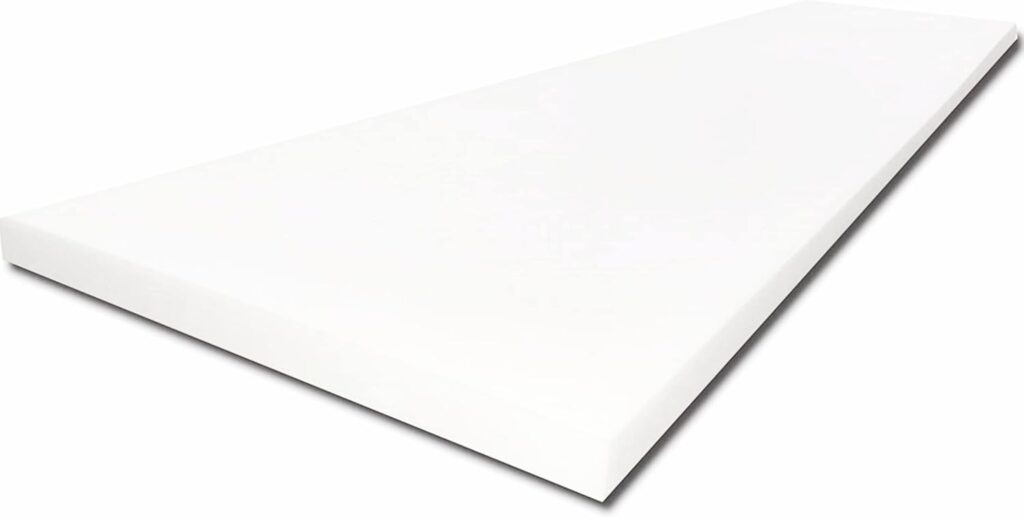
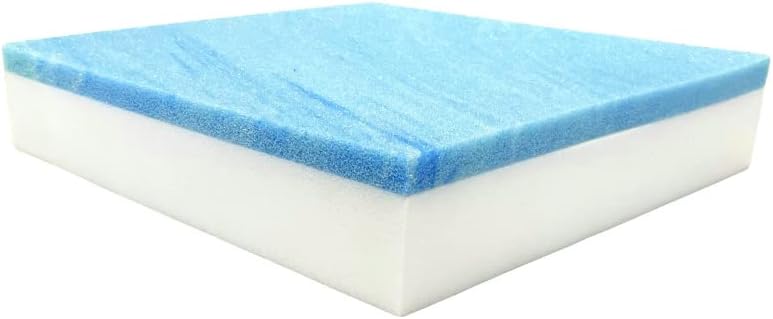
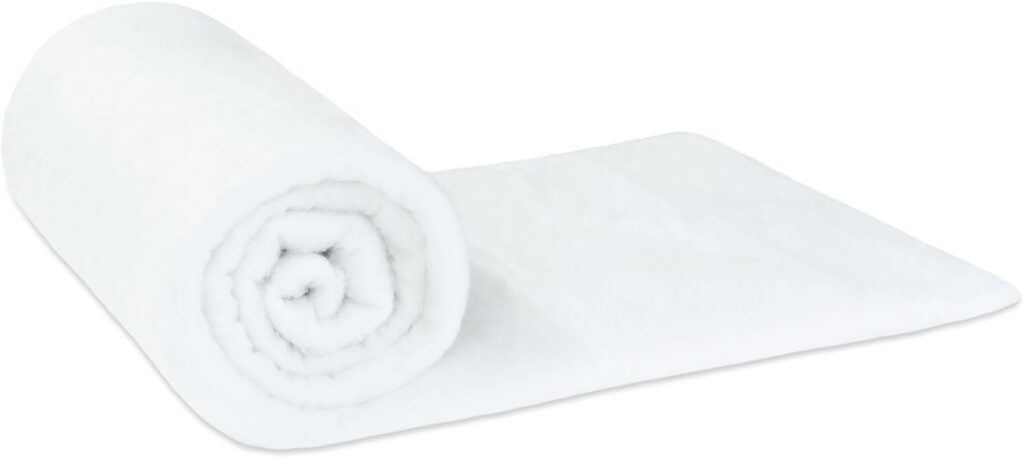
- Replacement High Density Foam/Memory Foam, or Upholstery Batting
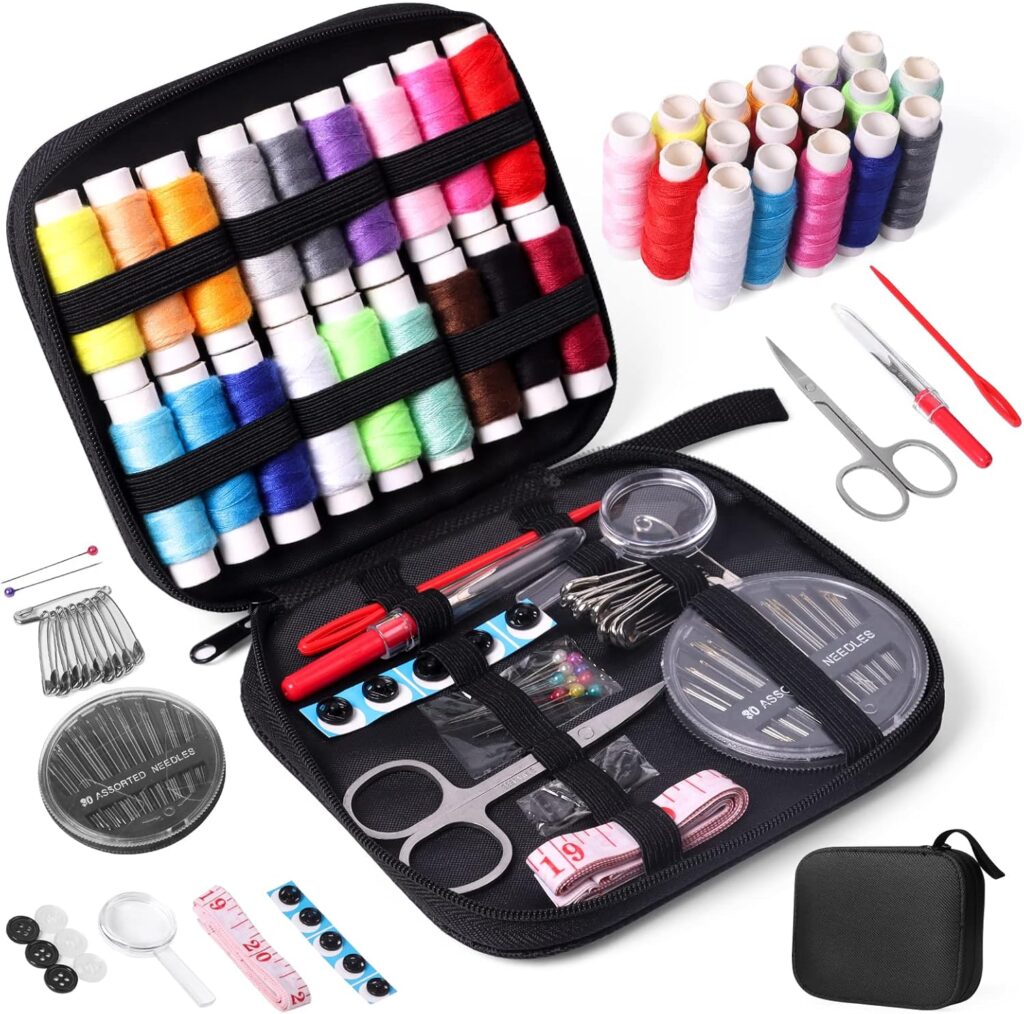
- Sewing Kit (needles, thread, fabric scissors)
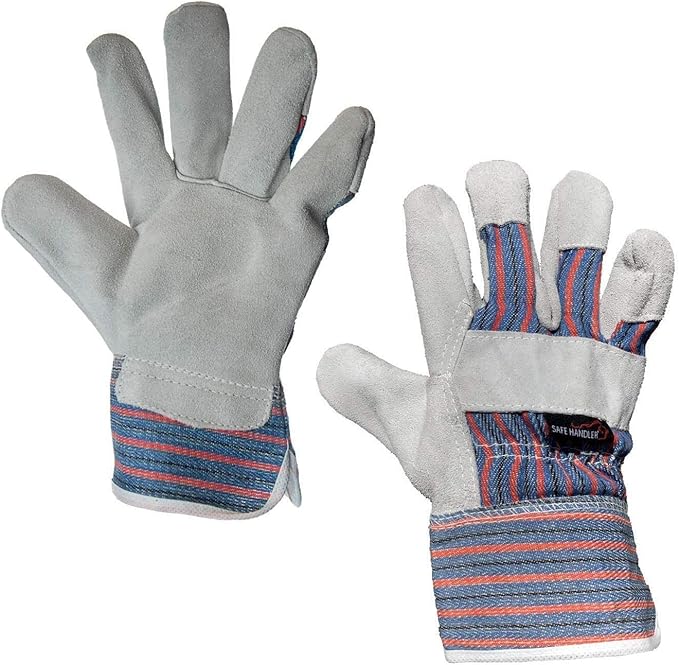
- Safety Gloves
- Pliers (for removing stubborn staples or screws)
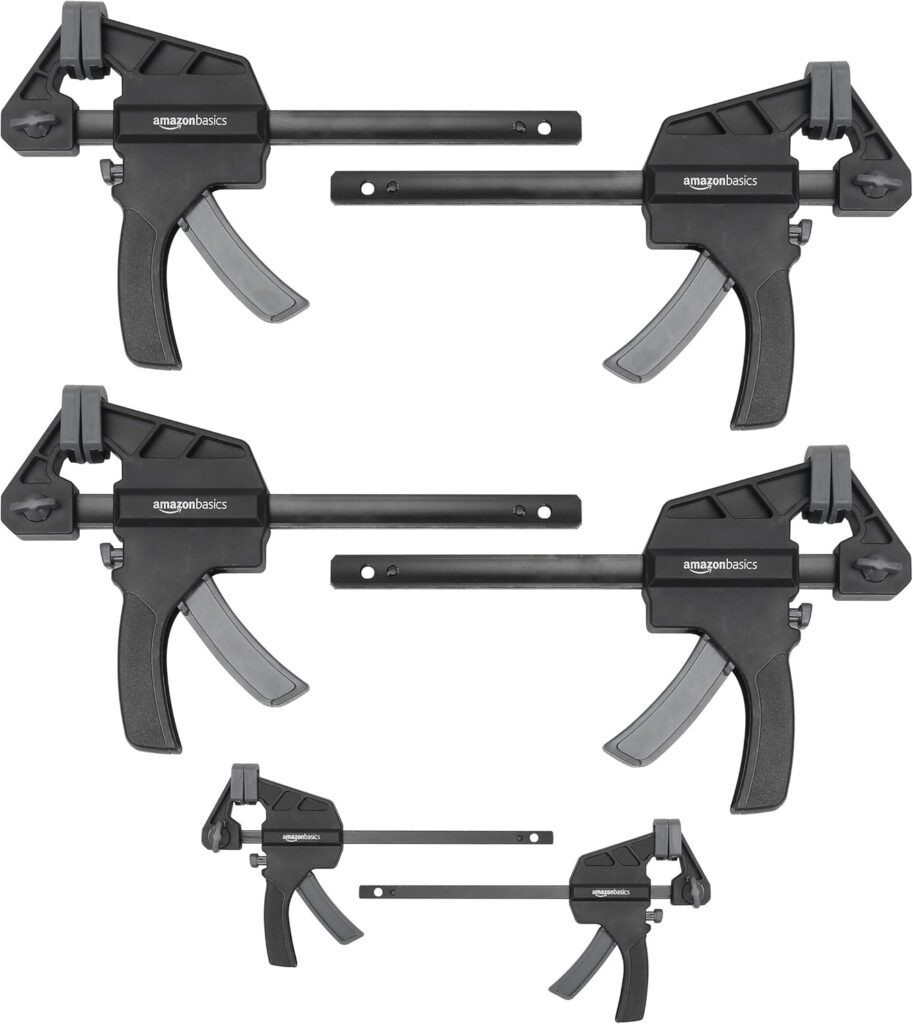
- Clamps (optional, for holding materials in place during assembly)
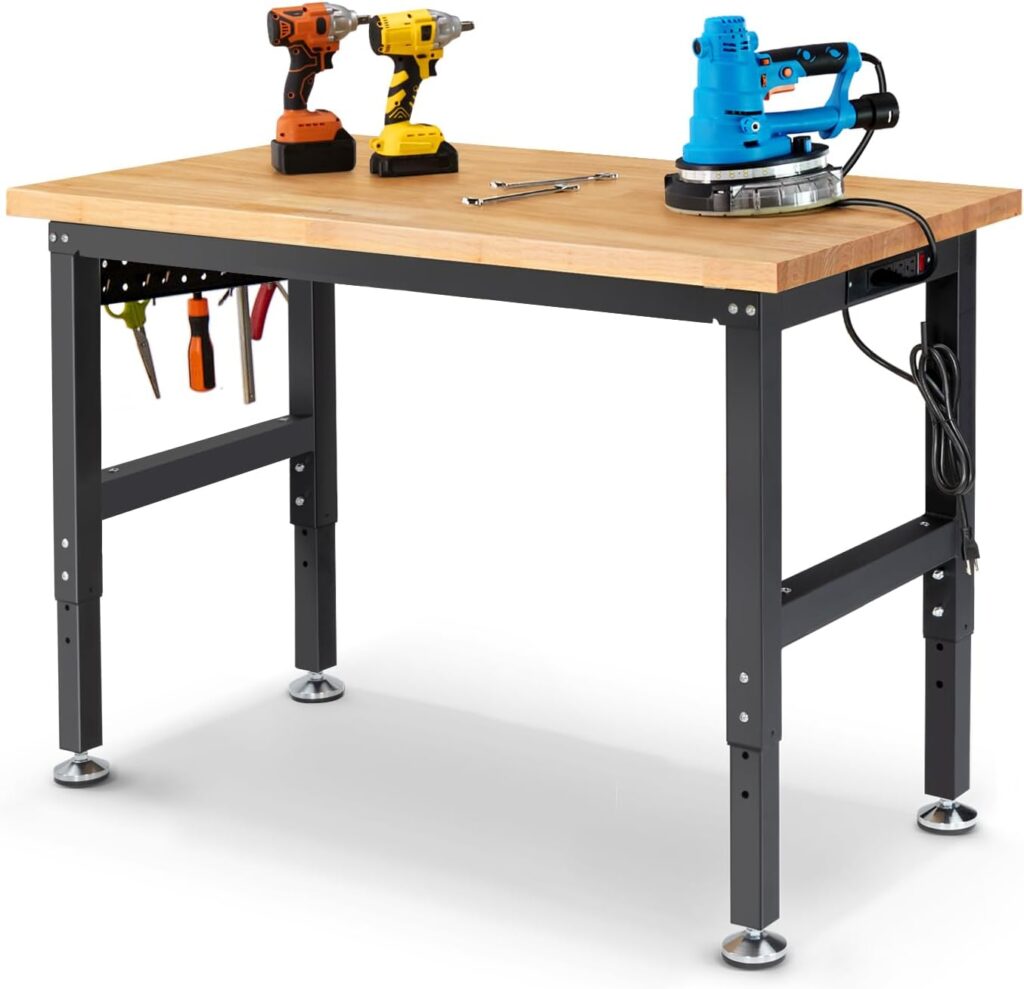
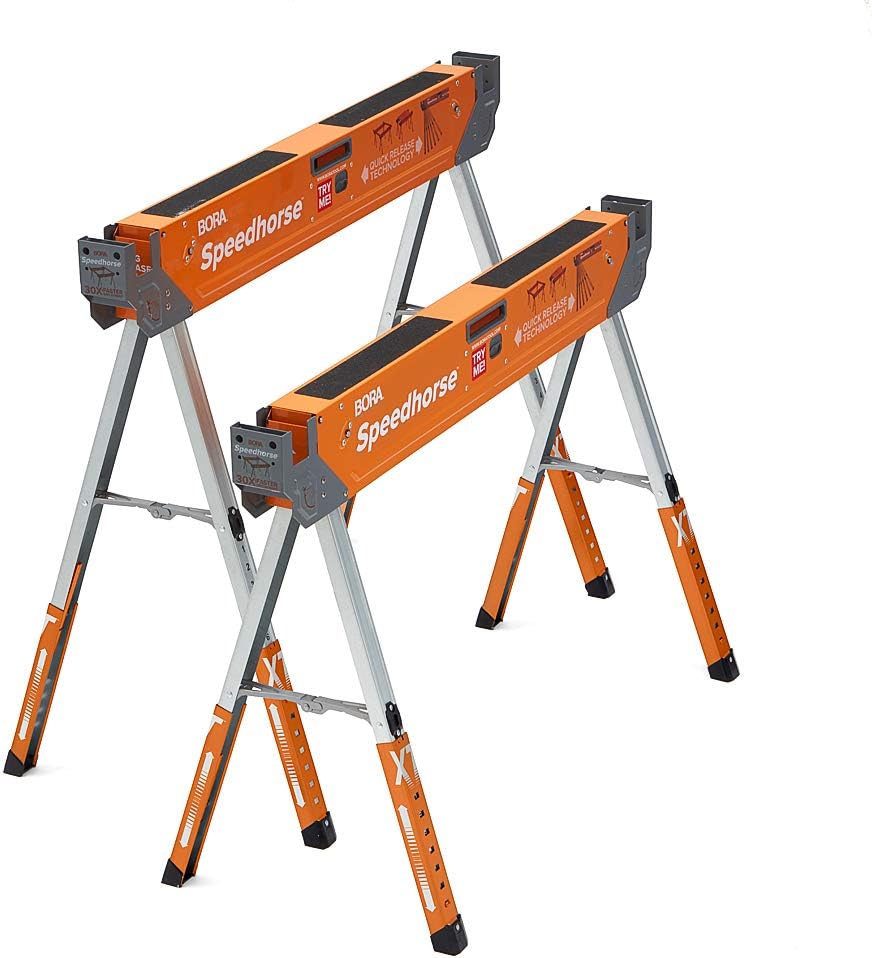
- Work Surface (a sturdy table or platform like workhorse benches for assembly)
The Role of Fabric Adhesive and a Sewing Kit
Fabric adhesive is indispensable for keeping the new upholstery batting securely in place, especially in areas that may require additional support but cannot be easily sewn.
It provides a quick and firm bond, reducing the need for complex sewing or stitching in tight spaces.
However, having a sewing kit on hand is also helpful for minor repairs or adjustments, particularly if some areas need extra reinforcement.
Basic stitching can also be used to secure edges and prevent any fraying of fabric that may have occurred during the disassembly process.
Selecting High-Quality, Durable Padding
When it comes to replacing recliner padding, quality truly matters.
Choosing high-quality, durable foam or batting ensures that your recliner will remain comfortable for years to come, even with regular use.
Options like high-density foam or memory foam offer superior resilience and support, maintaining their shape far better than cheaper alternatives.
Investing in durable padding not only provides a more luxurious feel but also prevents the need for frequent replacements.
A good-quality padding upgrade can transform your recliner, making it feel as comfortable as it did when it was brand new, and it’s a small investment that goes a long way in prolonging the life of your chair.
Step-by-Step Guide to Replacing Recliner Padding: A DIY Approach to Restoring Comfort
Step 1: Remove the Back Panel or Fabric Covering
The first step in replacing your recliner’s padding is to carefully remove the back panel or fabric covering.
Begin by locating the staples or screws that secure the fabric to the frame.
Use a staple remover or ice pick and a screwdriver to gently detach the covering, taking care to avoid tearing the fabric or damaging the underlying structure.
If the upholstery has a zipper, unzip it fully to access the padding inside.
As you work, keep track of any screws or staples you remove, placing them in a small container or at further lengths separate containers to prevent loss.
Working slowly and methodically will help you avoid any unnecessary damage, ensuring the fabric can be reattached smoothly later on.
Step 2: Access the Recliner Cushion and Padding
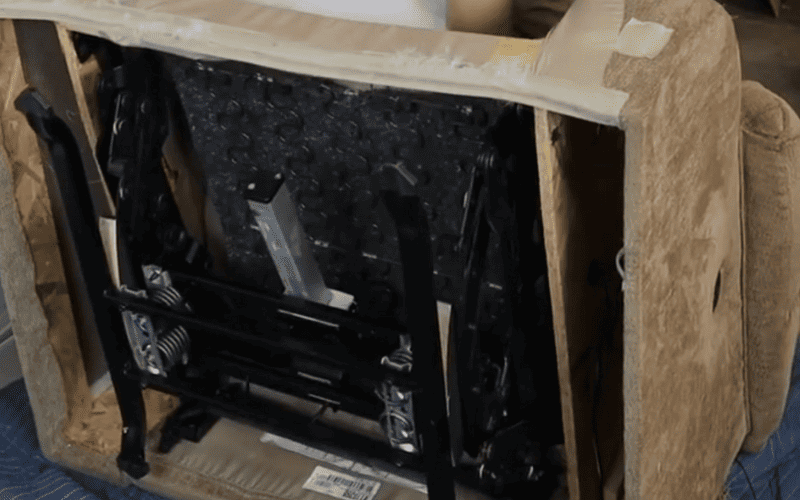
Once the back panel or covering is removed, you’ll need to access the worn padding underneath.
Gently lift the cushion or any attached components, being mindful of how they are secured to the recliner.
Don’t be shy when it comes to this, be sure to either take videos or photos as this helps immensely when memorizing where screws and other recliner components go.
Depending on the design of your recliner, you may find that the padding is held in place with additional staples or fasteners.
Carefully remove these without damaging the cushion or the chair’s frame.
As mentioned before it is essential to keep any attachments organized so that you can easily reassemble the chair later.
Take this opportunity to inspect the overall condition of the recliner’s interior, checking for any signs of wear or damage that may need attention during the padding replacement process.
Step 3: Measure and Cut New Padding For Recliner
With the old padding removed, it’s time to measure and cut the new foam or padding to fit the recliner’s dimensions accurately.
Start by measuring the length, width, and depth of the areas where the padding will be installed, noting down your measurements to ensure precision.
Another option is to take the foam out and place the old padding onto the new and draw an outline on the foam with a marker and cut it to size.
When selecting your new padding, opt for high-density foam or memory foam for the best support and comfort.
Use a straight edge and a sharp pair of scissors or a utility knife to cut the new padding, ensuring clean edges for a seamless fit.
If necessary, you can layer the padding for additional cushioning, you can utilize upholstery batting and use your spray adhesive to bond these for extra comfort and padding.
Be sure to maintain the overall height to ensure proper closure of the recliner components.
Step 4: Secure New Recliner Padding in Place
After cutting the new padding, it’s time to secure it in place within the recliner.
Start by positioning the padding exactly where it needs to go, ensuring a snug fit without any gaps. For a stable attachment, use fabric adhesive on the underside of the padding to hold it firmly against the frame.
This part isn’t vital but does help. If your foam is snug enough, you will be fine without spraying the adhesive.
Considering that if your foam decays over time you may want to replace it again and if it is bonded to the fabric on the underside it may cause problems and leave foam particles over.
If you prefer, or if the padding requires extra support, minimal sewing can also be employed to secure the edges.
Ensure that any stitching is done carefully to avoid adding bulk that could affect the comfort or appearance of the recliner.
Allow any adhesive to dry fully before moving on to the next step to ensure a strong bond.
Step 5: Reattach the Back Panel
The final step is to reattach the back panel or fabric covering, which will finalize the padding replacement process.
Start by aligning the fabric carefully with the edges of the recliner, ensuring that it is smooth and taunt to prevent wrinkles or sagging.
If you removed screws, reinsert them to secure the panel in place, and if you used staples, make sure they are evenly spaced for a polished finish.
For fabric with a zipper, ensure it is zipped fully to avoid any gaps.
Take a moment to double-check that everything is securely in place and that the recliner functions properly.
Once reassembled, your recliner should feel rejuvenated, providing the comfort and support you need.
Comparing Padding Options: High-Density Foam, Memory Foam, and Polyester Batting
When selecting padding for your recliner, it’s essential to understand the various options available, each with its unique benefits and drawbacks.
High-density foam is a popular choice known for its firmness and durability.
It provides excellent support, helping maintain shape and resisting compression over time. However, some users may find it a bit too rigid for their comfort preferences.
On the other hand, memory foam has gained popularity for its contouring properties, allowing it to mold to the body’s shape and provide a plush feel.
While memory foam is incredibly comfortable, it may retain heat and can be more expensive than other options.
Another alternative is polyester batting, which is often used as a softer layer over firmer padding.
This material is lightweight and can add a plush feel to the recliner. However, it tends to compress more quickly than foam, leading to a shorter lifespan.
Choosing the right padding ultimately depends on your personal comfort preferences and how much wear and tear you expect from the recliner.
Tips for Selecting the Best Padding
When deciding on padding, consider several factors to ensure you make the best choice for your needs.
First, think about your comfort preferences; if you enjoy a firmer seat, high-density foam may be the ideal option, while those who prefer a softer, more cushioned feel might lean toward memory foam.
Next, evaluate the durability of the padding, especially if the recliner will see regular use.
High-density foam typically offers the best longevity, making it a smart investment for frequently used furniture.
Additionally, budget is a critical factor in your decision. While memory foam can provide exceptional comfort, it often comes at a higher price point.
High-density foam can be a more economical choice without sacrificing too much comfort, while polyester batting may be the most budget-friendly but might require more frequent replacements.
Finally, it’s beneficial to physically test the padding whenever possible.
Sit on various materials at a store to gauge their comfort levels, ensuring you select the padding that meets your preferences for both comfort and longevity.
Cost Savings of Recliner Padding Replacement
One of the most significant benefits of replacing recliner padding instead of reupholstering is the substantial cost savings.
Reupholstering a recliner can be a costly endeavor, often requiring professional assistance and premium materials that can quickly add up.
As an upholsterer for many years this can range anywhere between $500-$1000+ depending on size of recliner and fabric used.
In contrast, replacing the padding is a much more budget-friendly option that allows you to restore comfort without the high expense.
If you are a DIY enthusiast you can complete the padding replacement yourself, further reducing labor costs and making it an accessible project for those looking to rejuvenate their furniture without breaking the bank.
Preserving Original Upholstery
Replacing padding also allows you to preserve the original upholstery of your recliner, which may still be in excellent condition.
Also keep in mind most upholstery shops don’t force you to completely reupholster your recliner in order to replace the foam. They will charge you for the labor and foam involved in this while keeping your original upholstery intact.
Upholstery fabric can hold sentimental value or contribute significantly to the room’s aesthetic, and maintaining it can enhance your home’s decor.
By focusing on the padding, you ensure that the outer fabric remains intact, avoiding the hassle of selecting new upholstery that matches your style and preferences.
This preservation also means you won’t have to deal with the potential issues of matching patterns or colors, which can be time-consuming and frustrating.
Extending the Lifespan of Your Recliner
Another compelling advantage of replacing the padding is the extension of your recliner’s lifespan.
Over time, worn padding can lead to increased strain on the frame and other components, potentially resulting in more severe damage that may require costly repairs.
By proactively replacing the padding, you can mitigate this wear and tear, allowing your recliner to function effectively for many more years. This simple yet effective maintenance task not only enhances comfort but also ensures that your recliner remains a reliable piece of furniture for relaxation and enjoyment.
Investing in padding replacement is a practical way to keep your recliner in peak condition while maximizing its longevity and usability.
Regular Fluffing for Optimal Support
One of the simplest yet most effective maintenance tips for prolonging your recliner’s comfort is regular fluffing of the cushions.
Over time, cushions can become compressed and lose their shape, leading to discomfort when sitting. By fluffing the cushions periodically, you help redistribute the filling and restore their original form, ensuring they continue to provide the support you need.
Fluffing can be as simple as gently kneading the cushions or shaking them to loosen the fibers.
This routine task takes only a few minutes but can significantly enhance your seating experience and extend the lifespan of your recliner.
Rotating Cushions to Prevent Uneven Wear If Possible
Another helpful practice is to rotate the cushions regularly if at all possible. Just like any furniture, recliners can develop uneven wear patterns due to consistent use in the same areas.
By periodically switching the cushions’ positions or flipping them over, you promote even wear and tear, which helps maintain their structure and comfort. This can be especially beneficial for recliners with removable cushions, allowing you to take a proactive approach to their care.
Rotating cushions can prevent the discomfort that comes from sagging or flattened areas, ensuring a consistently comfortable seating experience.
Restoring Comfort Through Padding Replacement
A Practical DIY Solution
Moreover, considering DIY padding replacement is a practical solution for those looking to avoid the hefty costs associated with purchasing new furniture.
Instead of investing in a brand-new recliner, which can be expensive and time-consuming, tackling the padding replacement yourself allows for significant savings while achieving impressive results.
Many homeowners find that with the right tools and a little guidance, the process can be straightforward and fulfilling. Engaging in this DIY project not only saves money but also empowers you to take control of your furniture’s comfort and longevity.
Take the First Step Toward Comfort
Refreshing your recliner’s padding is a worthwhile endeavor that pays off in comfort, durability, and cost savings.
If your recliner shows signs of wear, don’t hesitate to consider replacing the padding before resorting to buying new furniture. Embracing this simple yet effective solution can lead to a more enjoyable and supportive seating experience.
Take the plunge into a DIY project that can transform your recliner and breathe new life into your favorite piece of furniture, ensuring it remains a comfortable haven for relaxation for years to come.
You can always take your problems to an upholstery shop and they can help solve this much quicker and time efficiently for possibly a smaller cost of all the tools involved in the process.

