How to Repair Sofa Springs for Lasting Comfort and Support
Why Sofa Springs Are Essential for Comfort
Sofa springs are crucial for maintaining the structure and comfort of your furniture. They provide the underlying support that keeps cushions firm and evenly balanced. Properly functioning springs help distribute weight across the sofa, preventing wear and tear on specific areas.
When springs are in good condition, they enhance the sofa’s durability and extend its lifespan.
Without reliable springs, a sofa can feel uneven, saggy, and uncomfortable to use. Over time, this can lead to further issues with the frame and fabric, reducing the sofa’s overall quality.
Understanding the role of springs highlights their importance in ensuring lasting comfort and support.
Common Problems with Sofa Springs
Sofa springs often experience wear and tear from regular use, leading to various problems. Sagging springs are a common issue, causing cushions to dip in the middle and creating an uneven seating surface.
Broken springs can lead to sharp edges or poking, which makes the sofa both uncomfortable and unsafe to use. Misaligned springs occur when springs shift out of place, resulting in a noticeable lack of support.
These issues can arise from excessive weight, poor-quality springs, or aging furniture. If left unaddressed, damaged springs can weaken the sofa’s frame and decrease its usability.
Recognizing these problems early is key to maintaining your sofa’s functionality.
What This Guide Offers
This guide provides step-by-step instructions to help you restore your sofa’s springs to their original condition. It explains how to identify specific problems with the springs, whether they are sagging, broken, or misaligned.
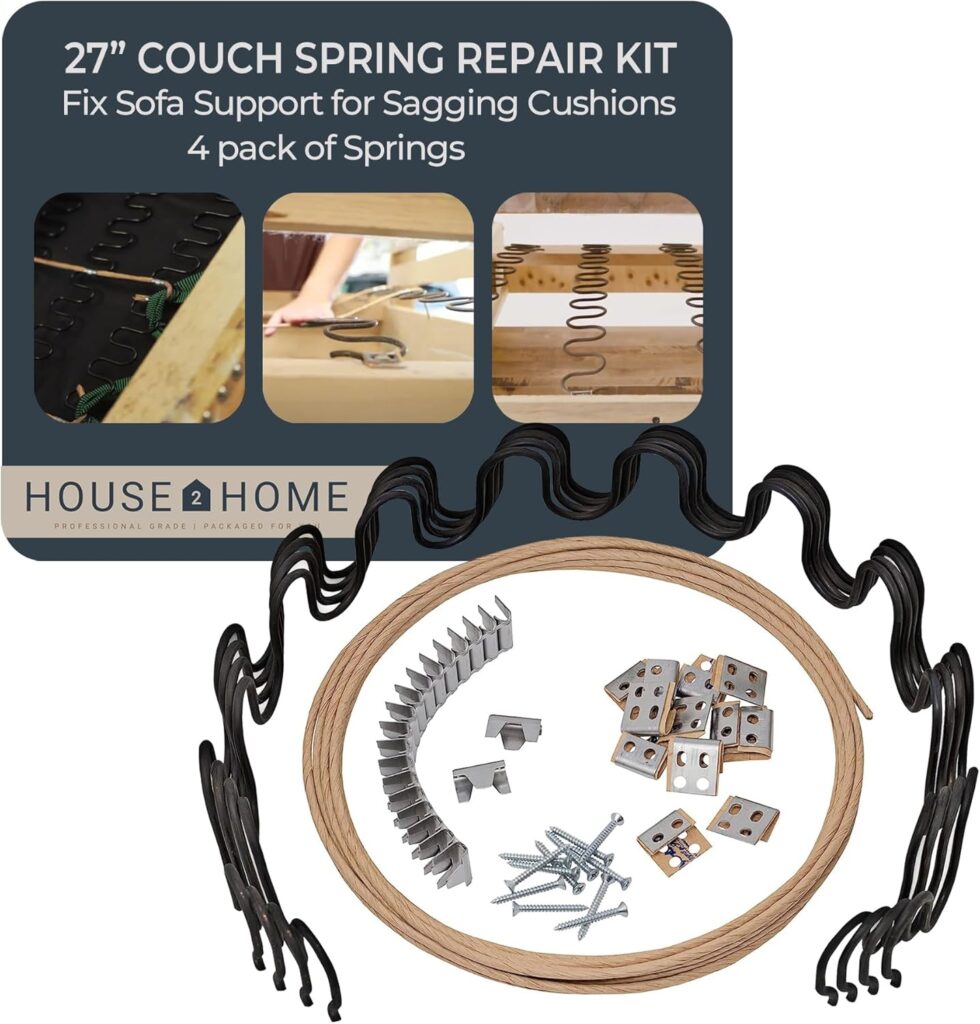
You’ll learn about the tools and materials required for effective repairs, such as replacement springs and spring clips.
The guide also walks you through practical methods to secure, repair, or replace springs as needed. By following these steps, you can restore your sofa’s support and comfort without needing professional help.
This approach not only saves money but also extends the life of your furniture, making it enjoyable to use again.
Understanding Sofa Spring Types: A Key to Effective Repairs
Common Types of Sofa Springs
Sofas use various types of springs to provide support and maintain comfort.
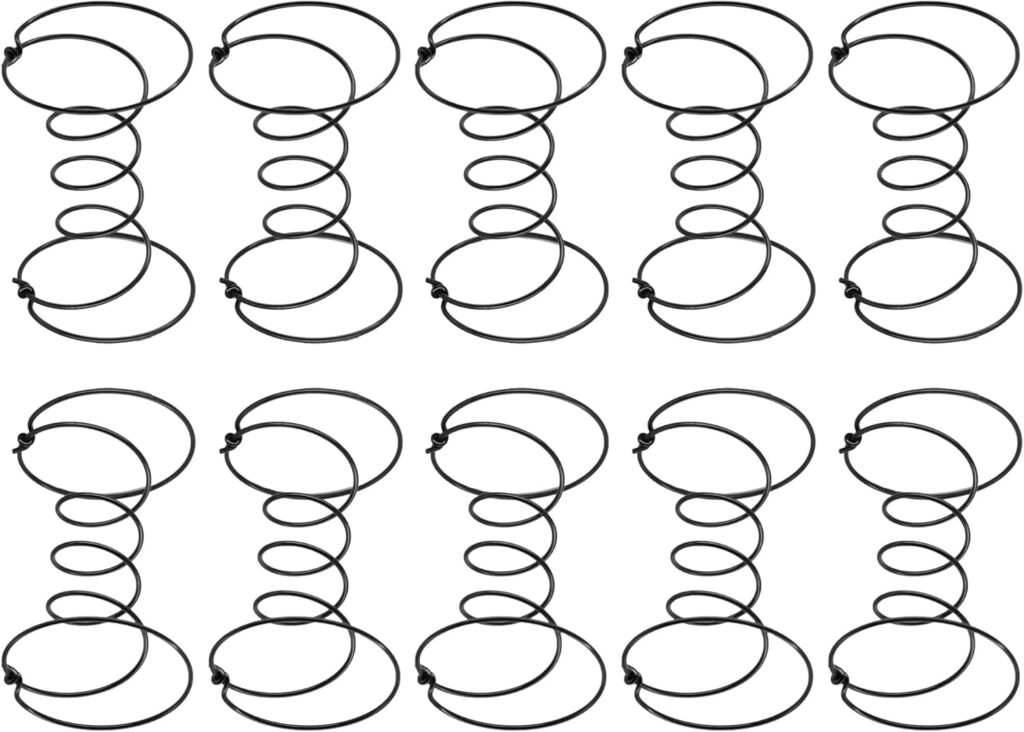
- Coil springs, often found in older or high-end sofas, are cylindrical and offer a bouncy yet firm feel.
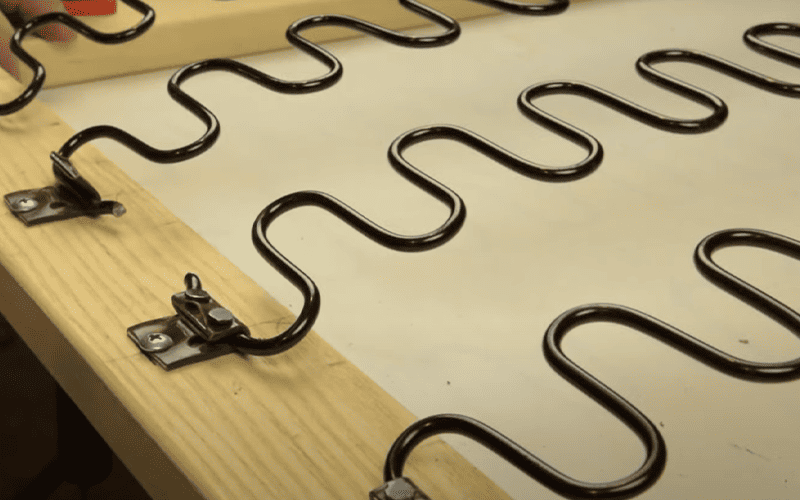
- Zigzag springs, also called sinuous springs, are S-shaped and run horizontally across the sofa frame, providing consistent support with a lower profile.
- Pocket springs are individual coils encased in fabric pockets, offering personalized comfort by responding independently to pressure.
Each spring type has unique characteristics that affect the sofa’s comfort, durability, and repair approach. Recognizing the differences helps you understand the structure of your sofa and plan effective repairs.
How to Identify the Type of Spring in Your Sofa
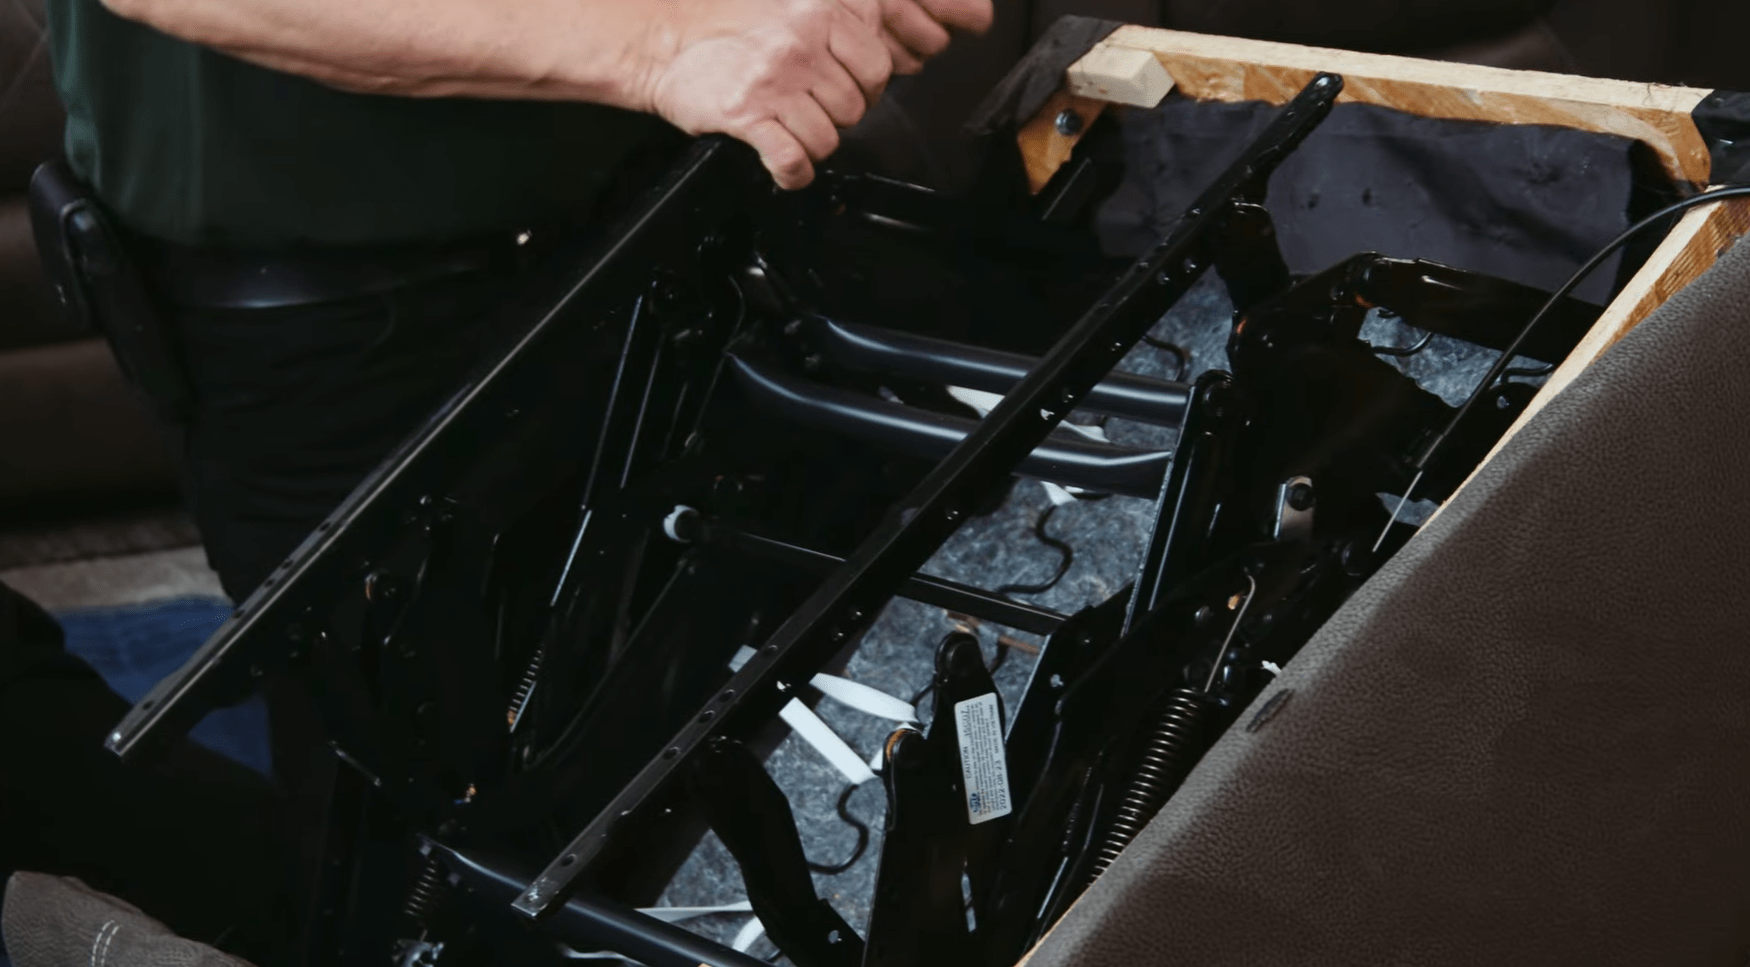
Identifying your sofa’s spring type requires a simple inspection. Start by removing the cushions and checking underneath for visible springs.
- Coil springs appear as round, vertical spirals attached to the frame.
- Zigzag springs have a continuous S-shaped pattern, often secured with clips or screws along the sofa’s base.
- Pocket springs are hidden within the cushions, with individual coils wrapped in fabric.
If springs are not immediately visible, you may need to lift the upholstery or access the frame carefully. Knowing the type of spring ensures you choose the right tools and techniques for repair, saving time and avoiding additional damage.
Signs Your Sofa Springs Need Repair: When to Take Action
Common Indicators of Damaged Sofa Springs
Damaged sofa springs can lead to noticeable changes in comfort and support. One common sign is sagging cushions, where the seating dips or sinks more than usual.
Uneven support is another issue, creating an imbalance that can make sitting uncomfortable or awkward. Squeaky or creaky noises occur when springs rub against the frame or each other due to wear or misalignment.
Over time, these problems worsen, leading to reduced functionality and potential damage to the sofa’s frame.
If you experience discomfort or instability while sitting, it is likely a sign that the springs need attention. Recognizing these indicators early can prevent further wear and ensure a longer lifespan for your sofa.
How to Inspect Sofa Springs for Damage or Misalignment
Inspecting your sofa springs involves checking for visible and hidden issues. Start by removing the cushions to expose the frame and springs beneath. Look for springs that appear loose, broken, or out of alignment.
Misaligned springs may lean or twist, while broken springs can have sharp ends or gaps.
Gently press on the seating area to identify areas with less resistance, as these often indicate sagging or weakened springs. Listen for squeaky sounds when applying pressure, as this can signal worn or poorly secured springs.
Thorough inspection ensures you identify the root cause of the problem, allowing for targeted and effective repairs.
Essential Tools and Materials for Sofa Spring Repairs
Must-Have Tools for Repairing Sofa Springs
Repairing sofa springs requires a few key tools to ensure a successful and efficient process.
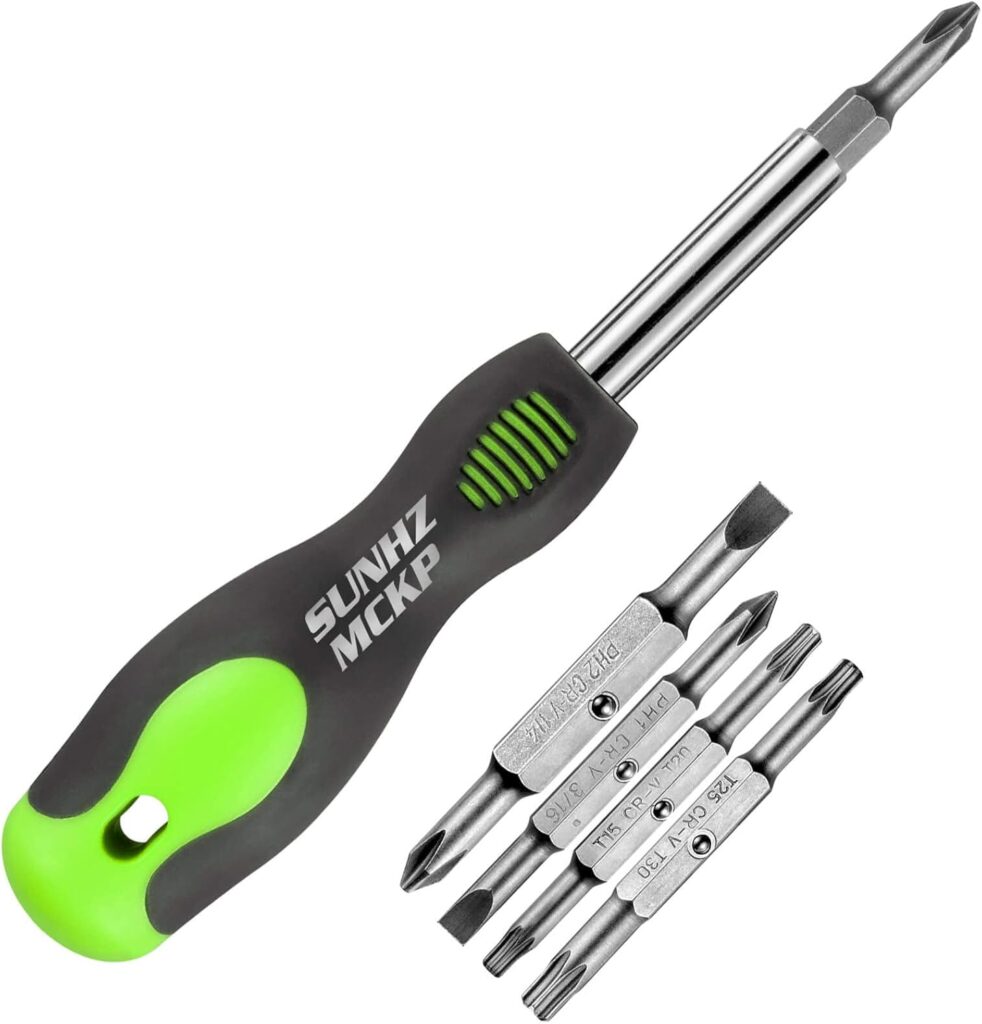
- A screwdriver is essential for removing screws or fasteners securing the sofa’s frame.
- Pliers are useful for gripping and adjusting springs, as well as removing staples or clips.
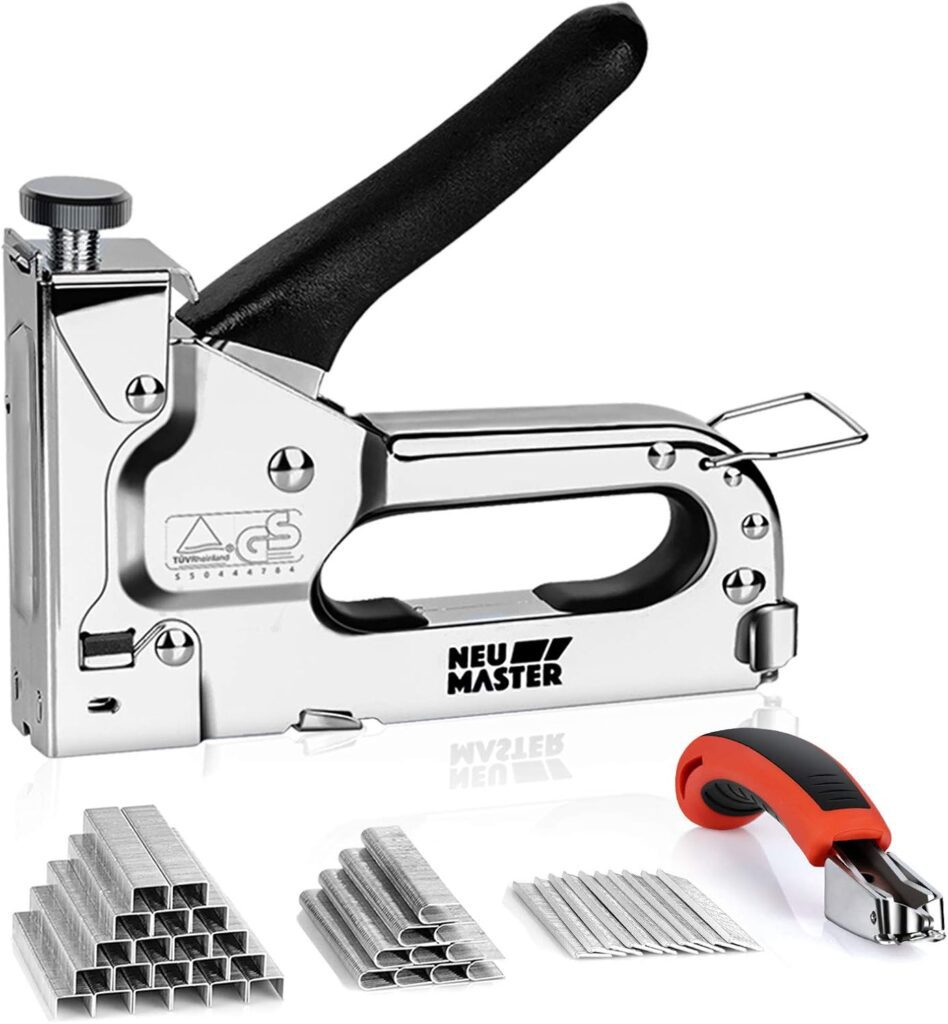
- A staple gun secures upholstery fabric back into place after repairs.
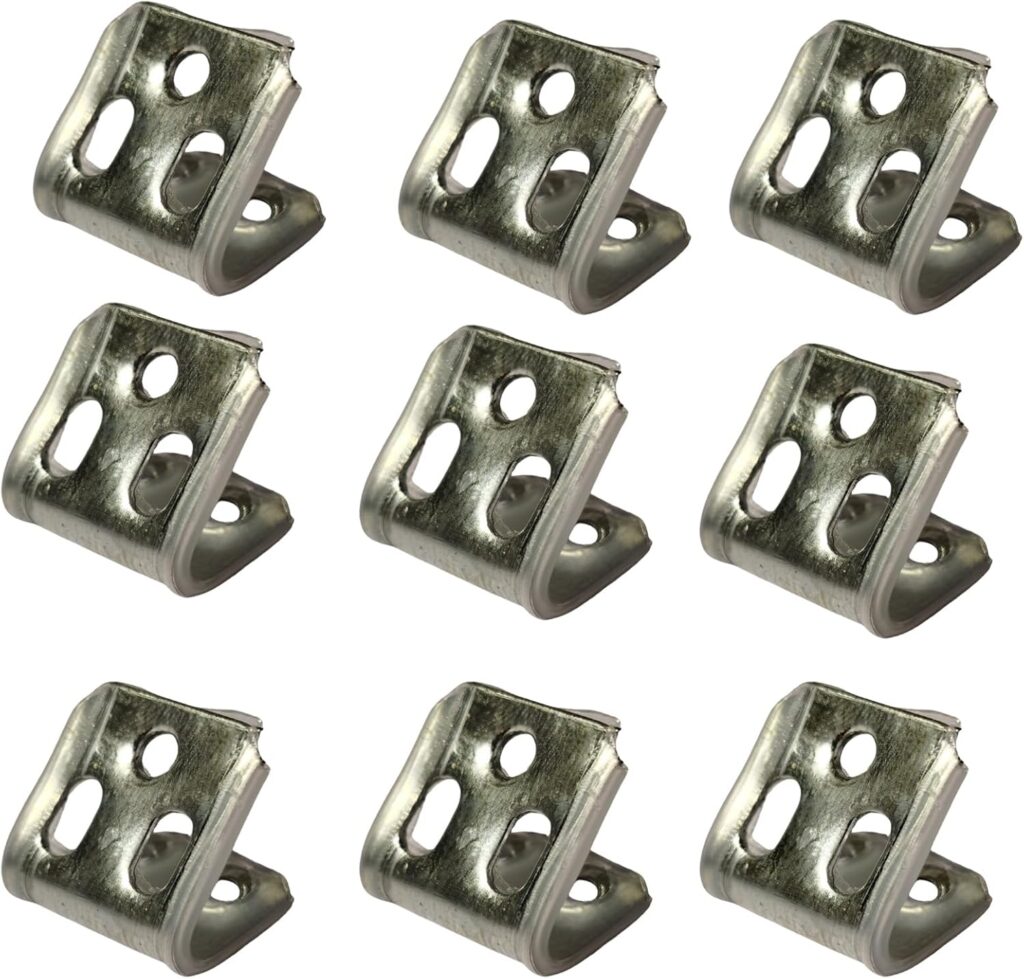
- Replacement springs and spring clips are crucial for fixing broken or missing components.
These tools allow you to perform the repair with precision and restore your sofa’s structure effectively. Keeping these items on hand ensures you are fully prepared for the task.
Optional Tools for Added Convenience and Safety
In addition to the essential tools, optional items can make the repair process safer and more efficient.
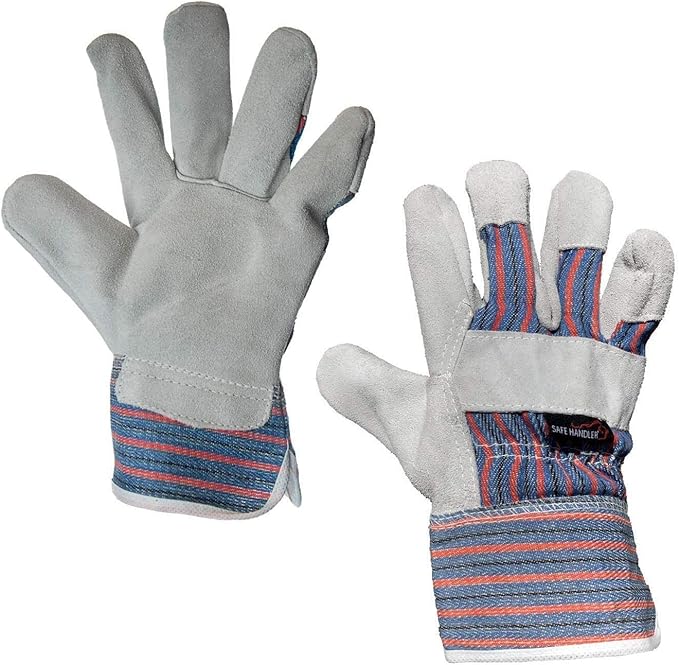
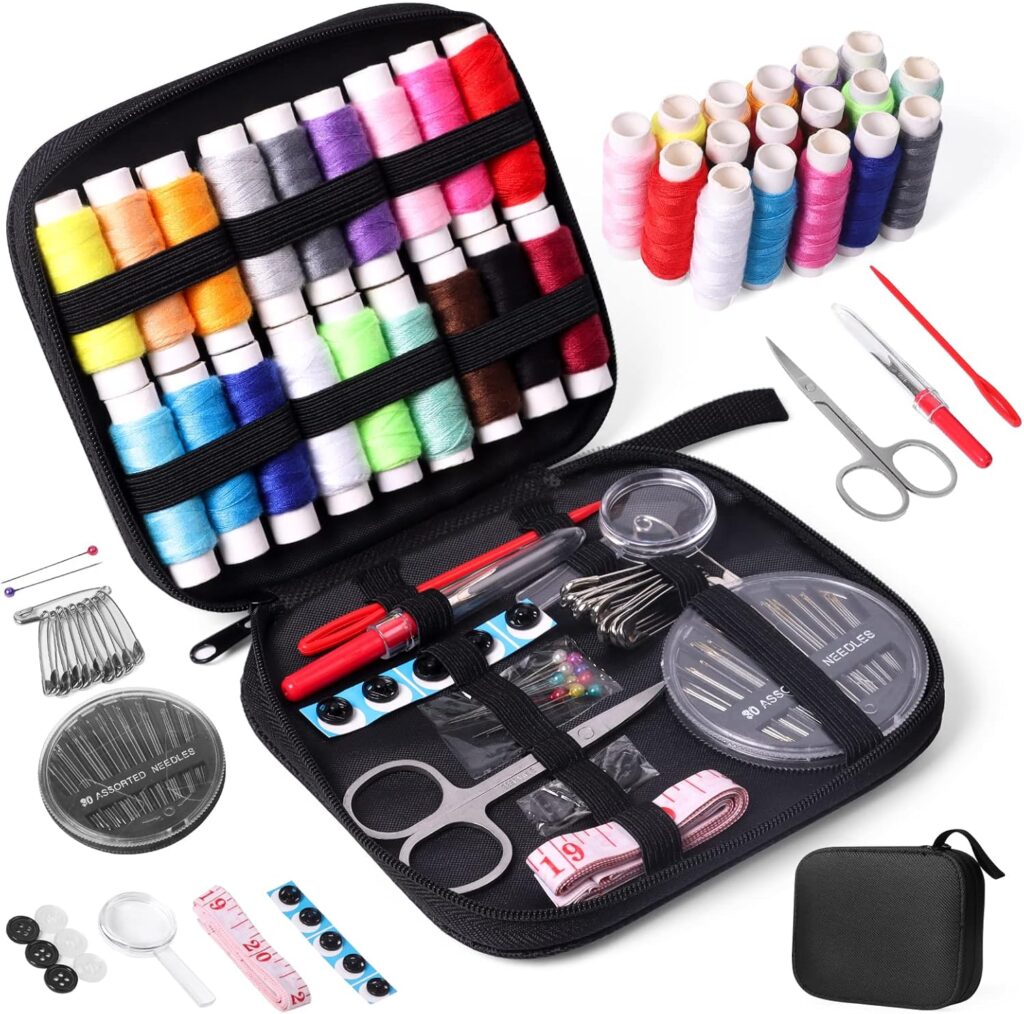
Safety gloves protect your hands from sharp edges or stray staples while working. An upholstery needle and thread are helpful for stitching fabric or reinforcing areas that may have torn during disassembly.
These tools are especially useful for detailed repairs and reupholstery tasks. While not mandatory, they can improve the quality and durability of your repair.
Having these optional tools on hand can save time and ensure a smoother repair experience.
Preparing Your Sofa for a Successful Spring Repair
How to Remove Fabric to Access Sofa Springs
To access the springs, start by removing the cushions and placing them aside in a clean, safe area.
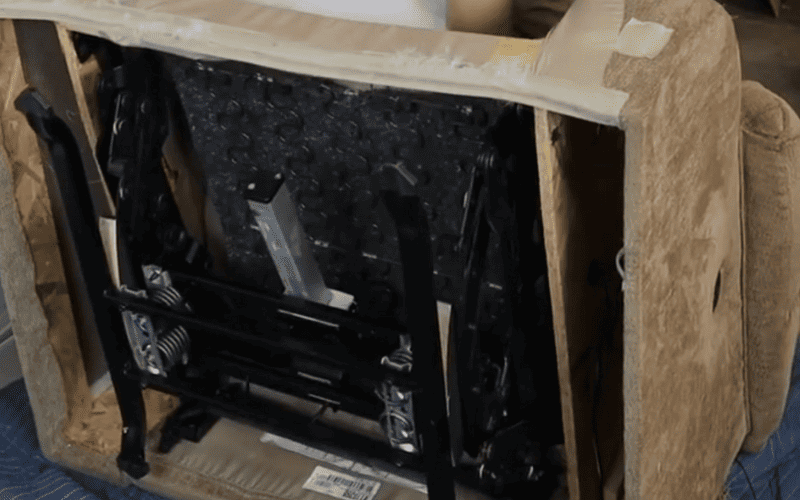
Turn the sofa over to expose the bottom and check for fabric secured with staples, screws, or clips.
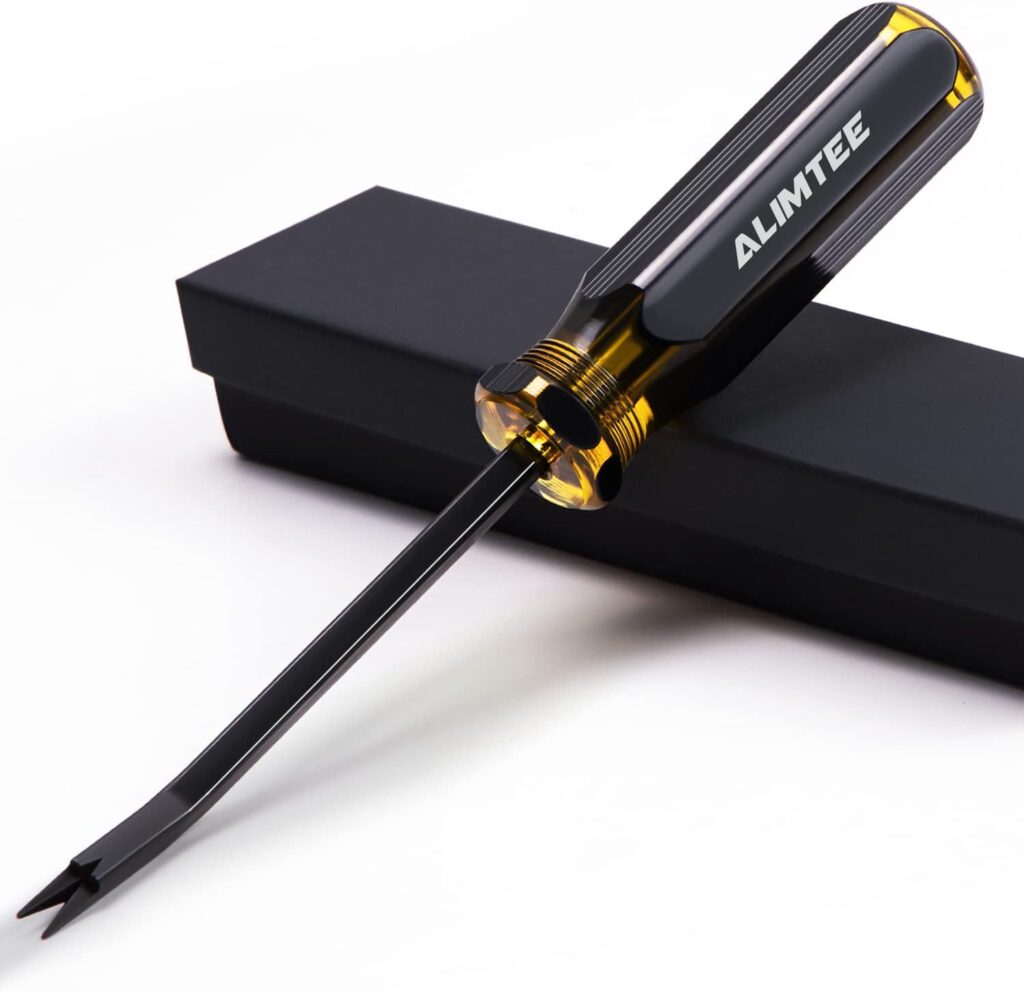
Use a staple remover or flathead screwdriver to carefully loosen the fabric without tearing it. If screws or clips are holding the fabric in place, unscrew or detach them using the appropriate tools.
Work slowly and methodically to avoid damaging the upholstery or the sofa frame. Once the fabric is removed, set it aside for reassembly after repairs.
Properly removing the fabric ensures full access to the springs while preserving the material for reuse.
Tips for Handling Upholstery Safely During Repairs
Handling upholstery carefully prevents unnecessary damage to the fabric and frame. Always work on a clean, flat surface to avoid staining or tearing the material.
Use safety gloves to protect your hands from sharp staples or spring edges. Avoid pulling or tugging on the fabric too forcefully, as this can cause rips that are difficult to repair.
Take photos of the upholstery layout before removing it to guide reassembly.
When removing staples or fasteners, keep a container nearby to store them for later use. Following these tips ensures the upholstery remains intact and simplifies the repair process.
Repairing and Replacing Sofa Springs for Restored Comfort
Step 1: Securing Loose Springs
Loose springs can cause sagging or uneven seating, but they are often easy to fix. Begin by locating the loose springs and checking their attachment points.
Most springs connect to clips or anchors on the sofa frame. Use pliers to adjust the spring’s ends if necessary, ensuring they fit securely into the clips or hooks.
Reattach the springs by pressing them firmly into place and securing them with spring clips if needed.
Double-check each connection to ensure the spring won’t shift or come loose again. Properly secured springs provide consistent support and prevent further wear on your sofa.
Step 2: Replacing Broken Springs
Broken springs require full replacement to restore the sofa’s support.
Start by removing the damaged spring with pliers or a screwdriver, depending on how it is attached. Measure the old spring and select a replacement of the same size and type for compatibility.
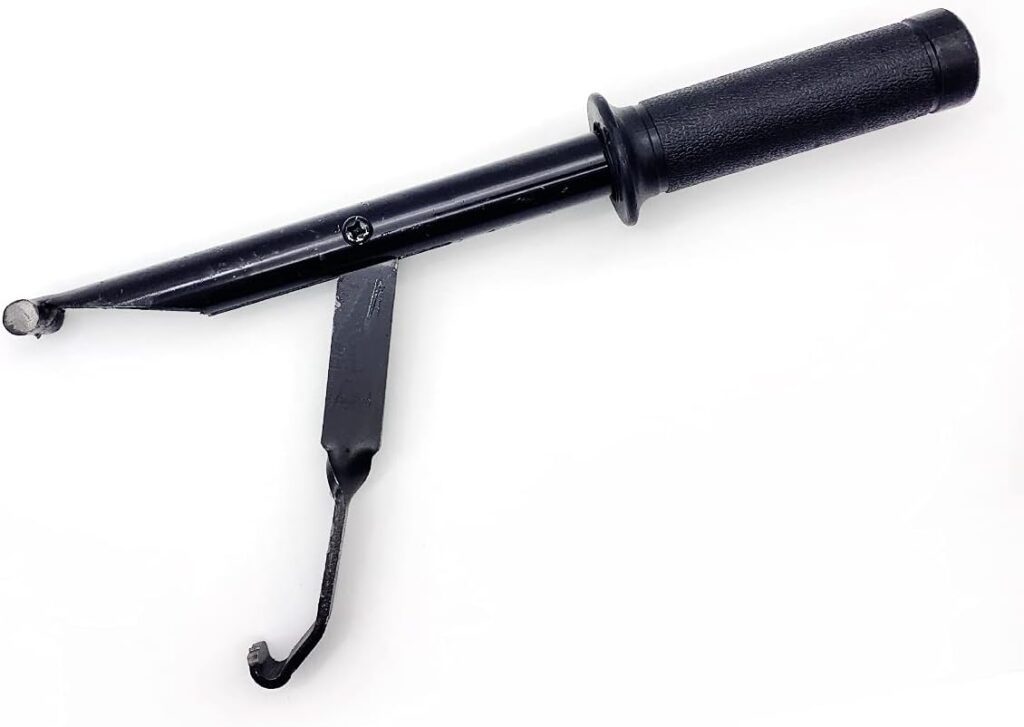
Install the new spring by attaching it to the original clips or anchors, making sure it aligns with the surrounding springs. Tighten all connections to ensure stability and even support across the sofa.
Test the new spring by pressing on the area to confirm it works as intended. Replacing broken springs ensures your sofa remains functional and comfortable.
Step 3: Reinforcing Weak Springs
Weak springs that still function may benefit from reinforcement to extend their usability.
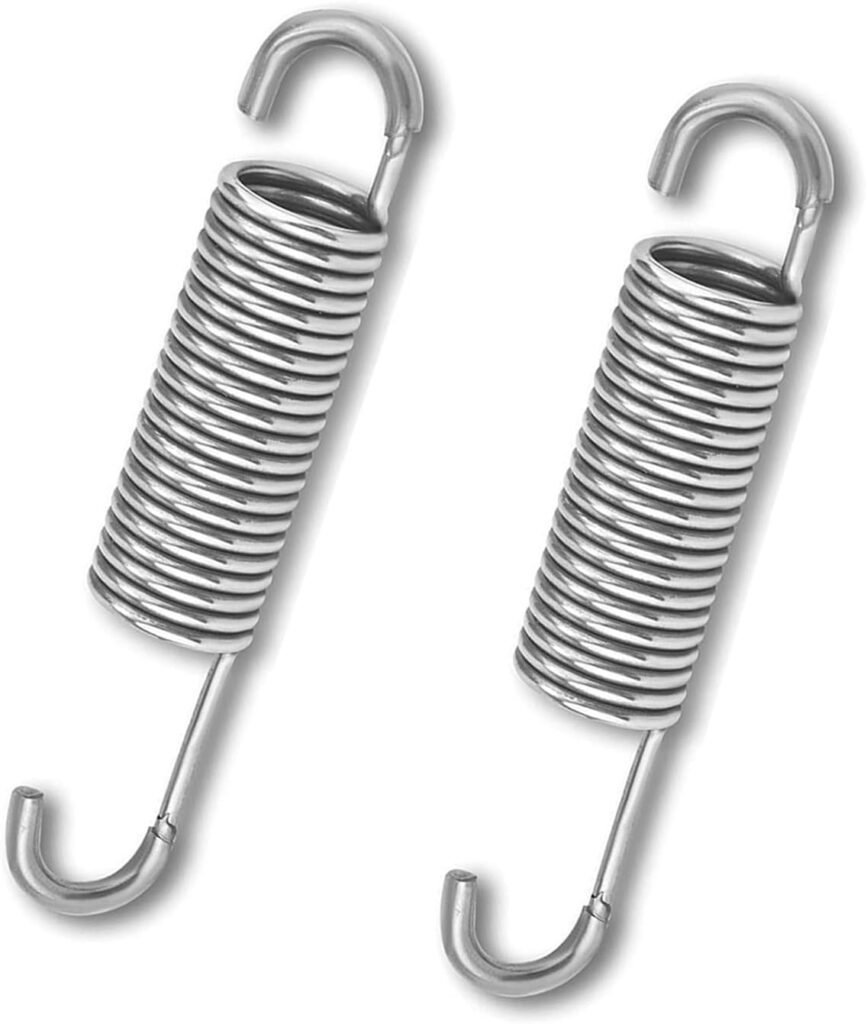
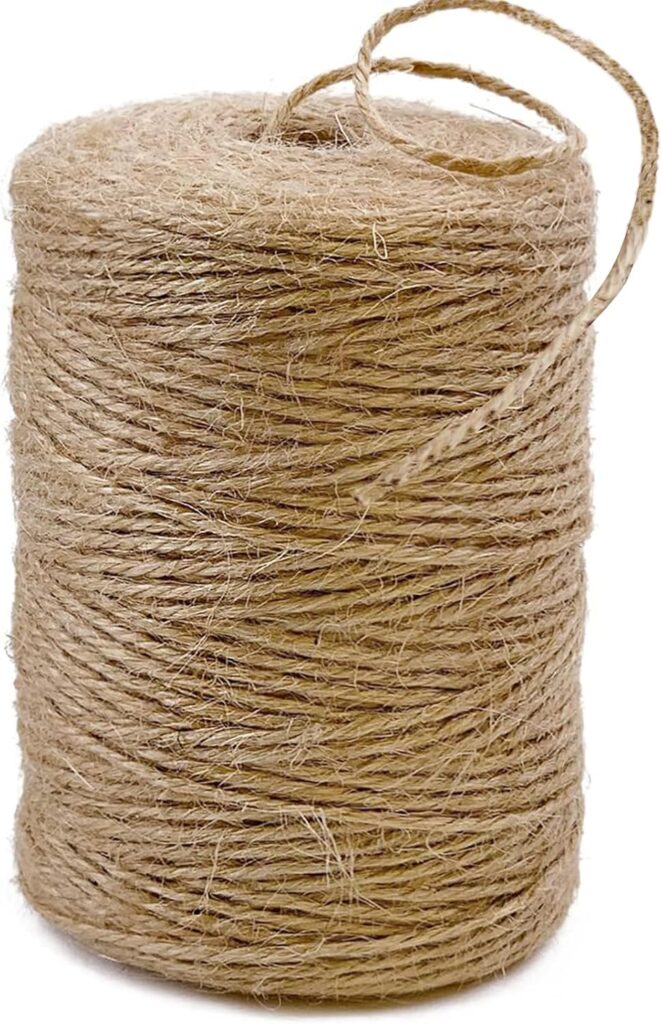
Use spring tensioners or strong twine to provide additional support and maintain the spring’s shape. Wrap the twine around the spring in a figure-eight pattern, securing it tightly to strengthen weak areas.
Attach tensioners directly to the spring to restore firmness and prevent sagging. Reinforcement can be a cost-effective solution when replacement isn’t necessary.
Properly reinforced springs improve the sofa’s stability and ensure consistent performance over time.
Reassembling and Reupholstering Your Sofa After Spring Repairs
Securing the Fabric Back in Place
After repairing or replacing the springs, it’s time to reassemble the sofa and secure the fabric. Start by laying the fabric back over the frame, ensuring it aligns properly with the edges.
Begin stapling the fabric back onto the frame, working from one side to the other to keep the fabric taut. Use a staple gun to insert staples at even intervals, securing the fabric tightly without causing any wrinkles or gaps.
For extra durability, make sure the fabric is attached at the same points it was originally fastened to.
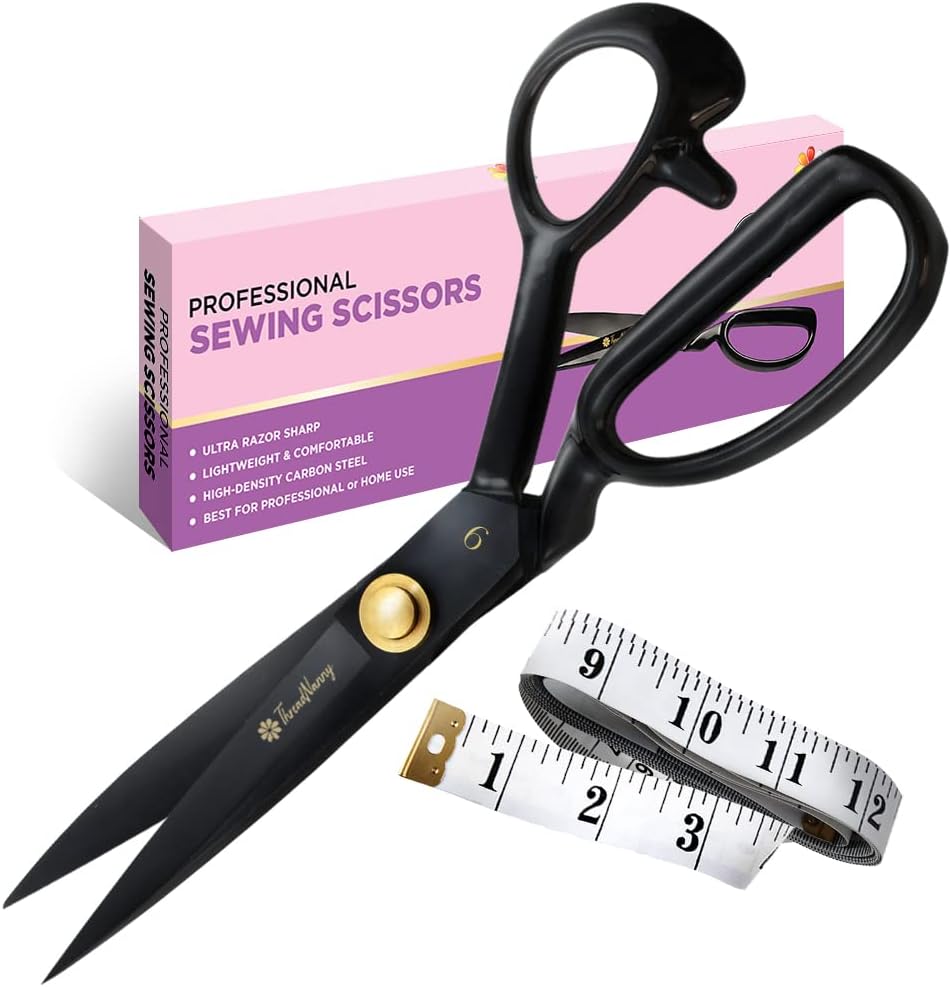
Once all areas are secured, use fabric scissors to trim any excess fabric to create a clean finish. Properly securing the fabric helps restore the sofa’s appearance and ensures the springs stay in place.
Testing the Repaired Springs for Durability
Before completing the reupholstery, it’s important to test the repaired springs for durability. Press down on various seating areas to ensure the springs are evenly supporting weight and do not cause any sagging or squeaking.
Check for proper alignment by observing the springs’ placement within the frame, ensuring they are all functioning as expected. Sit on the sofa to test the overall comfort and feel for any uneven areas that may need adjustment.
If everything feels secure and stable, you can proceed with the final stages of reupholstery. Testing the springs ensures your repairs were effective and the sofa will last longer without further issues.
Maintaining Sofa Springs for Long-Lasting Comfort and Support
Preventative Measures to Extend the Life of Sofa Springs
Proper maintenance can significantly extend the lifespan of your sofa springs. Avoid excessive weight in certain areas by ensuring the sofa is used evenly, which helps prevent over-stretching or damaging the springs.
Rotate cushions regularly to distribute pressure evenly across the seating area. Additionally, consider using a sofa cover to protect the springs from dirt, dust, and debris that may cause wear over time.
Regularly check the springs for any signs of sagging or misalignment, addressing small issues before they become bigger problems.
Taking these preventative steps reduces the frequency of repairs and helps maintain consistent comfort.
Best Practices for Cleaning and Regular Inspections
Cleaning your sofa and inspecting the springs regularly are essential for maintaining long-term comfort.
Vacuum the upholstery to remove dust and dirt that can affect the springs’ performance. Gently clean the fabric with a suitable upholstery cleaner to prevent buildup around the springs.
Every few months, inspect the springs by lifting the cushions and checking for any signs of damage, rust, or misalignment.
This routine inspection helps identify any potential issues early, allowing for quick fixes before they worsen. Regular care ensures the springs continue to function well and the sofa stays in good condition for years to come.
Bringing Your Sofa Back to Life with Spring Repairs
Recap of Key Steps for Repairing Sofa Springs
Repairing your sofa springs involves a few simple but important steps.
First, you assess the springs for damage or misalignment. Then, secure any loose springs and replace broken ones with the appropriate replacements.
If necessary, reinforce weak springs to restore firmness and prevent further sagging. After repairing the springs, carefully reassemble the sofa and secure the fabric back in place.
Finally, test the repaired springs to ensure durability before completing the reupholstery. By following these steps, you can restore both the comfort and support of your sofa.
Encouragement to Take on the Repair Project
Don’t be discouraged by the thought of repairing your sofa springs—it’s a manageable DIY project that can significantly improve your furniture’s comfort.
With the right tools and a bit of patience, you’ll enjoy a revitalized sofa that feels like new again. Completing the repair yourself not only saves money but also gives you the satisfaction of extending the life of your favorite furniture.
Explore More DIY Furniture Repair Guides
If you found this guide helpful, consider exploring more DIY furniture repair projects.
We have additional step-by-step guides that cover various aspects of maintaining and restoring your furniture, from reupholstering to frame repairs. Whether you’re a beginner or an experienced DIYer, these guides offer valuable tips to help you achieve great results.

