Understanding Upholstery Tears and Why They Matter
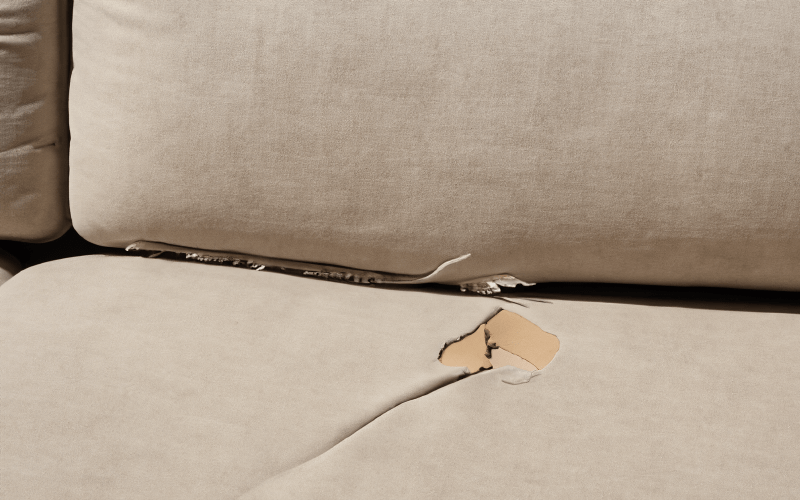
Upholstery tears are a common issue, whether caused by pets, sharp objects, or everyday wear and tear. While a small rip might not seem like a big deal at first, it can quickly grow into a larger problem if left unattended.
Addressing these tears promptly is crucial because neglecting them can lead to further damage, making the repair more difficult and expensive.
A torn section weakens the integrity of the fabric, leading to more fraying, and could eventually expose the cushioning beneath.
Quick action not only prevents additional damage but also extends the life of your furniture.
When it comes to repairing upholstery tears, a few key tools and materials can make all the difference.
You’ll need fabric adhesive or upholstery glue, a needle and thread, scissors, and sometimes a matching fabric patch for larger tears.
Having these supplies ready will enable you to handle small repairs efficiently and restore your couch to its former condition without having to call in a professional.
Assessing the Damage
Determine the Size of the Tear: Minor vs. Major Repairs
Before you embark on a repair, it’s essential to assess the size of the tear in your upholstery. Begin by measuring the length and width of the tear to gauge its severity.
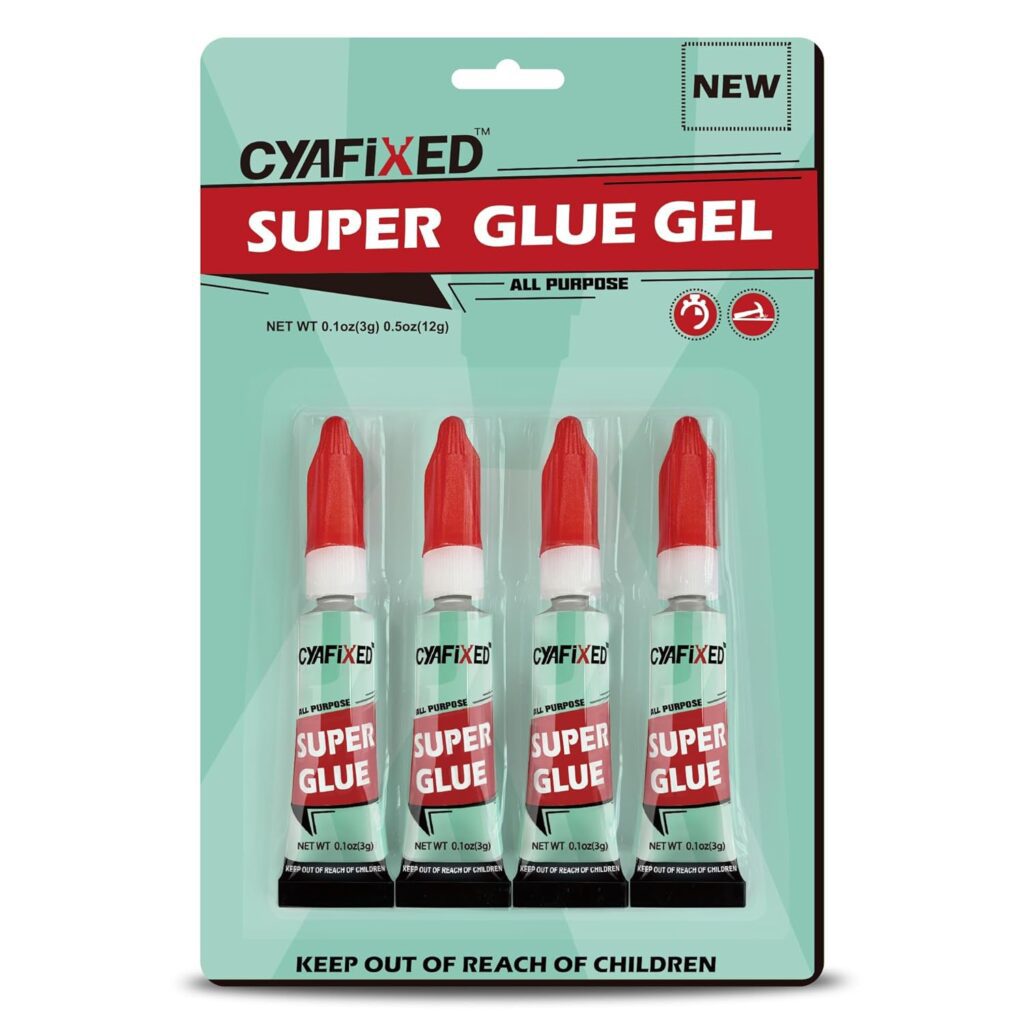
A minor tear, typically less than two inches, can often be repaired easily with fabric glue or stitching. Sometimes super glue gets the job done just as well.
On the other hand, larger tears, especially those exceeding two inches, may require a patch to ensure a secure and lasting fix.
If the tear is near seams or involves fraying edges, it’s important to address it quickly, as these areas can worsen over time.
By accurately measuring the tear, you can choose the most effective repair method, saving you time and effort in the long run.
Identify the Type of Fabric: Tailoring Your Repair Approach
The type of upholstery fabric plays a significant role in how you approach the repair process.
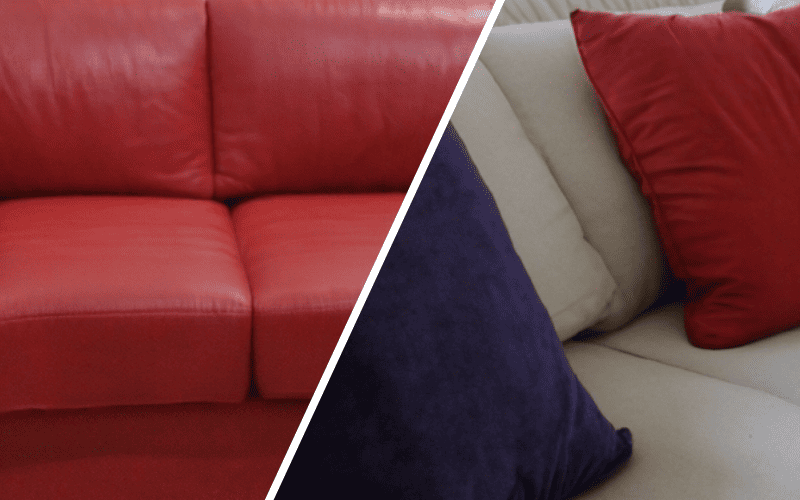
Common fabrics include leather, cotton, polyester blends, and microfiber, each presenting unique challenges and benefits.
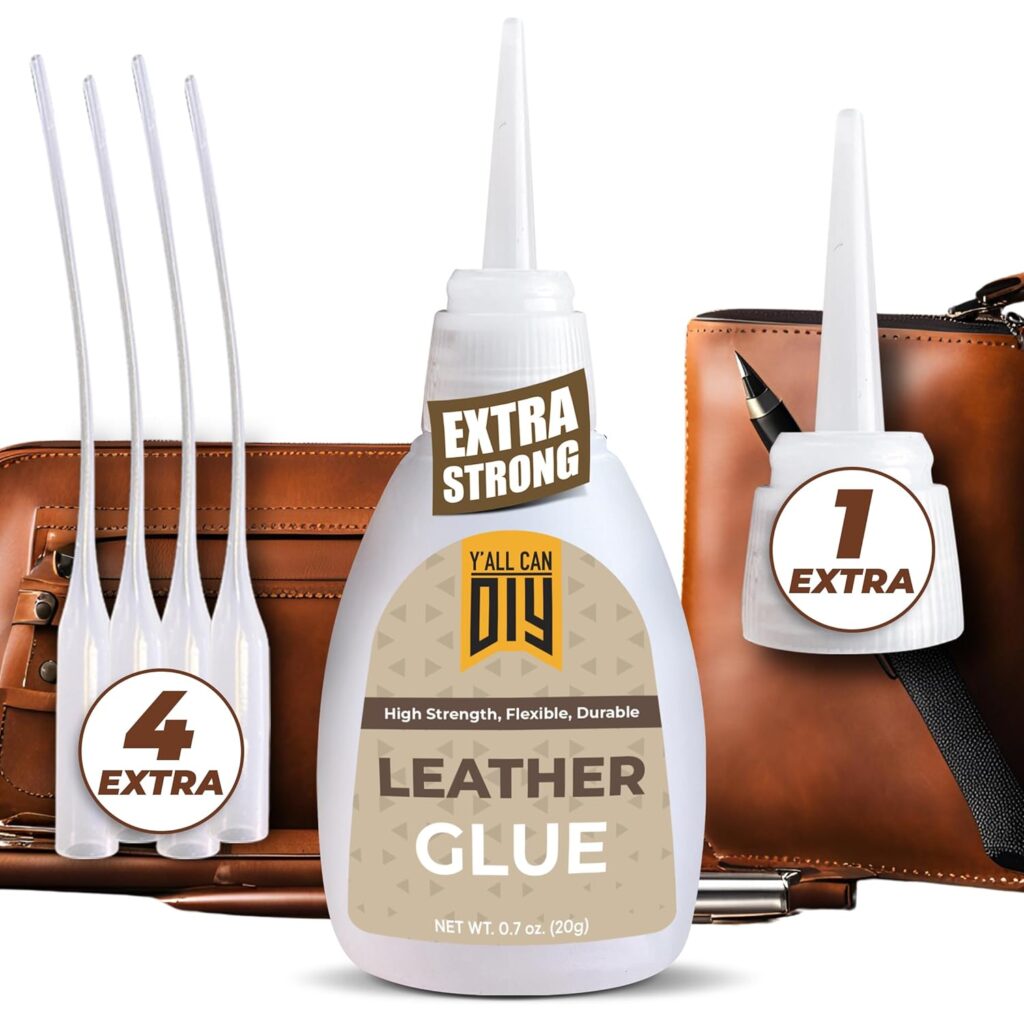
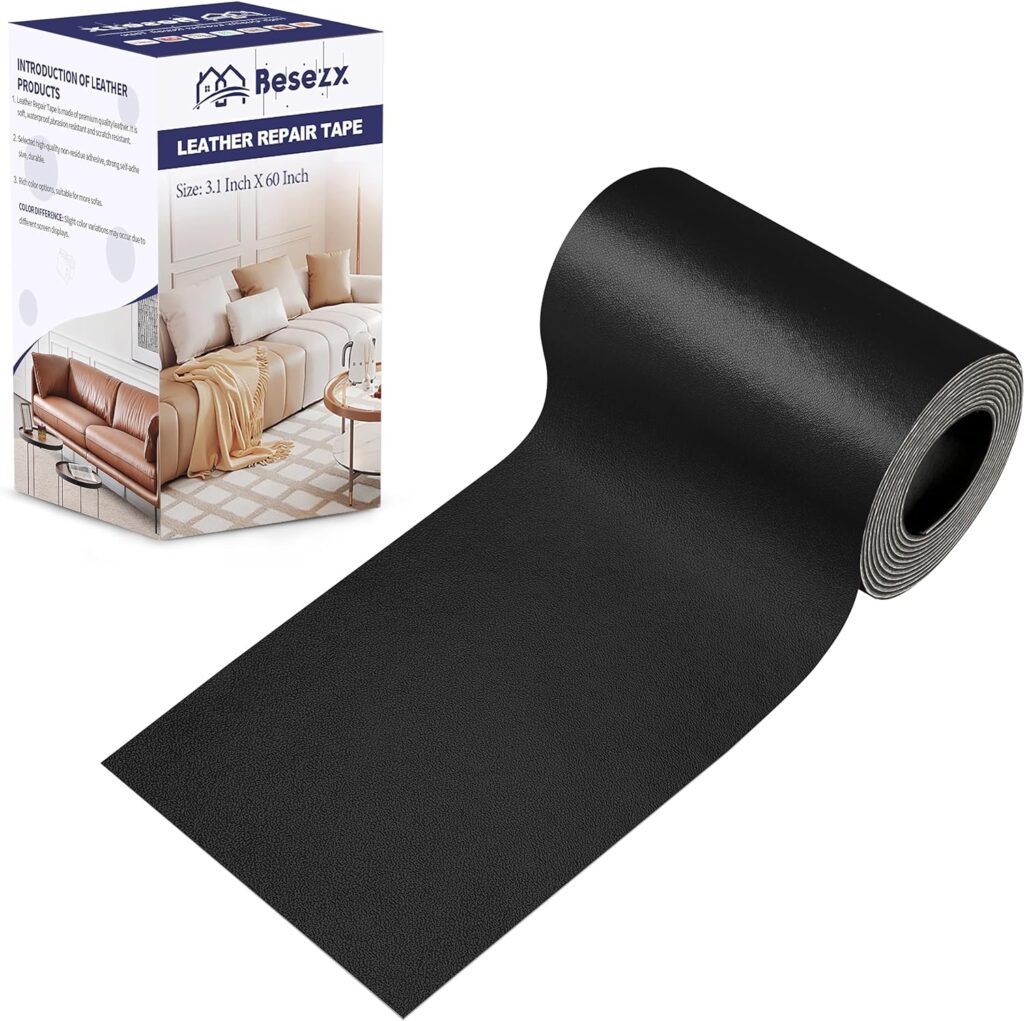
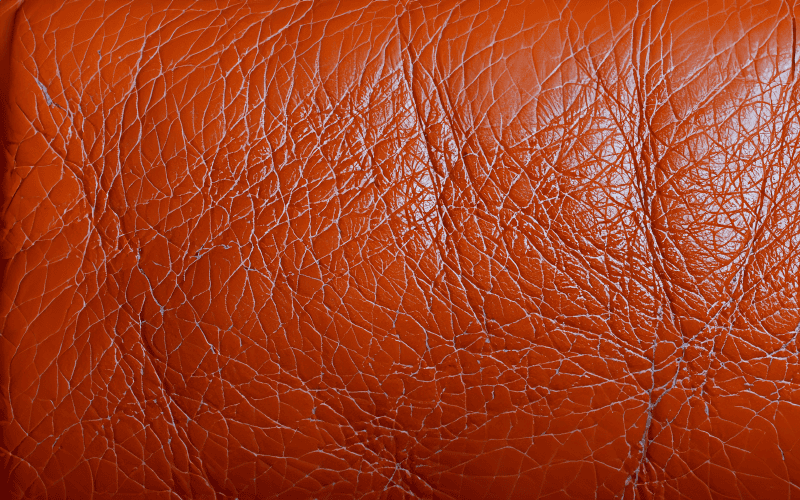
For instance, leather tears may require specific leather adhesives or patches, while fabric blends might respond better to traditional sewing techniques.
Understanding the fabric type will help you choose the right tools and materials for the repair.
Additionally, some fabrics may fray more easily than others, necessitating a more careful approach.
By identifying the fabric, you can tailor your repair strategy, ensuring a seamless and durable fix that matches the original upholstery.
Gathering Your Supplies
Essential Tools: Preparing for Your Repair
To successfully repair a tear in your couch upholstery, having the right tools on hand is essential.
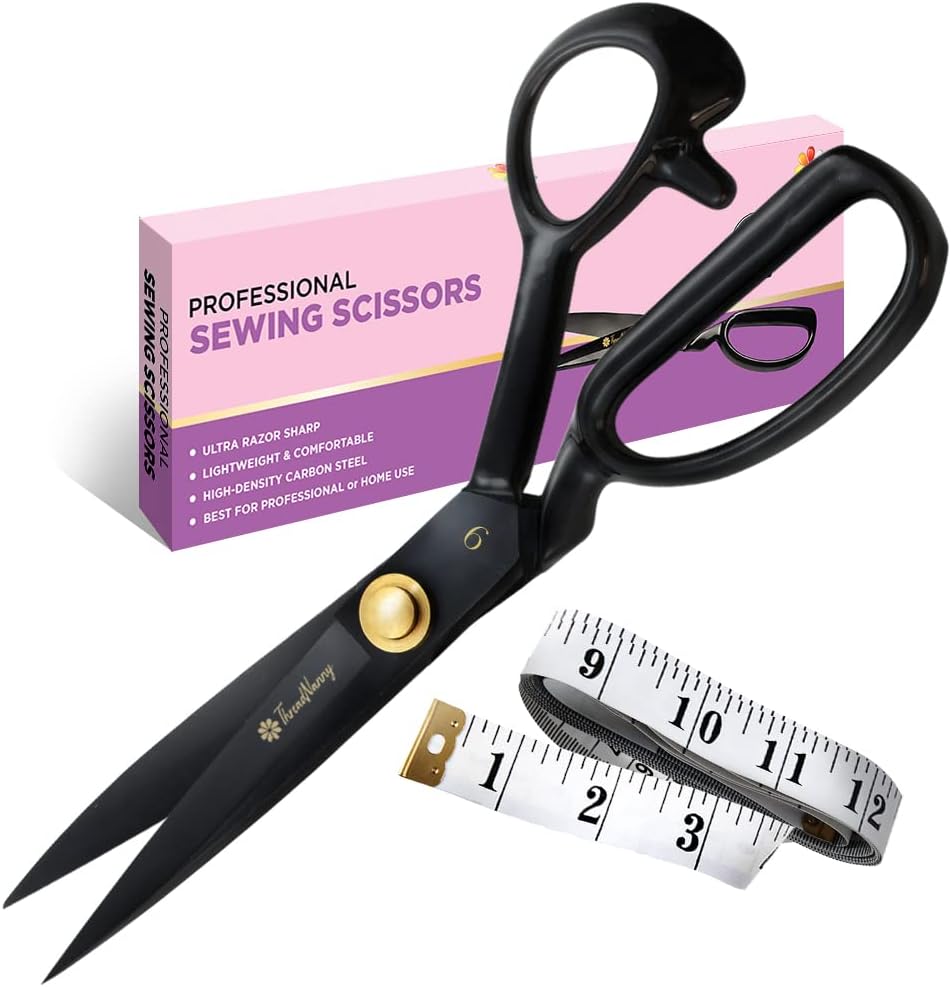
Start with a good pair of scissors, which will help you trim frayed edges or cut fabric patches to size.
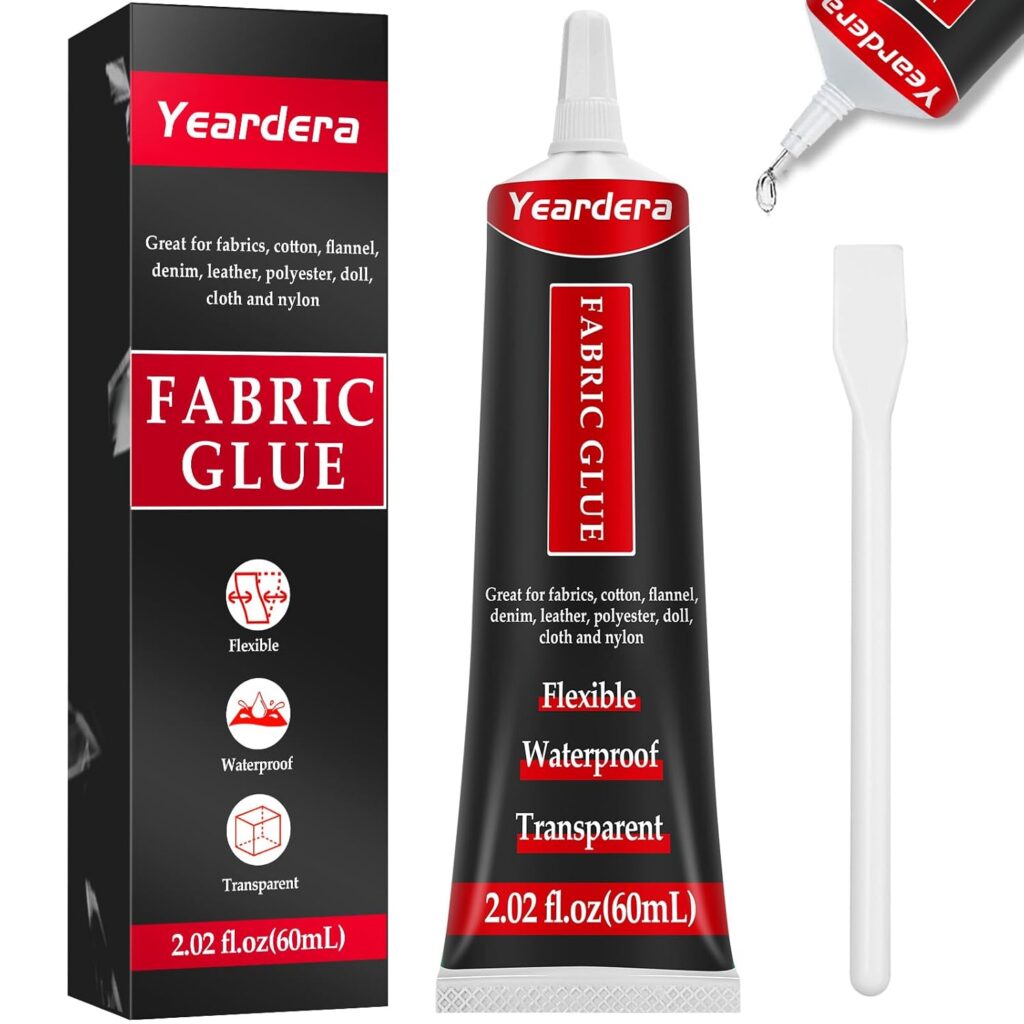
Fabric adhesive or super glue is crucial for bonding torn edges or attaching patches securely.
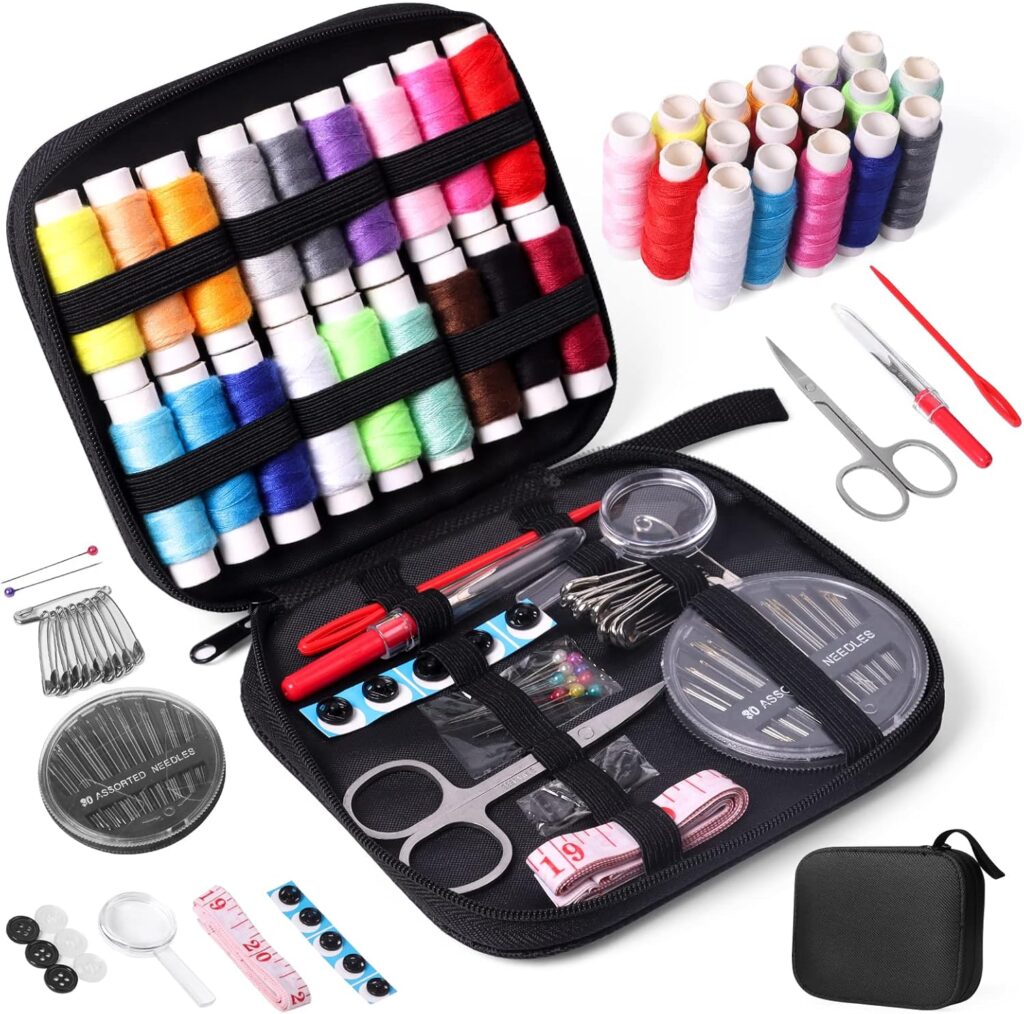
Additionally, a needle and thread are important for sewing minor tears or securing patches, so choose a thread that matches the color and texture of your upholstery.
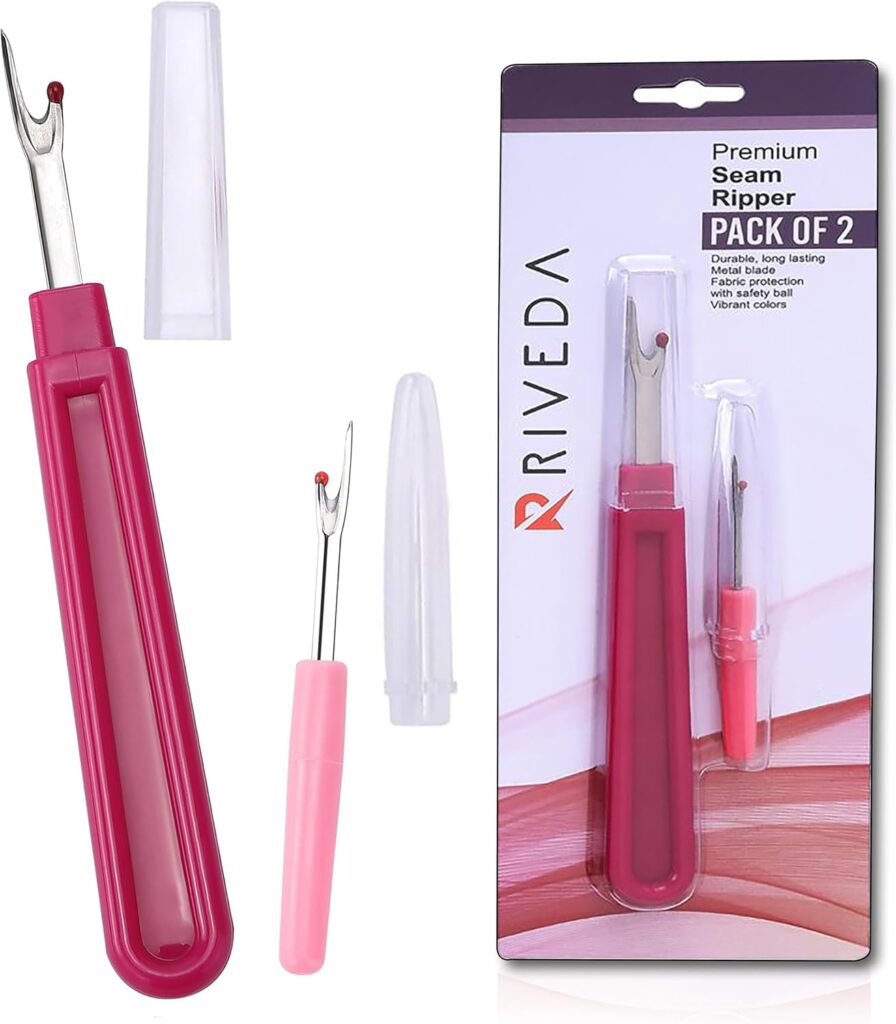
Other helpful tools may include a measuring tape for precise measurements, and a seam ripper to remove any loose threads.
Having these essential tools ready will streamline your repair process and contribute to a professional-looking result.
Materials Required: Choosing the Right Patches and Adhesives
In addition to tools, the right materials are vital for a successful upholstery repair.
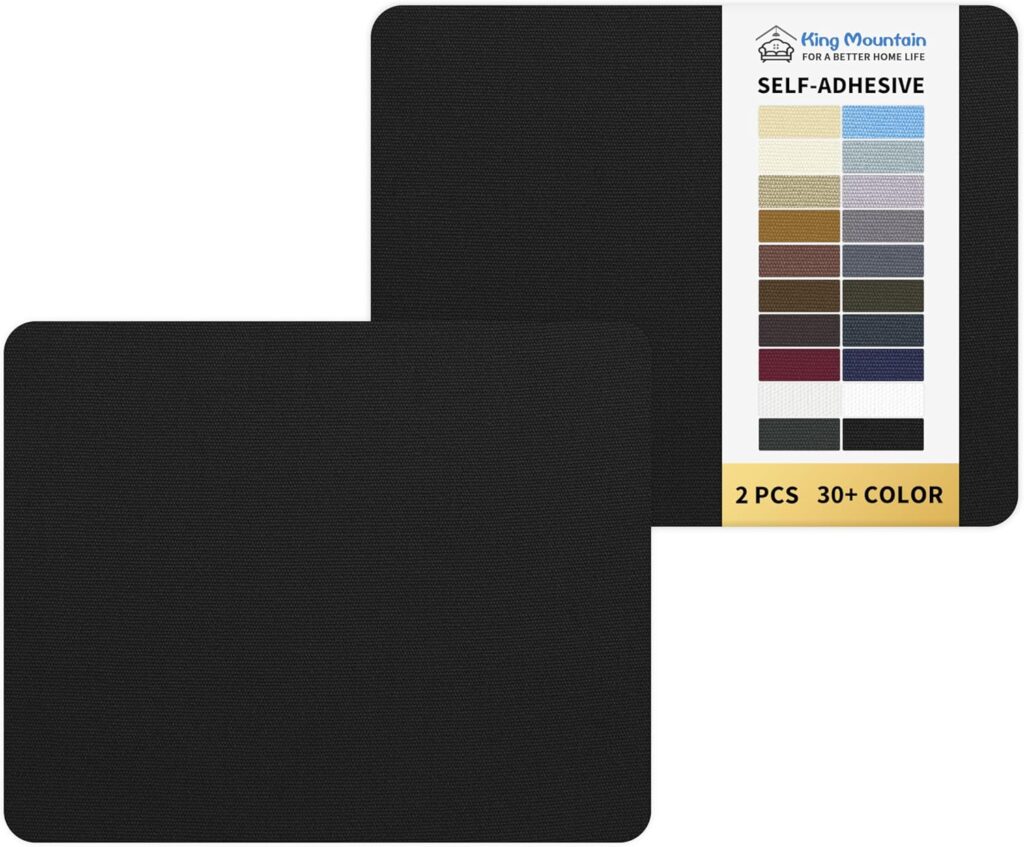
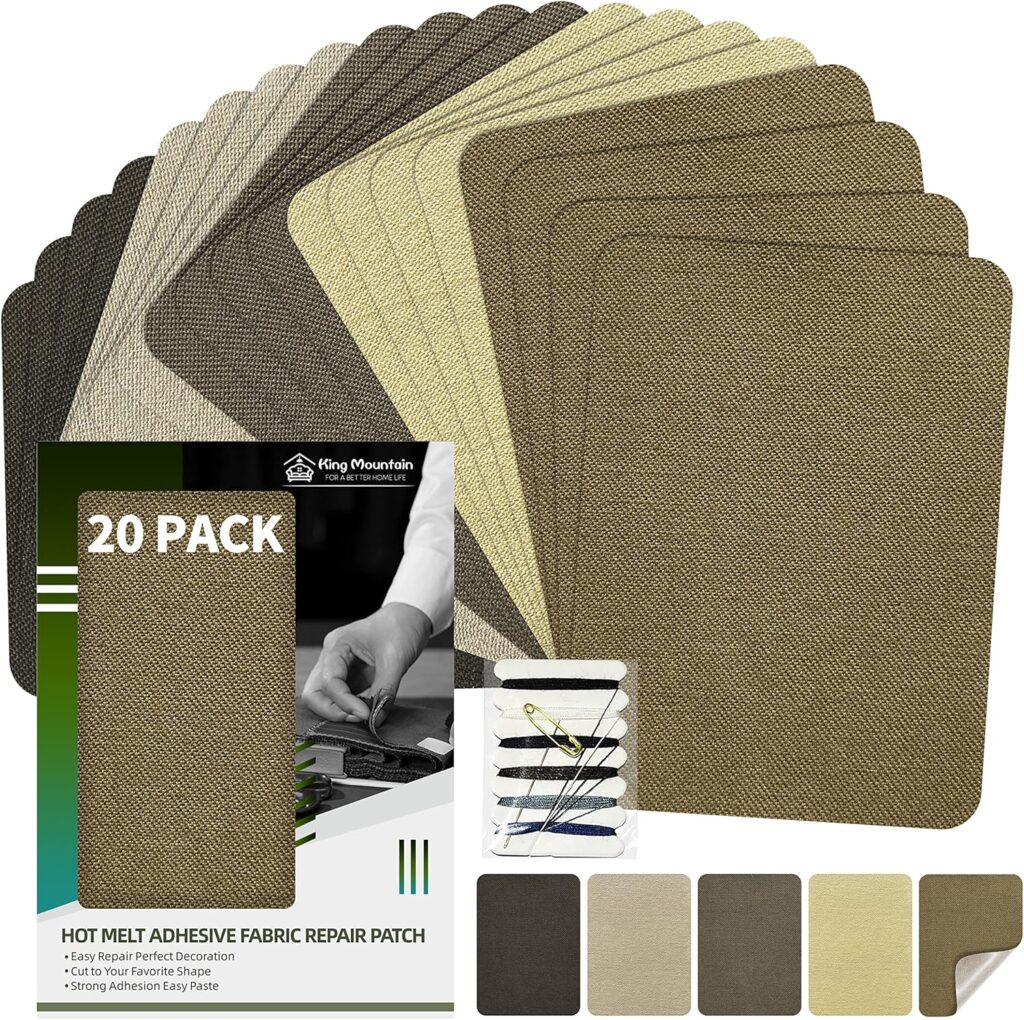
Fabric patches are commonly used to cover larger tears, so choose one that closely matches the original fabric in color and texture.
Upholstery glue is recommended for securing patches or bonding torn edges; look for a product specifically designed for upholstery to ensure durability.
If you prefer a quicker fix, iron-on patches are a convenient option, as they adhere easily with heat, making them suitable for smaller tears.
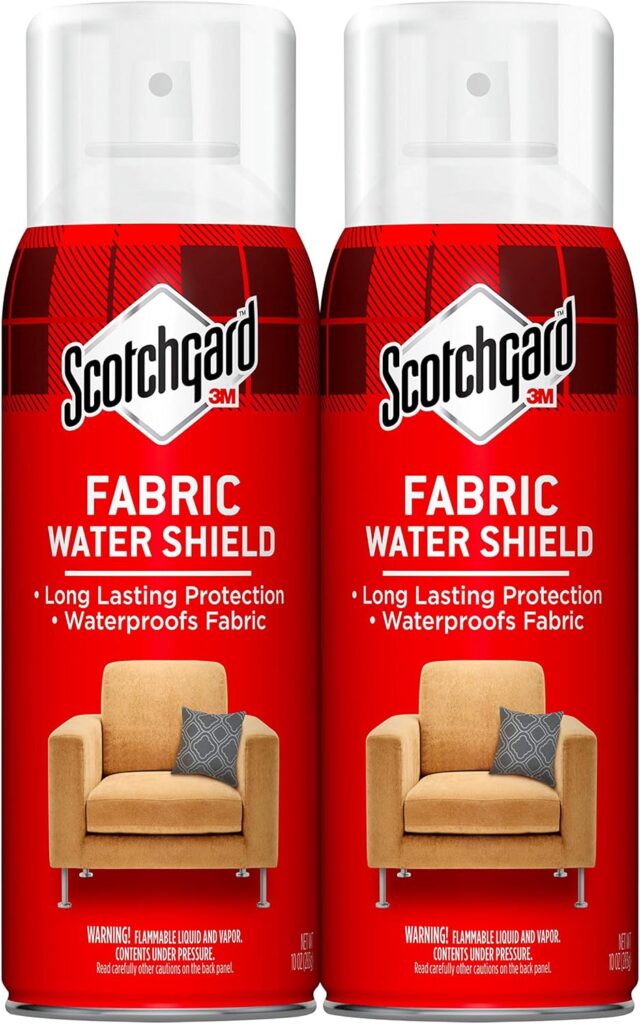
Additionally, consider fabric protectors or treatments to apply after the repair, enhancing durability and preventing future damage.
By gathering the right materials, you can ensure a seamless and lasting repair for your couch upholstery.
Preparing for the Repair
Clean the Area: Setting the Stage for a Successful Repair
Before you begin the repair process, it’s essential to clean the tear and its surrounding area to ensure a strong bond and a professional finish.
Start by gently vacuuming the upholstery to remove any dust, dirt, or debris that may have accumulated around the tear.
Next, use a soft cloth and a mild fabric cleaner to wipe down the area, being careful not to saturate the fabric. For tougher stains, spot-clean using a gentle solution and allow the fabric to dry completely before proceeding.
Cleaning the area helps eliminate any contaminants that could interfere with adhesives or stitching, ensuring the repair adheres well and lasts longer.
Taking this step not only prepares the surface but also enhances the overall appearance of the upholstery after the repair.
Cut a Patch: Achieving a Perfect Fit
When it comes to repairing a tear, cutting a patch that fits perfectly is crucial for a seamless finish. Begin by measuring the dimensions of the tear, adding about an inch on each side for a secure bond.
Choose a fabric that matches the original upholstery in color, texture, and pattern, as this will help the patch blend in. When cutting the patch, pay attention to the fabric grain—make sure the patch runs in the same direction as the existing fabric to maintain a uniform look.
If the upholstery has a distinct pattern, take your time to match it as closely as possible, as this can significantly affect the final appearance.
A well-cut patch will not only improve the aesthetic outcome but also reinforce the integrity of the repair, making it less likely to peel or fray over time.
Repair Techniques
For Small Tears: Quick and Effective Repairs
Repairing small tears in upholstery can often be accomplished easily with fabric glue or stitching.
First, clean the area around the tear, as previously discussed, to ensure a strong bond.
For fabric glue, apply a thin layer to the edges of the tear and press them together firmly, holding them in place for a few minutes until the glue sets.
If you prefer to stitch the tear, use a needle and thread that matches the upholstery. Begin at one end of the tear and sew a simple running stitch, pulling the thread taut without causing puckering.
Continue sewing until you reach the other end, then tie off the thread securely.
This method effectively reinforces the fabric and restores its appearance, allowing for a quick and durable fix.
For Larger Tears: Applying a Patch for Durability
Larger tears require a more robust approach, often involving a fabric patch.
Start by cutting a patch that matches the original fabric and is slightly larger than the tear, as discussed earlier.
Clean the area thoroughly before applying the patch. If using adhesive, spread a generous amount of upholstery glue on the back of the patch and position it over the tear, ensuring it overlaps the edges by at least half an inch.
Press down firmly and hold it in place for a few minutes to secure adhesion. For sewn patches, position the patch over the tear and pin it in place to prevent shifting.
Use a needle and thread to sew around the patch’s edges, ensuring the stitching is tight and secure.
This method provides a durable solution for extensive damage, effectively restoring the functionality and appearance of the upholstery.
Using Iron-On Patches: A Convenient Repair Solution
Iron-on patches offer a quick and convenient method for repairing upholstery, especially for smaller tears.
Begin by ensuring the area is clean and dry, as moisture can affect adhesion.
Cut the iron-on patch to size, making sure it adequately covers the tear with some overlap. Preheat your iron to the appropriate heat setting for the fabric type; generally, a medium heat works well for most upholstery fabrics.
Place a thin cloth over the patch to protect it from direct heat, then press the iron down firmly for 20-30 seconds.
Avoid moving the iron back and forth, as this can cause the patch to shift. Once the adhesive has cooled, check that the patch is secure; if necessary, repeat the process to ensure a strong bond.
This method is not only efficient but also produces a clean, professional-looking repair without the need for stitching.
Finishing Touches
Trim Excess Fabric: Achieving a Clean and Professional Look
After applying a patch or completing your repair, it’s essential to trim any excess fabric for a neat finish.
Use sharp scissors to carefully cut away any overlapping material, ensuring that you only remove what is necessary to achieve a clean edge.
Aim for a smooth line that follows the shape of the patch or the original fabric to avoid jagged edges.
Be cautious not to cut too close to the stitching or adhesive, as this could compromise the integrity of the repair. A well-trimmed patch not only enhances the appearance of the upholstery but also reduces the risk of fraying or further damage.
Taking this final step will ensure your repair looks professional and blends seamlessly with the rest of the fabric.
Reattach Loose Threads: Securing Your Repair
Once the main repair is complete, it’s important to address any loose threads around the repaired area to ensure a polished finish.
Start by examining the entire perimeter of the tear and the patch for any fraying or loose threads.
If you find any, carefully trim them with scissors to prevent further unraveling. For threads that are still attached but loose, use a needle and thread that matches the upholstery to secure them.
Gently pull the loose thread taut and stitch it back into place, tying off the end securely. This not only restores the structural integrity of the upholstery but also prevents future damage, enhancing the longevity of your repair.
Taking the time to secure loose threads will result in a cleaner, more refined appearance for your couch upholstery.
Preventive Measures
Regular Maintenance: Keeping Your Upholstery in Top Shape
Regular maintenance is essential for extending the life of your couch upholstery and preventing future tears. Start by vacuuming your furniture weekly to remove dust, dirt, and debris that can wear down the fabric over time.
Spot-clean any stains immediately with a mild fabric cleaner to prevent them from setting and damaging the upholstery.
Additionally, consider using a soft brush to gently lift any embedded dirt or lint from the fabric fibers.
Depending on the fabric type, periodic deep cleaning—using either professional services or a steam cleaner—can help maintain its appearance and integrity.
Regular maintenance not only enhances the overall look of your upholstery but also helps catch potential issues before they escalate into major repairs.
Protective Measures: Shielding Your Upholstery from Damage
To further safeguard your upholstery from damage, consider investing in fabric protectors or covers.
Fabric protectors, available in spray form, create a protective barrier against stains, spills, and everyday wear and tear, making it easier to clean up accidents without damaging the fabric.
Before applying a protector, ensure that your upholstery is clean and dry for optimal adhesion.
Alternatively, furniture covers are a practical solution, particularly in households with pets or young children.
These covers can be easily removed and washed, providing a layer of protection against scratches, spills, and general wear.
By implementing these protective measures, you can significantly reduce the risk of damage and maintain the beauty and functionality of your couch for years to come.
The Value of Timely Repairs for Upholstery Longevity
In conclusion, addressing upholstery tears promptly is essential for maintaining the longevity and appearance of your furniture.
Timely repairs prevent minor issues from escalating into larger, more costly problems that can compromise the structural integrity of your couch.
By taking the initiative to repair small tears yourself, you not only save money but also gain a sense of satisfaction from restoring your furniture.
However, for more extensive damage or if you feel uncertain about your repair skills, seeking professional help is always a wise choice.
Understanding when to DIY and when to call in an expert is key to preserving the beauty and functionality of your upholstery for years to come.

