Why Fixing a Broken Armrest Is Easier Than You Think
Broken armrests are a common issue for well-loved furniture, especially in chairs and sofas that see regular use.
Over time, wear and tear can cause the armrest to loosen, crack, or even break off entirely. While this might seem like a big problem at first, it’s actually something you can easily fix at home.
With just a few basic tools and some simple materials, you can save yourself the cost of professional repairs or even a new piece of furniture.
This guide will walk you through the steps to repair your armrest quickly and effectively, even if you’re not a DIY expert.
You can also watch our video breakdown here on how to do this in depth.
Step 1: Assess the Damage
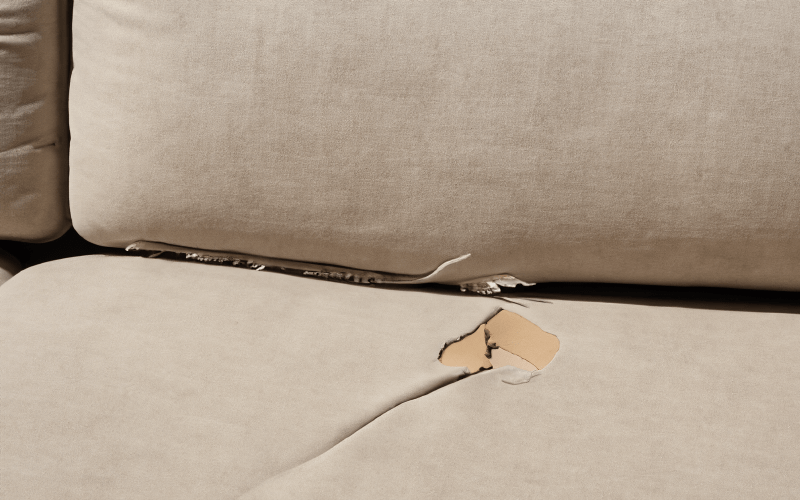
The first step in fixing a broken armrest is to carefully assess the damage. Start by inspecting the armrest for any visible signs of cracks, breaks, or loose joints.
Pay attention to whether the damage is cosmetic or structural, as this will help determine your next steps. If the armrest is simply loose, a quick tightening of screws might be all you need.
However, if it’s cracked or broken, you may need to repair or replace certain parts. Based on the severity of the issue, decide whether you’ll use glue, screws, or even a new piece of wood to complete the fix.
Properly assessing the damage helps ensure you choose the right repair method from the start.
Step 2: Gather the Necessary Tools and Materials
Before you begin the repair, it’s important to gather all the tools and materials you’ll need.
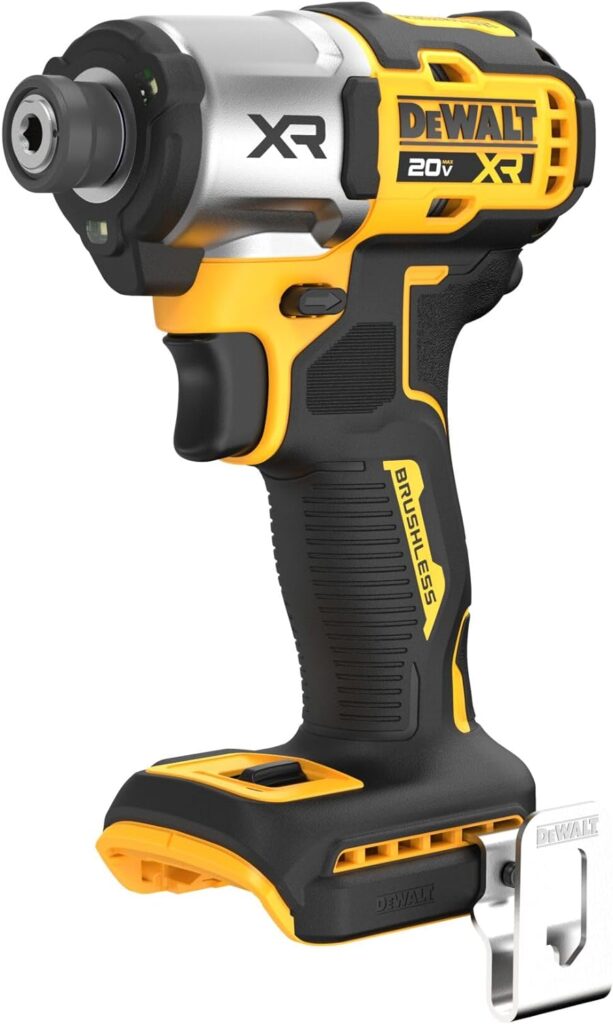
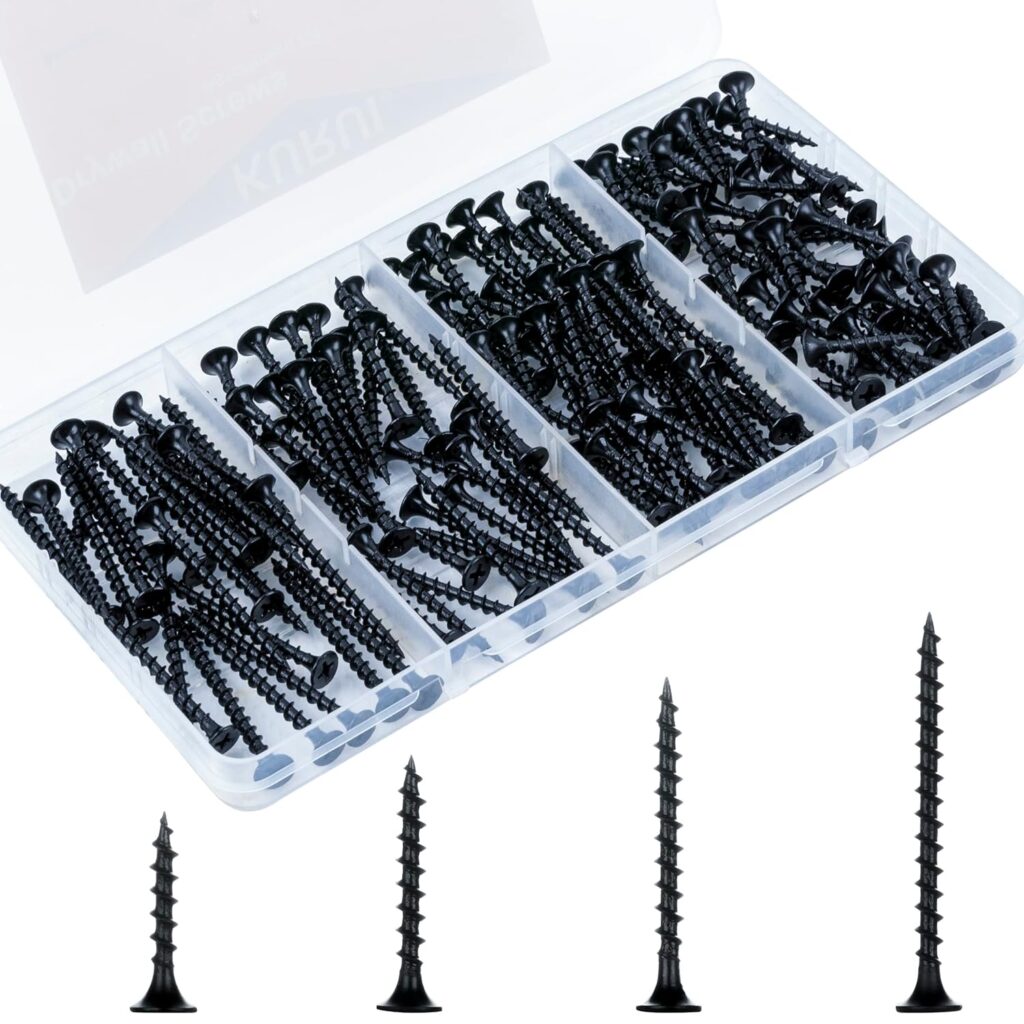
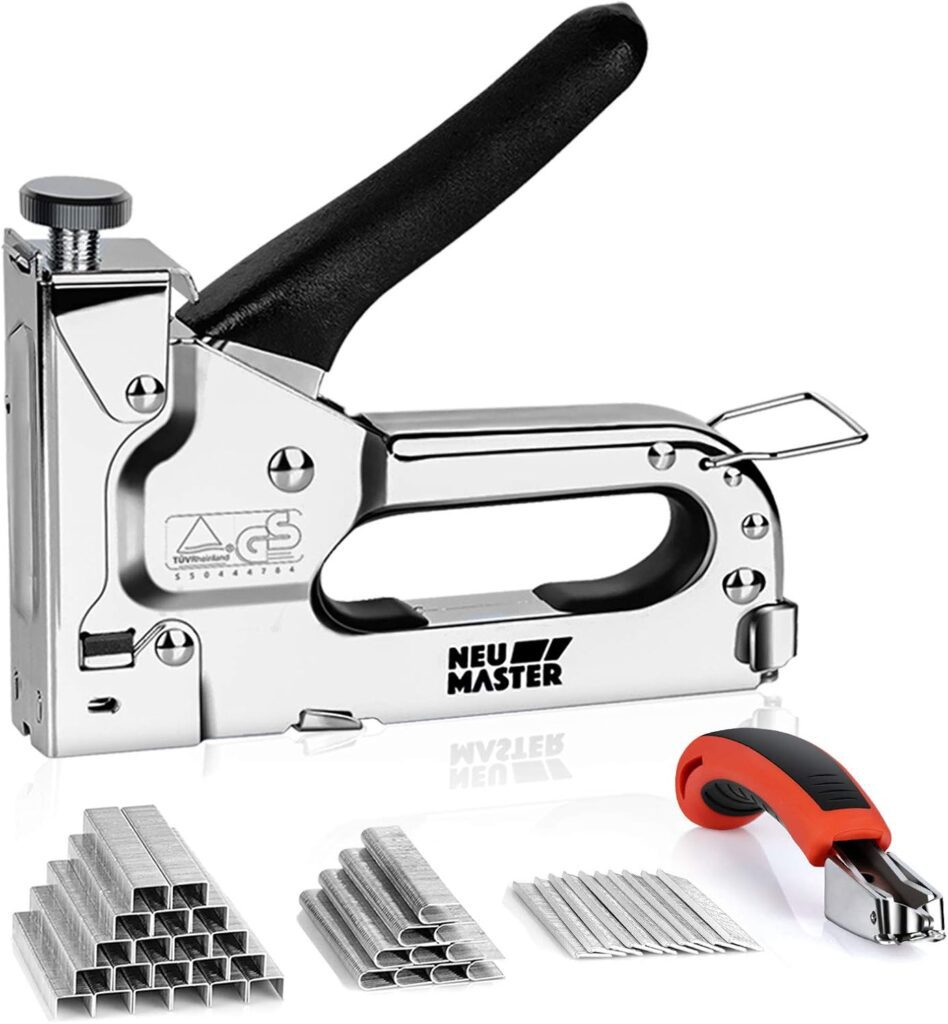
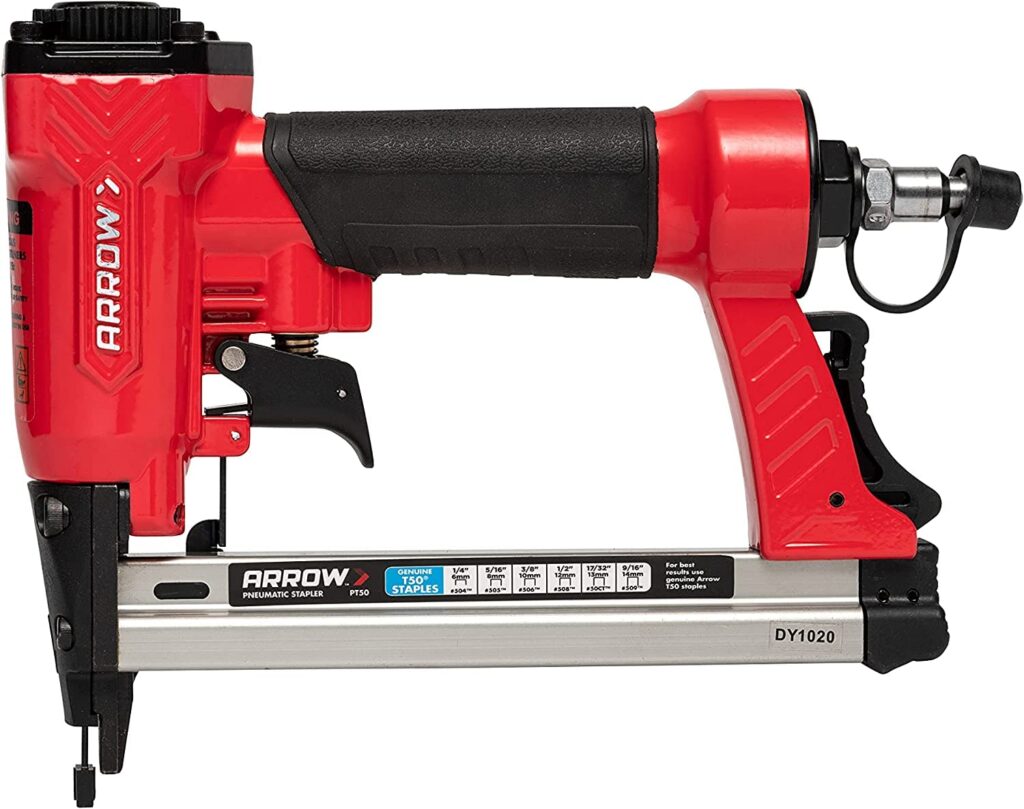
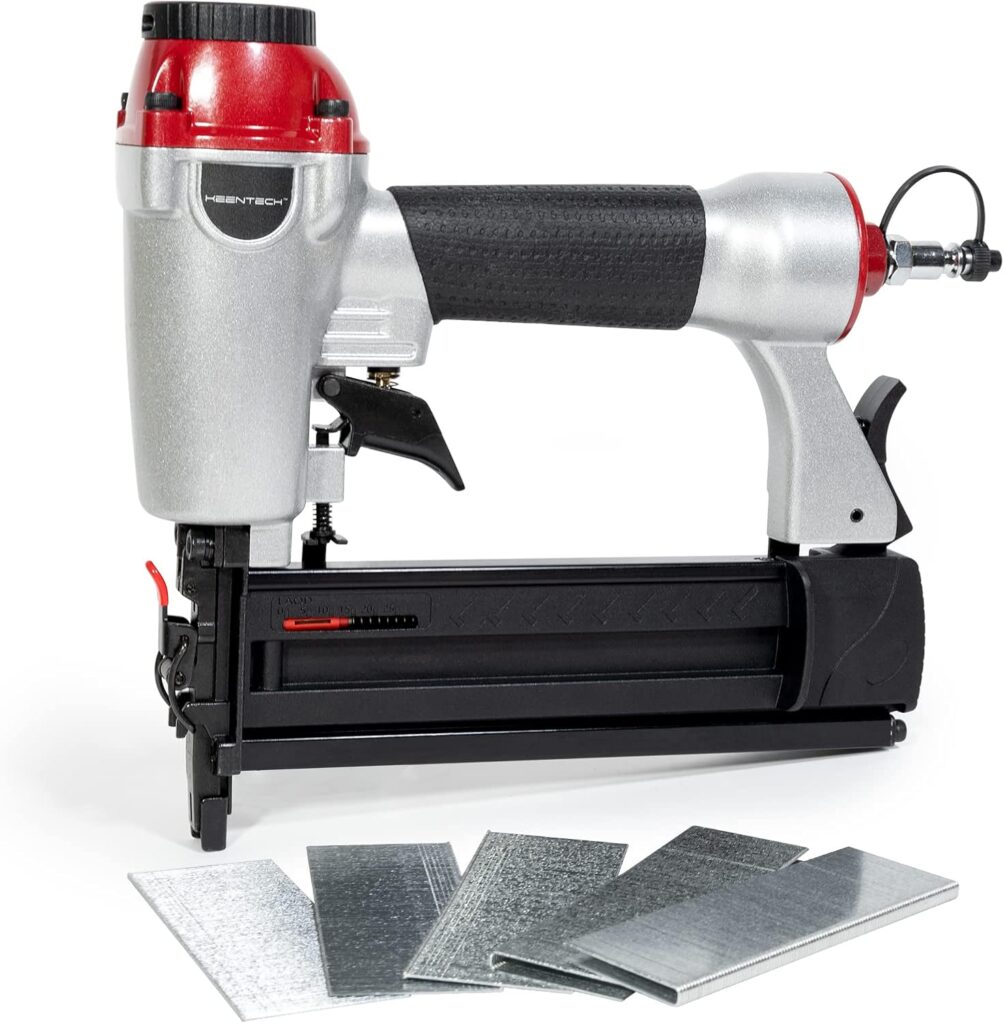
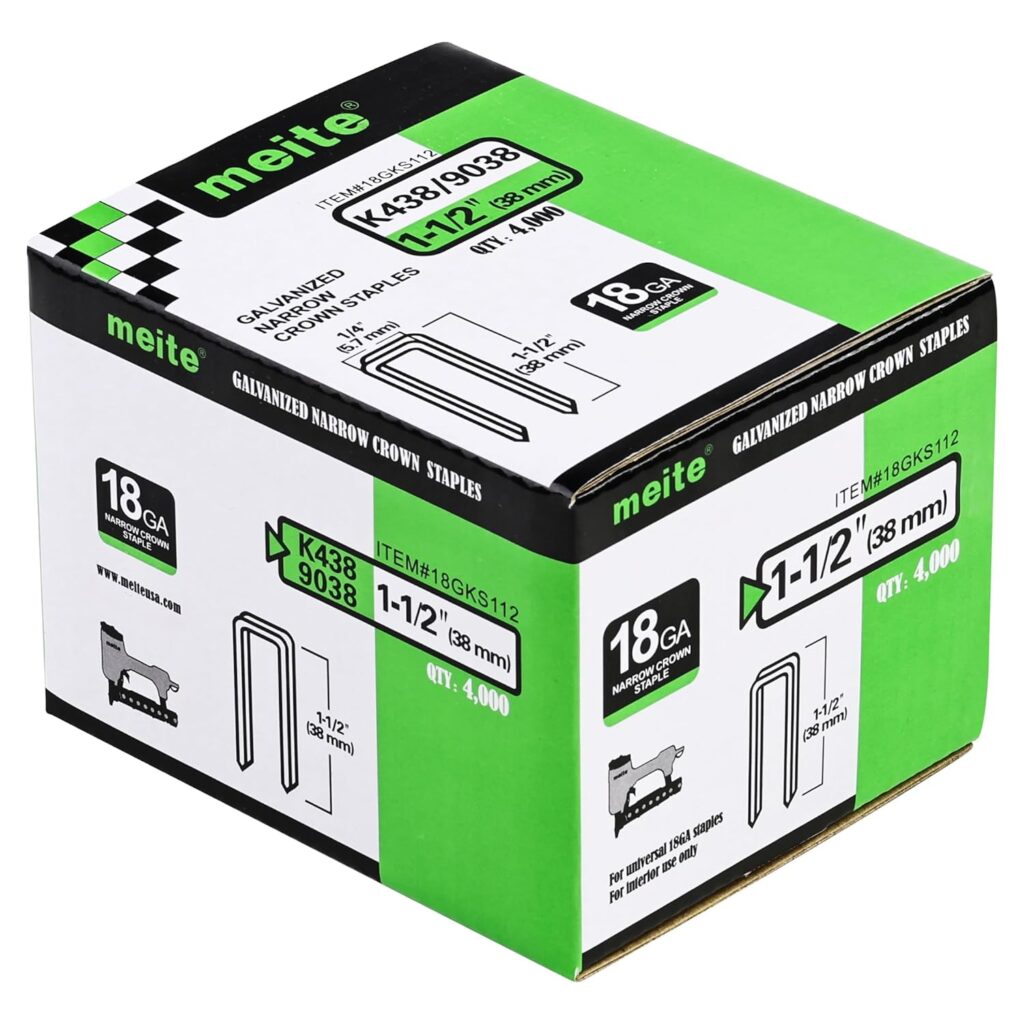
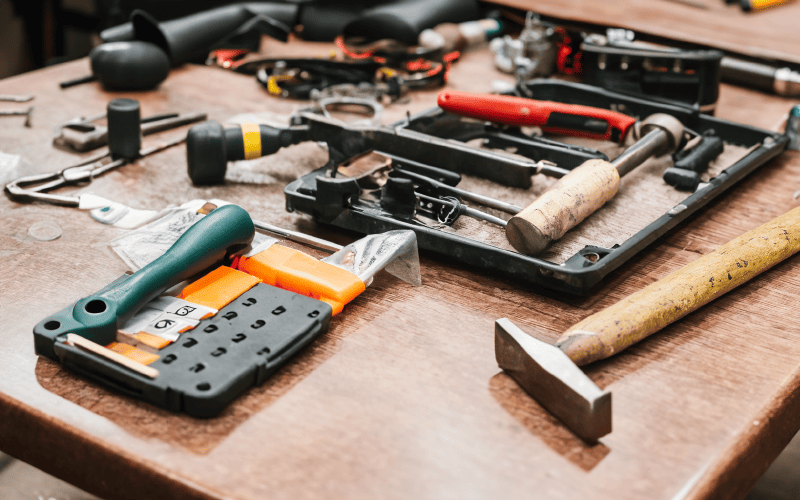
The list of tools are: ice pick, drill, screws, a mallet, staple gun (easier to use a air compressor with your air compressed staple gun), pliers, spray glue, screws and or a heavy duty staple gun with heavy duty staples.
Sandpaper is also useful for smoothing rough edges once the repair is complete.
Depending on the extent of the damage, you may need replacement wood if the armrest is severely broken, as well as wood filler to patch any cracks.
If you want to restore the armrest to its original look, be sure to have some touch-up paint or finish on hand.
Don’t forget safety gear, such as gloves and goggles, to protect your hands and eyes during the process.
Having everything ready ahead of time will make the repair process much smoother and faster.
Step 3: Disassemble the Armrest (If Needed)
To access and repair the armrest on your sectional, you’ll first need to carefully remove the fabric covering.
Using an ice pick or pliers, gently pull away any staples holding the fabric in place.
Once you have access, use a drill or screwdriver to detach the armrest from the frame. Be sure to take your time and avoid damaging any surrounding parts.
As you remove screws and hardware, keep them organized in a small container to ensure nothing gets lost during reassembly.
After disassembly, clean the broken surfaces of the armrest, removing dust, debris, or old adhesive that could interfere with a proper repair.
Having a clean, prepared surface is crucial for the next steps.
Step 4: Fix the Armrest
Once you’ve accessed the armrest, it’s time to begin repairs based on the type of damage.
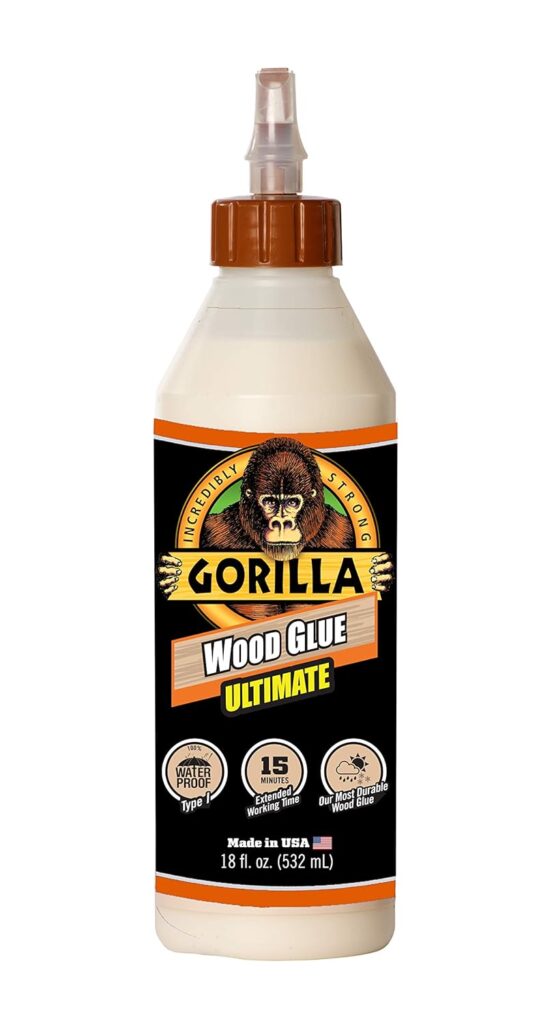
If the armrest is loose, apply wood glue to the joint for extra reinforcement. Reinsert the original screws or add new ones for additional support.
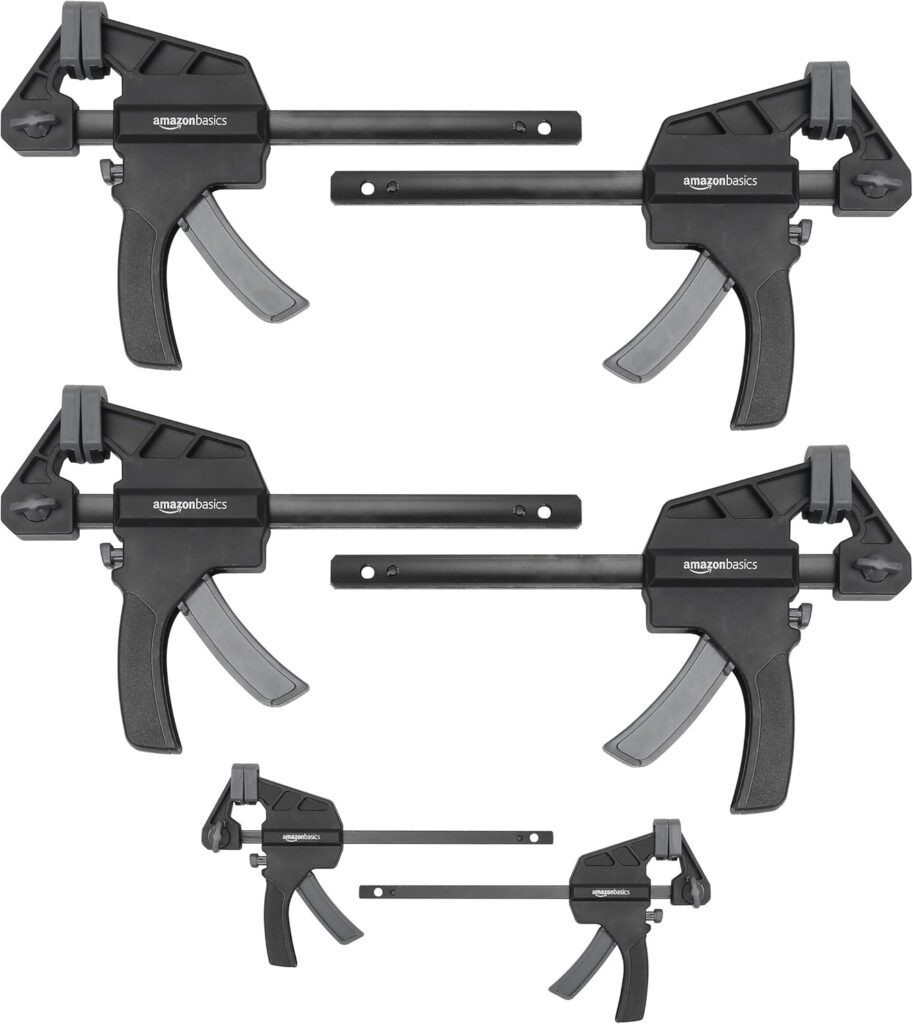
Use clamps to hold the armrest tightly in place while the glue dries, ensuring a solid and stable bond.
For more severe damage, like cracks or breaks in the wood, apply wood glue to the broken pieces, pressing them firmly together. Secure the repair with clamps, and leave it to dry for several hours to ensure maximum strength.
If there are any gaps or visible cracks after the glue dries, use wood filler to smooth them out.
This step ensures the armrest not only functions properly but also looks seamless when the repair is complete.
Step 5: Reattach the Armrest
Once the repair is complete and the glue has fully dried, it’s time to reattach the armrest to your sectional.
Carefully align the armrest with the furniture frame, ensuring it fits snugly in its original position.
Using a drill or screwdriver, securely fasten the armrest by reinserting the screws or using new ones, depending on what was removed during disassembly.
After reinstalling, double-check the stability of the armrest by gently pressing down or applying light pressure. Make sure there is no wobbling or instability.
If the armrest still feels loose, you may need to tighten the screws further or add extra screws for additional reinforcement. This step ensures that the armrest is fully functional and securely attached.
Bring Your Sectional Back to Life with a Simple DIY Repair
In this guide, we’ve covered the key steps to fixing a broken armrest on your sectional, from assessing the damage and disassembling the armrest to making the necessary repairs and reattaching it securely.
By following these steps, you can easily handle a common furniture issue without having to rely on costly professional services.
Not only does DIY repair save you money, but it also extends the life of your favorite pieces, keeping them functional and looking great for years to come.
We encourage you to try this process at home, even if you don’t consider yourself handy.
Tackling furniture repairs on your own is rewarding and empowering. Don’t forget to share your success stories or any tips you’ve picked up along the way with others—it’s a great way to inspire more DIY projects!


